
 Pin it
It’s so easy to whip up chewy, yummy treats at home using just a few fresh ingredients. You’ll get all those bright fruity flavors without any fake stuff. Real fruits and veggies give lovely natural colors and actual nutrition. Thanks to grass-fed gelatin, you’re packing in a little protein and gut support, so you can share these snacks with your family and feel good about it.
I started making these when I found out the “healthy” snacks my son liked were mostly corn syrup. The first time we made our own, my kids finished them off before realizing there were veggies inside. Now they want to join in, and snack time has turned into a fun family project in the kitchen.
Tasty Ingredients
- Grass-fed gelatin: This is what makes the chews nice and bouncy, plus it brings some gut-loving protein.
- Raw honey: Sweetens the snacks naturally and brings in helpful enzymes—using local honey’s an extra perk if you want.
- Vegetables: Try mild options like zucchini or spinach to sneak in nutrients without changing the flavor.
- Apple juice: Adds a little sweetness and helps everything blend together; 100% juice is best.
- Fresh fruit: Ripe, sweet fruit brings huge flavor; thawed frozen works fine, too.
Simple How-To Guide
- Keep ‘em fresh
- Stack snacks in an airtight box with parchment between layers, so they won’t stick together.
- Chill and set
- Let them hang out in the fridge for at least two hours to firm up.
- Careful pouring
- Use a spoon or little dropper to fill the molds to avoid spills.
- Watch the heat
- Don’t let the mixture get hotter than 170°F, or the gelatin won’t set right.
- Gelatin step
- Dust the gelatin gently into your warm mixture, whisking quick so there’s no lumps.
- Check the sweetness
- Taste before adding honey and tweak it depending on how sweet your fruit is.
- Blend it up
- Blitz the fruits with just enough juice, adding more as you need for a smooth mix.
- Prep first
- Lay silicone molds on a baking tray or cutting board, so you can move them easily once filled.
 Pin it
Vivid Natural Colors
Those gorgeous colors? They all come from the fruits and veggies—making your treats look great and boosting their nutrition, too.
Surprising Gelatin Perks
Besides making the texture just right, grass-fed gelatin is awesome for joints and helps with digestion.
Exciting Flavor Options
Mix it up as often as you want—think combos like watermelon-mint, mango with turmeric, or raspberry paired with lemon.
Fun Kid Project
Bringing kids into snack making turns it into a hands-on adventure. Everybody learns something new while having a blast.
Easy Pack-and-Go Tips
Chill your fruit chews right up until pack time, and pop an ice pack in for the best texture at lunch.
Switch-Up Suggestions
Play with what’s in season so your chews taste fresh and keep the cost down.
Diet-Friendly Info
These chews work for tons of diets—no gluten, no dairy, and you can even swap honey with something like maple syrup.
 Pin it
Once you try making these, you’ll see that healthy snacking can be tasty and a lot of fun, too. I’ve brought them to parties and school, and everyone—kids and grown-ups—rave about them. Making them together turns snack time into a creative hangout, and they’re perfect for a quick lunchbox treat or a thoughtful snack whenever you want something wholesome.
Frequently Asked Questions
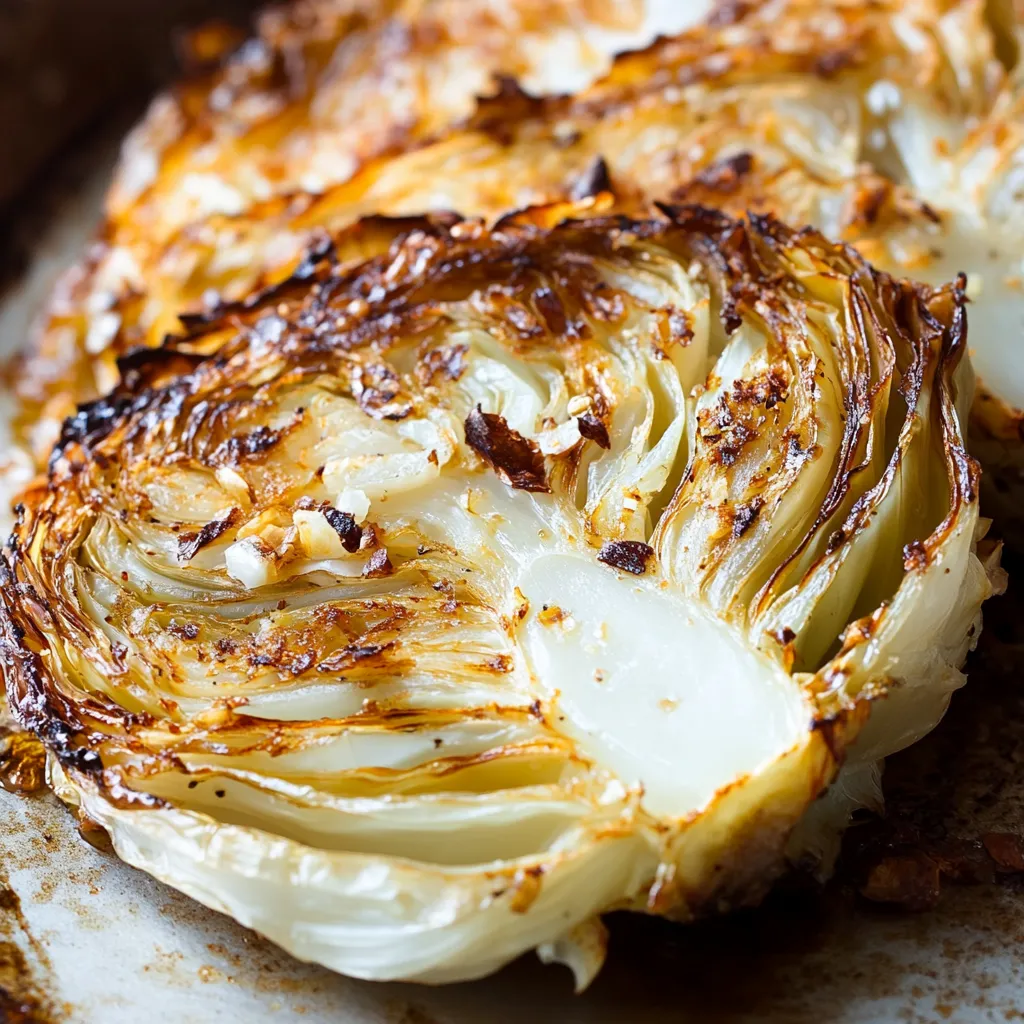
- → What's the best kind of cabbage for these crispy cabbage steaks?
- Big, firm green or red cabbages both work. Green turns a bit sweeter once baked, while red keeps a bolder bite and its vibrant color. Make sure your cabbage feels heavy and has tight leaves for prettiest results.
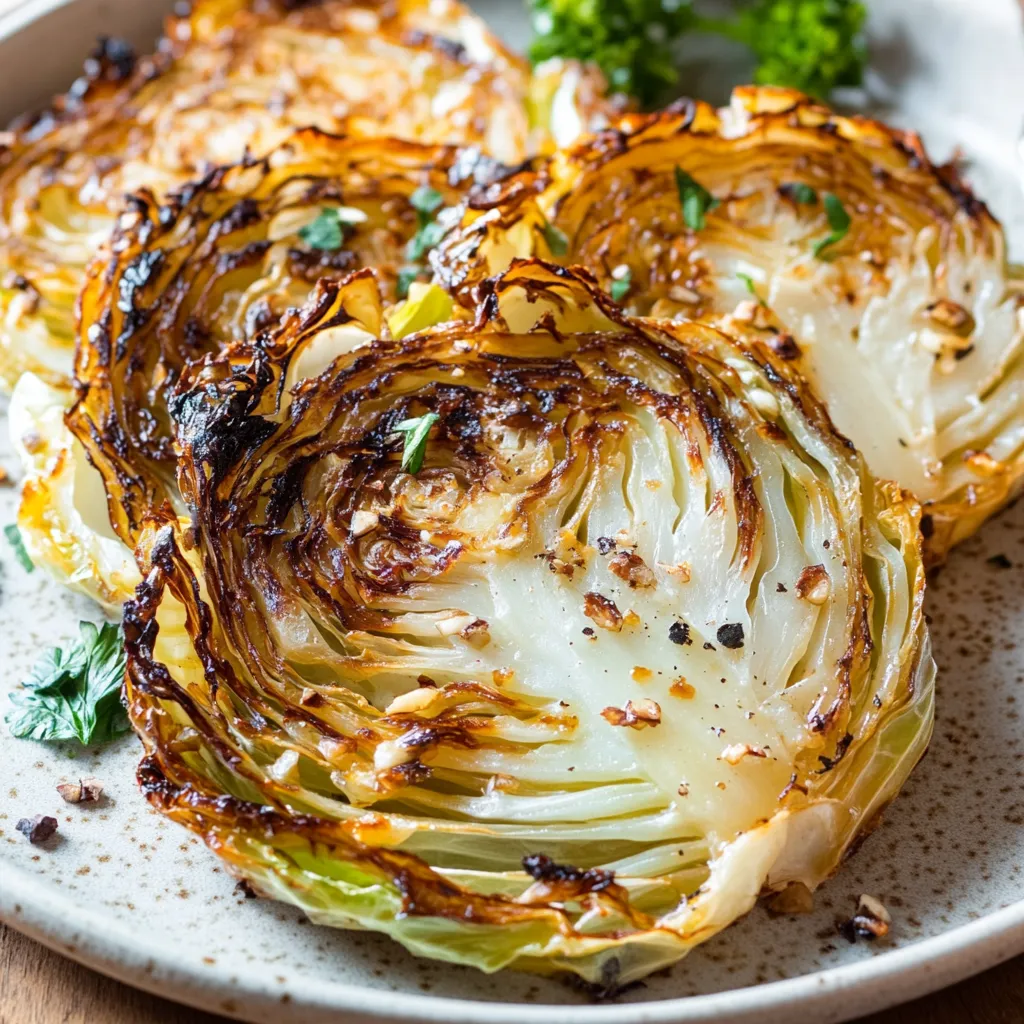
- → Can I switch up the spices when roasting these cabbage steaks?
- Yep! You can totally play with flavors. Go for some curry and turmeric for something bold or Italian herbs with a sprinkle of cheese. Drizzle on some balsamic for a little zing. Mix and match with what you've got.
- → How do I keep my cabbage steaks from breaking apart?
- Don’t cut the core out! That little bit in the middle keeps the whole slice together in the oven. Make the slices chunky, about the thickness of your pinky, and handle gently. A big spatula makes flipping easier too.
- → Could I make these cabbage steaks using an air fryer?
- For sure! Prep everything the same way, then set your air fryer to 375°F. Pop them in for about 15 minutes, flipping once. If you've got a smaller basket, work in rounds.
- → What should I serve alongside these cabbage steaks?
- They fit in with just about anything—grilled meats, baked fish or even veggie mains like lentil loaf. For a solid plant-based meal, pair with some quinoa or farro and roasted chickpeas.