
 Pin it
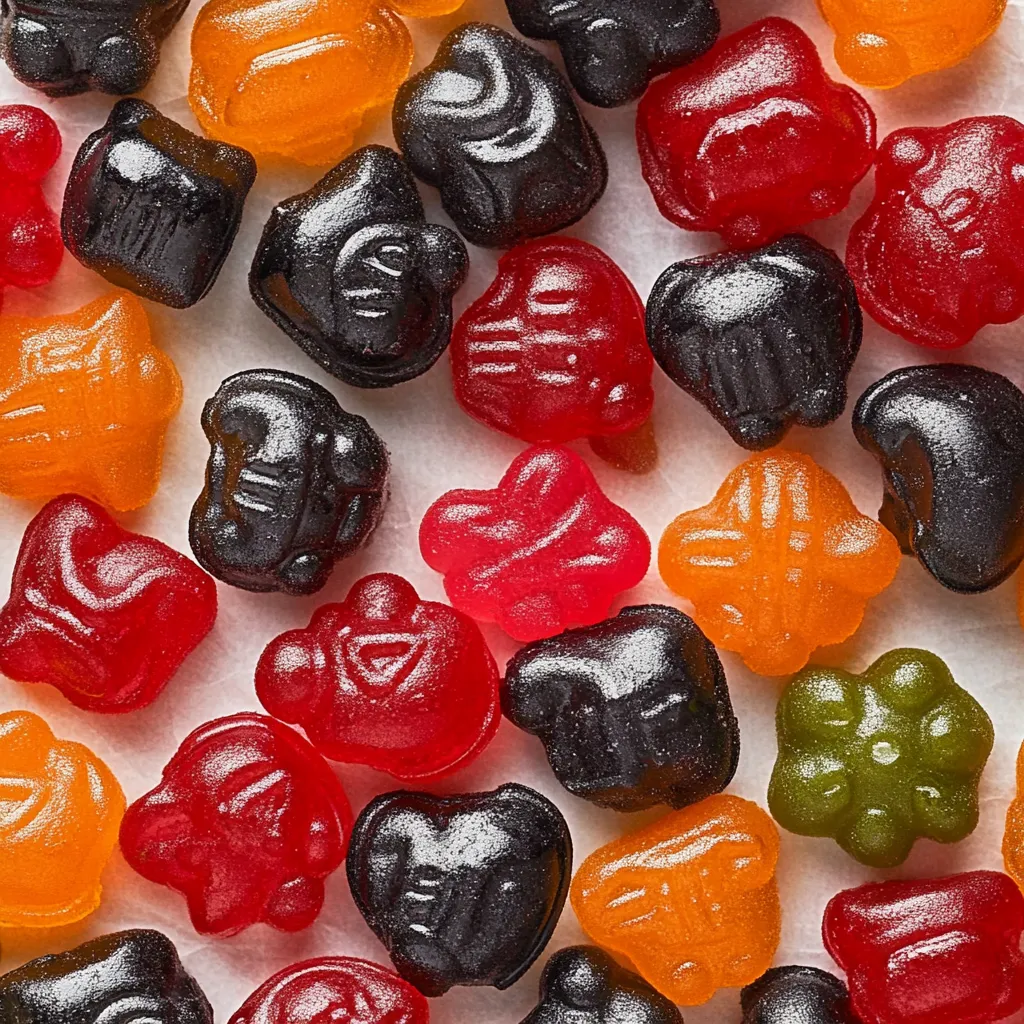
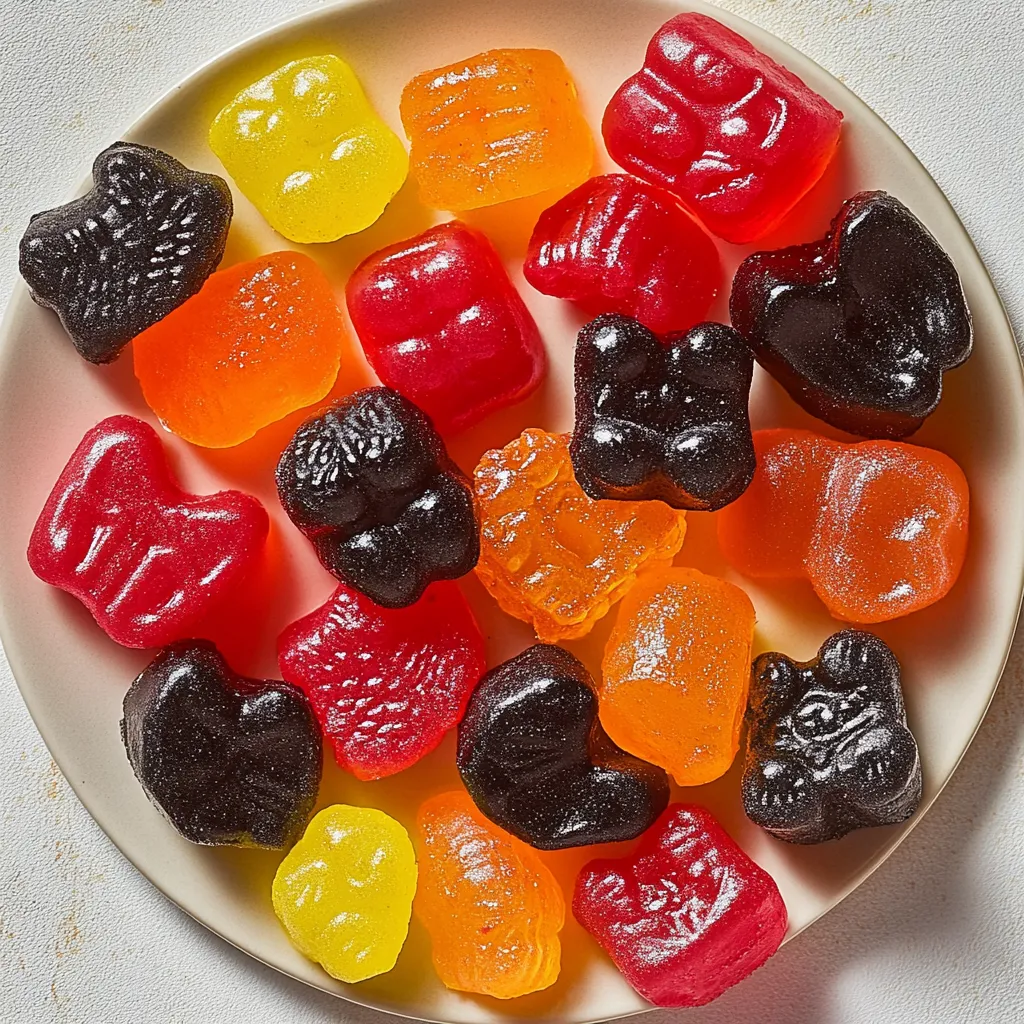
Turn fresh fruit and a few pantry basics into soft, bite-size snacks that taste just like real fruit. All those colors? That’s straight from fruits and veggies, not any fake stuff. You’ll get extra nutrition and a boost of protein because of the gelatin, which also helps your stomach. These are snacks you’ll actually feel happy handing out.
The first time I whipped up these treats was after I realized my son's go-to "healthy" brand was mostly sugar and syrup. Tossed my first homemade batch on the counter, and the kids inhaled ’em. They didn’t even guess there were vegetables inside! Now they always want to pitch in, and it’s a fun way to spend time together in the kitchen.
Vibrant Ingredients
- Fresh fruit: Grab ripe fruit for natural sweetness – if you’ve got frozen fruit, let it defrost first, it works too.
- Grass-fed gelatin: Builds that bouncy, chewy bite and packs in gut-friendly protein – good quality makes a difference here.
- Apple juice: Gives enough liquid to blend everything smooth and makes it a bit sweeter – pick 100% juice, no sugar added.
- Raw honey: Sweetens things naturally and your local stuff may even help with allergies – plus it has good-for-you enzymes.
- Vegetables: Toss in some greens (like spinach or even a little zucchini) for an extra hit of nutrition and color – they hide well with the fruit.
Simple How-To
- Set up your molds first
- Lay out your silicone molds on a tray or cutting board before you do anything – makes moving them to the fridge easy with zero mess.
- Blend it all up
- Put your fruit (and veggies, if using) into a blender with just a splash of juice, then blend, adding a little more juice if needed until you get a smooth mix.
- Sweeten to your liking
- Taste your puree, then stir in honey if you want it sweeter.
- Mix in the gelatin the easy way
- Sprinkle gelatin right over your warm fruit mix while whisking fast so it doesn’t get lumpy.
- Watch that heat
- Keep everything warm but never let it boil – 170°F is perfect. Boiling can mess up how the gelatin sets.
- Spoon into molds
- Use a tiny scooper or a dropper to get the mixture into every little corner of your silicone molds.
- Chill out
- Slide your tray into the fridge for at least two hours. Let those snacks firm up completely.
- Keep ’em fresh
- Stack snacks between parchment sheets in a sealed container so they don’t stick together.
 Pin it
Gorgeous Plant Colors
All that bold coloring? It's straight from whatever fruits and veggies you toss in. Looks good and sneaks in more nutrition, too.
Gelatin’s Secret Bonus
Besides making these snacks chewy and fun to eat, grass-fed gelatin gives you amino acids like glycine and proline, which are good for your joints and belly.
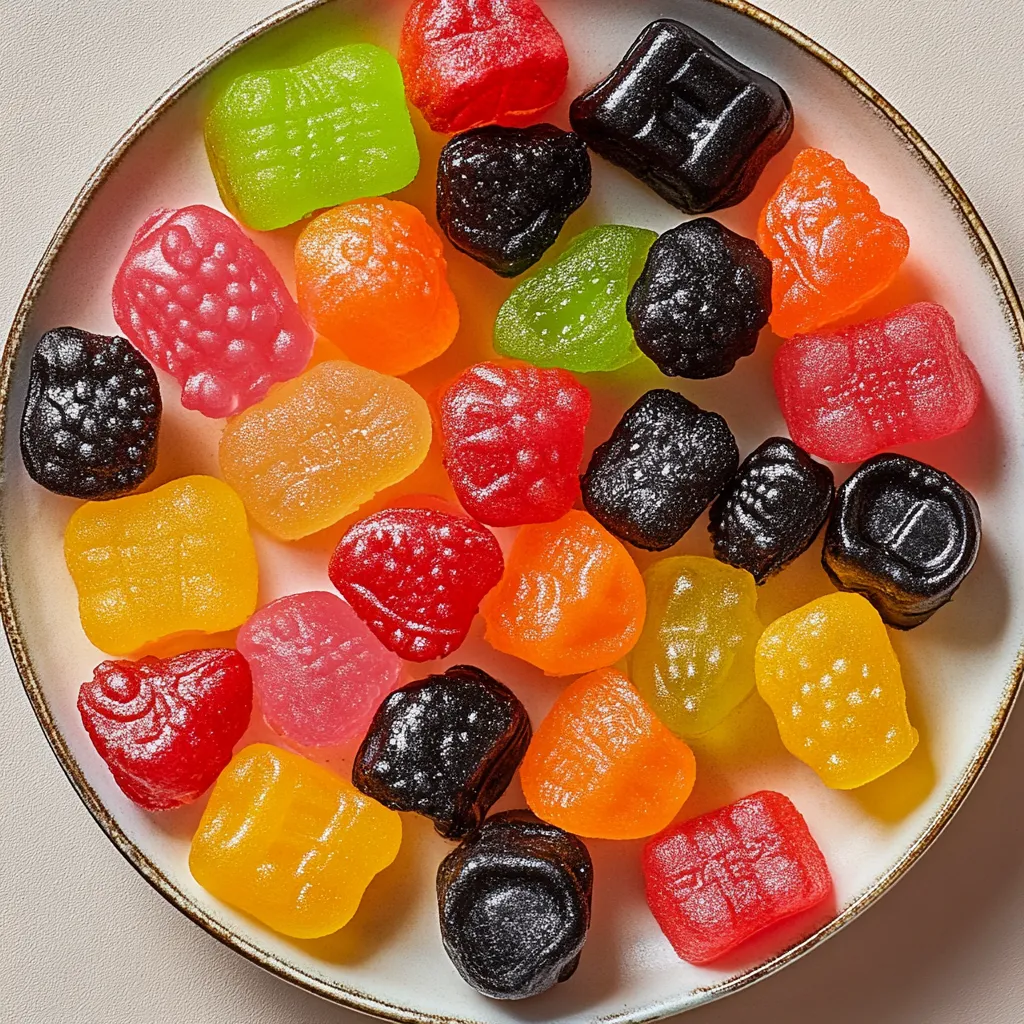
Mix-It-Up Flavor Fun
Try wild combos based on what’s in season – like mango and turmeric, lemon and raspberry, or even watermelon with some fresh mint.
Kitchen Fun for Kids
Whipping these up together is a chance to chat with kids about how food grows, all those colors, and why real ingredients matter.
Smart Packing Tips
If they’re headed to lunch, keep the snacks cold as long as possible and throw a mini ice pack in with them.
Change with the Seasons
Switch it up any time of year with new fruits – whatever’s in season will give you the best taste and prices.
Special-Diet Friendly
These snacks work for loads of diets: they’re naturally dairy-free and gluten-free, plus you can swap honey for maple syrup if you want.
 Pin it
Making your own fruit chews shows that good-for-you snacks can taste awesome and look cool. I take these to parties and school all the time – everyone asks how to make them. They start out as a smart alternative, but making them becomes a fun little creative adventure. Pop them in lunchboxes, munch on them after school, and you’re eating better without even thinking about it.
Frequently Asked Questions
- → Why do you use grass-fed gelatin here?
- Grass-fed gelatin keeps these snacks chewy and adds good-for-you stuff. It has protein, helps your gut, and can make hair and skin look better. It skips hormones or antibiotics that might be in regular gelatin.
- → Is it possible to make Effortless Fruit Snacks vegan?
- You sure can! Trade out the gelatin for agar-agar powder. Try 1 tablespoon agar-agar for every 3 tablespoons gelatin. It won't taste the same but you’ll still love the texture.
- → Why does kiwi or pineapple not work here?
- Those fruits (kiwi and pineapple) have special enzymes—actinidin and bromelain. They mess with gelatin so your snacks never get that firm texture. Just choose other fruits and you’ll be fine.
- → Is it okay if I don't have fancy molds?
- Absolutely fine. Molds are just for fun shapes but you can use a pan lined with parchment, then slice the snacks into cubes. Even an ice tray does the trick.
- → Can I use less or no honey?
- Of course! If you want less sweetness, cut down or skip the honey. Sweet fruits like peaches or berries are often enough on their own.