
 Pin it
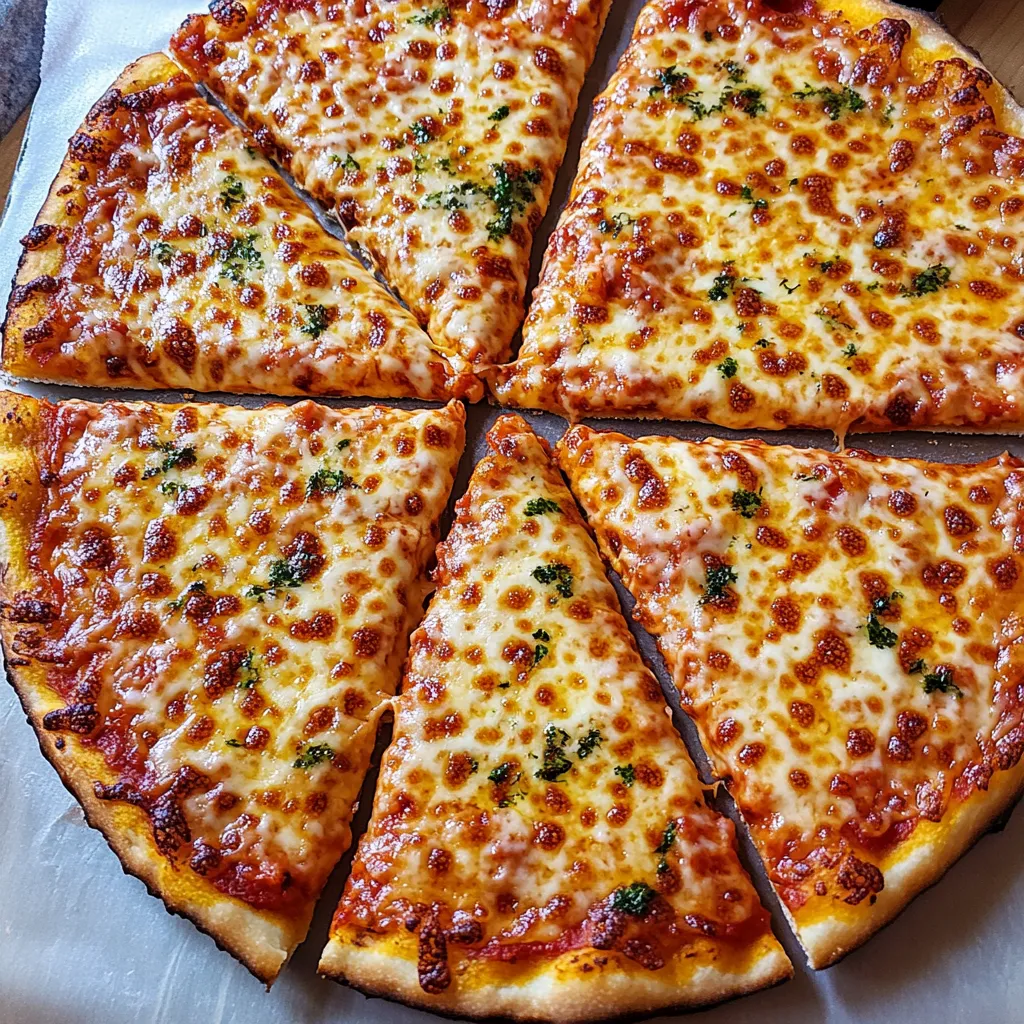
This homemade take on Massachusetts' South Shore Bar Pizza captures the essence of this regional gem—ultra-thin crust baked in a pan with crisped edges and a special three-cheese combo. It's a taste adventure that brings this local favorite straight to your kitchen, complete with that signature caramelization that fans go crazy for.
I stumbled across South Shore Bar Pizza during a vacation in Massachusetts and couldn't get it out of my head. I spent forever trying different methods until I finally cracked the code on that amazing burnt edge and special cheese mix that makes these pizzas so darn addictive.
Ingredients
- Water: At 98-100°F, this gets the yeast going and helps create just the right dough texture
- Dry active yeast: Gives your dough lift without making it too puffy for this thin style
- Granulated sugar: Feeds your yeast and helps the crust get that golden color
- All-purpose flour: Better than fancy pizza flours for nailing the authentic texture
- Extra virgin olive oil: Boosts flavor and keeps everything from sticking to the pan
- Table salt: Perks up the taste and gives your dough better structure
- Pastene California Pizza Sauce: The real deal that many original South Shore spots actually use
- Aged cheddar cheese: The secret weapon that makes this pizza totally different from others
- Fresh mozzarella: Creates those lovely stretchy cheese pulls when you take a bite
- Freshly grated Parmesan cheese: Adds richness and a salty kick to the cheese mixture
Step-by-Step Instructions
- Prepare the Yeast Mixture:
- Mix your 98-degree water with sugar and yeast in the stand mixer bowl. Let it rest 5-10 minutes until it gets foamy on top. This means your yeast is working properly, which will give your dough its amazing flavor.
- Create the Dough Base:
- With mixer running low, pour in flour and oil bit by bit. Hold off on the salt for now since it can mess with yeast activity. Adding things slowly helps everything mix well without getting too tough too soon.
- Initial Kneading:
- Run mixer at medium-low for exactly four minutes to start building dough structure. Look for dough that barely sticks to the bowl bottom. That slight stickiness means your dough has just the right moisture for a real South Shore crust. Add tiny bits of water or flour if needed.
- Add Salt and Complete Kneading:
- Now mix in the salt and keep going for another four minutes. This two-part process lets your yeast get going before salt joins the party. Your dough will feel a bit sticky but still hang together nicely.
- First Proofing:
- Put your dough in an oiled bowl, cover it up, and wait till it doubles—about two hours. During this time, flavor develops and tiny air pockets form throughout.
- Portion and Cold Ferment:
- Push down the dough to get rid of air bubbles, then split it into two 6-ounce balls. Pop each into a sandwich bag and stick them in the fridge overnight. This slow, cold process creates amazing flavors you can't get any other way.
- Prepare Cheese Blend:
- Mix all three cheeses together, cover, and chill until you need it. This combo with aged cheddar is what makes your pizza taste authentically South Shore style.
- Preheat and Setup:
- An hour before baking, crank your oven to 450°F with a pizza stone on the bottom rack. The stone gives intense heat from below for proper crust cooking. Put another rack at the top for the final cooking stage.
- Shape the Dough:
- Take dough from the fridge and roll into neat balls. Put a half teaspoon of olive oil in each pizza pan and spread it everywhere. Gently push dough toward the edges, taking breaks to let it relax. Going slow stops tears and keeps thickness even.
- Create the Edge:
- Once dough reaches the pan sides, push it up slightly, about a quarter inch high. This little wall will hold your toppings and can create that famous laced edge everyone loves.
- Add Sauce and Cheese:
- For a traditional laced edge, spread sauce all the way to the pan edge and pile it slightly on the rim, then top with plenty of cheese that'll brown during baking. For non-laced style, keep everything a bit away from the edges. Stick to the measurements given for the real deal experience.
- Two-Stage Baking:
- Start by putting pans directly on the stone for ten minutes to cook the bottom. Then move them to the top rack for another 8-10 minutes to finish. This two-position method gives you that perfect contrast between crispy bottom and beautifully browned top.
 Pin it
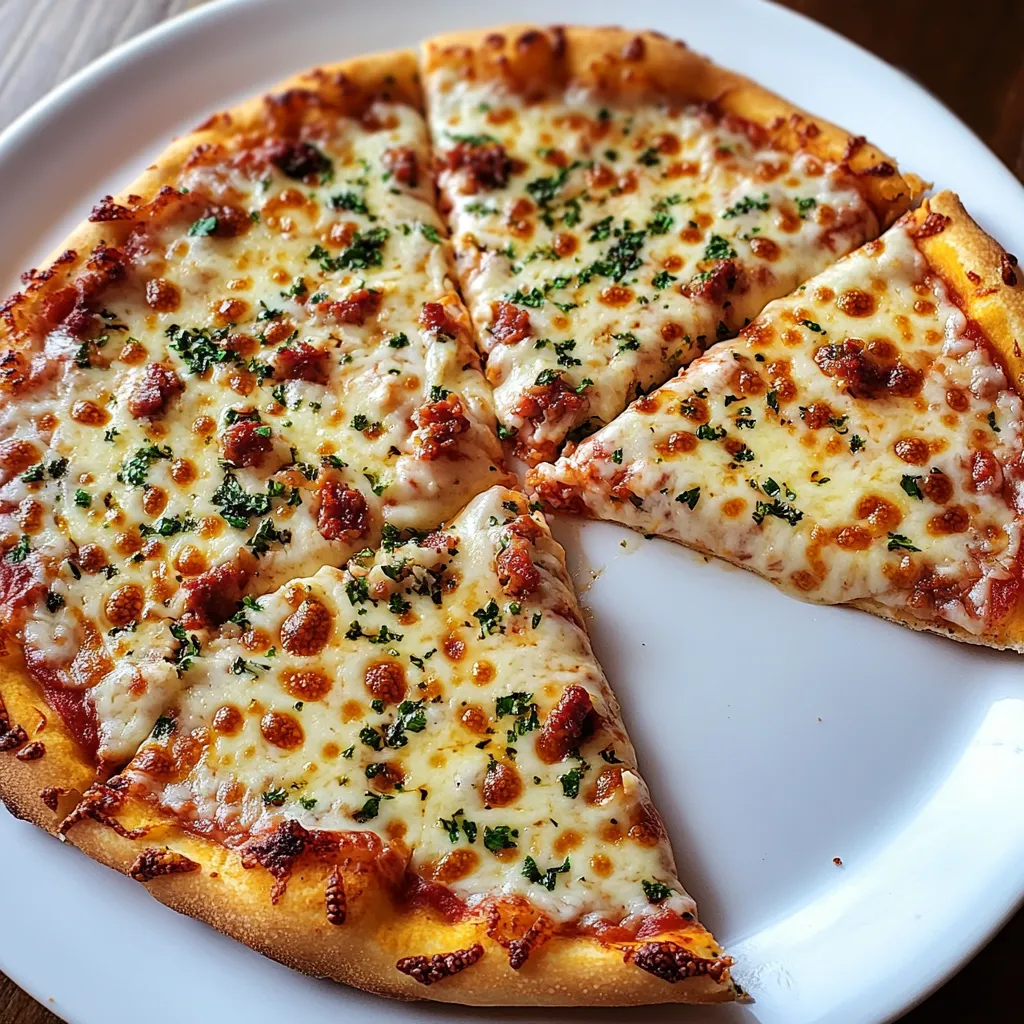
The aged cheddar really makes this pizza different from your average pie. I wasn't sure about using cheddar on pizza at first, but that first bite with its sharp flavor mixed with gooey mozzarella changed my mind completely. Now my family asks for this pizza almost every other week.
The Laced Edge Phenomenon
When people talk about South Shore Bar Pizza, they're often raving about that laced edge where cheese and sauce deliberately spill over to form a crunchy, caramelized border. This technique creates an intense flavor burst around the outside that many fans think is the pizza's best feature. The trick is spreading sauce right up to the edge and letting cheese touch the hot pan while cooking. You'll get an amazing crispy rim that contrasts perfectly with the softer middle.
Making Ahead Options
The dough needs overnight chilling, but you can actually keep it in the fridge up to three days for even deeper flavor. You can also shape the pizzas in their pans hours before cooking and store them in the fridge, which makes this perfect for planning ahead for gatherings. You can mix the cheese blend up to two days early, though freshly grating everything just before you combine them gives the best melt and flavor.
Regional Variation: The Pizza Topper
South Shore bars typically serve this pizza with a little cup of cold, sweet tomato sauce called a pizza topper. Some folks dip their slices in it while others pour it right on top. To whip up your own topper, stir together 1/4 cup tomato puree, 1 tablespoon sugar and a tiny bit of oregano. Serve it cold alongside your pizzas for the full South Shore pizza experience.
 Pin it
With this recipe, you'll bring the true flavor of South Shore Bar Pizza with all its special qualities right into your own home.
Frequently Asked Questions
- → What makes South Shore Bar Pizza different from regular pizza?
Shore Bar Pizza stands out with its extra thin crust, pan-cooking method, and golden brown edges. It uses a special mix of aged cheddar, fresh mozzarella, and Parmesan cheese instead of just mozzarella. The 'laced' style, where cheese and sauce purposely brown around the edges, creates that crunchy finish that makes this local specialty so popular.
- → What does 'laced' mean for South Shore Bar Pizza?
'Laced' means the sauce and cheese are spread all the way to the pan's edge on purpose, so they bubble over a bit and turn golden during cooking. This makes crunchy, darker edges that many folks think are the tastiest part. When making laced pizza, pile the sauce higher at the edges and add extra cheese to those spots for better browning.
- → Why does the dough need to rest overnight?
Letting the dough chill overnight in the fridge allows for slow bubbling, which builds better flavors and improves how it feels. This cold resting makes the dough easier to handle when you stretch it into the pan and gives you a tastier crust with just the right chew and structure.
- → Can I use pre-shredded cheese for this pizza?
For the real deal, don't use pre-shredded cheese since it has additives that stop it from melting nicely. The recipe calls for grating fresh mozzarella yourself and using certain aged cheddar for the best taste and melt. The cheese mix is super important for getting that true Shore Bar Pizza flavor and feel.
- → What's the purpose of using a pizza stone for this style?
The pizza stone gives strong heat from below that helps make the crispy bottom you want in Shore Bar Pizza. The stone keeps a steady high heat and soaks up moisture from the dough, which you need for the right crust. Cooking it first on the bottom rack then moving to the top lets both the crust form right and the cheese brown perfectly.
- → What toppings work best on South Shore Bar Pizza?
While many folks enjoy it with just the cheese mix to really taste the crust, common add-ons include pepperoni, linguica (a Portuguese sausage popular nearby), mushrooms, or onions. Don't pile on too many toppings or you'll lose the thin-crust feel and it won't cook evenly. Some local pizza places offer a 'bar pie special' with several toppings, but most people prefer the cheese-focused approach.