
 Pin it
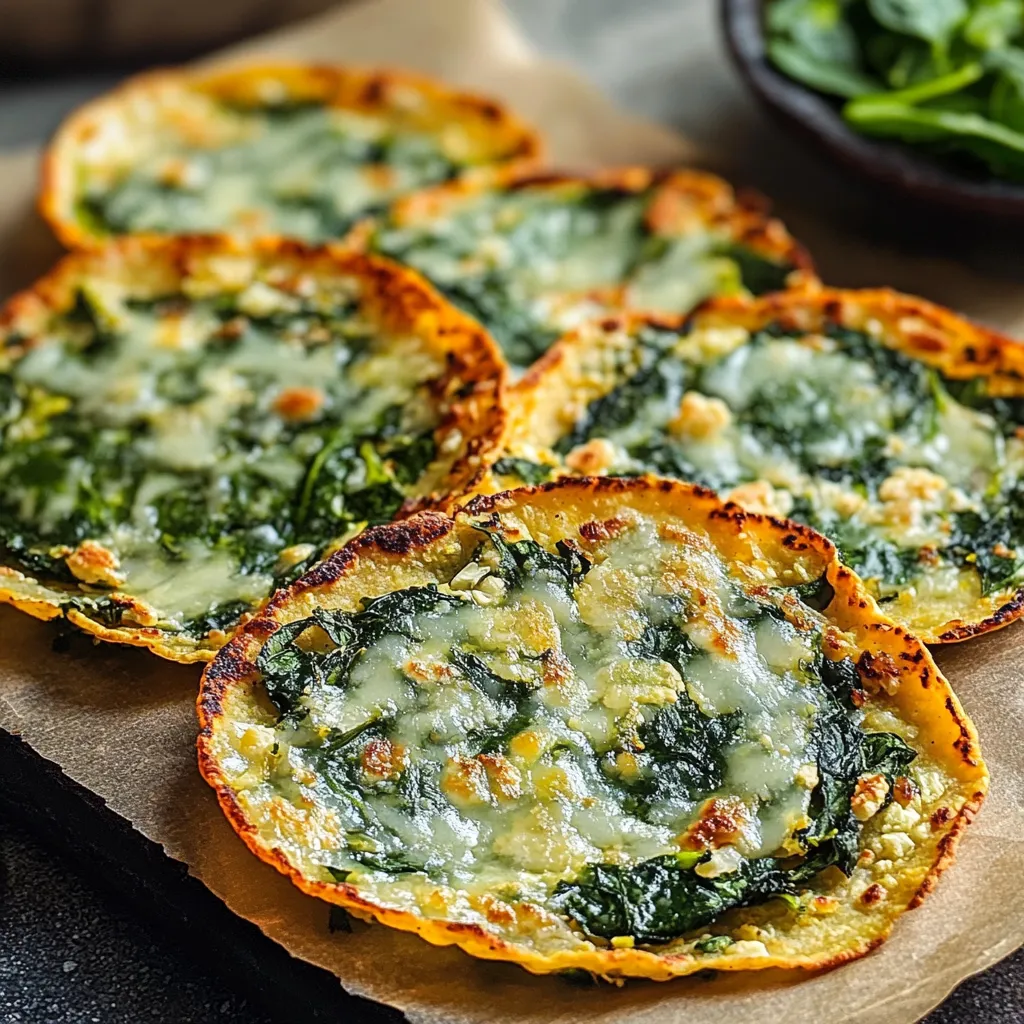
These Cauliflower Spinach Taco Shells turn ordinary veggies into flexible carriers for your taco toppings. The subtle, nutty cauliflower flavor works great with the earthy spinach, making a healthy base that's tough enough to hold fillings but soft enough to fold. Each shell gives you the right mix of veggie goodness and cheesy delight, with just enough garlic to enhance whatever fillings you pick.
Ingredients
- Cauliflower (1 Medium Head, Riced): Forms the light, healthy foundation with a gentle taste.
- Fresh Spinach (1 Cup, Finely Chopped): Brings vibrant color, health benefits, and a gentle earthiness.
- Large Eggs (2): Act as the glue that holds everything together for just the right feel.
- Shredded Mozzarella Cheese (½ Cup): Gives that gooey, creamy goodness we all love.
- Salt (½ Teaspoon): Brings out the true taste of everything else.
- Black Pepper (¼ Teaspoon): Adds a touch of heat and complexity.
- Garlic Powder (½ Teaspoon): Packs each mouthful with that can't-resist savory kick.
Step-by-Step Instructions
- Preheat the Oven
- Heat your oven to 375°F (190°C) and put parchment paper on a baking sheet.
- Prepare the Cauliflower
- Buzz cauliflower in a food processor until rice-like, microwave for 5 minutes, then squeeze out the extra water.
- Mix the Ingredients
- Stir together the riced cauliflower, chopped spinach, eggs, mozzarella, salt, black pepper, and garlic powder.
- Shape the Shells
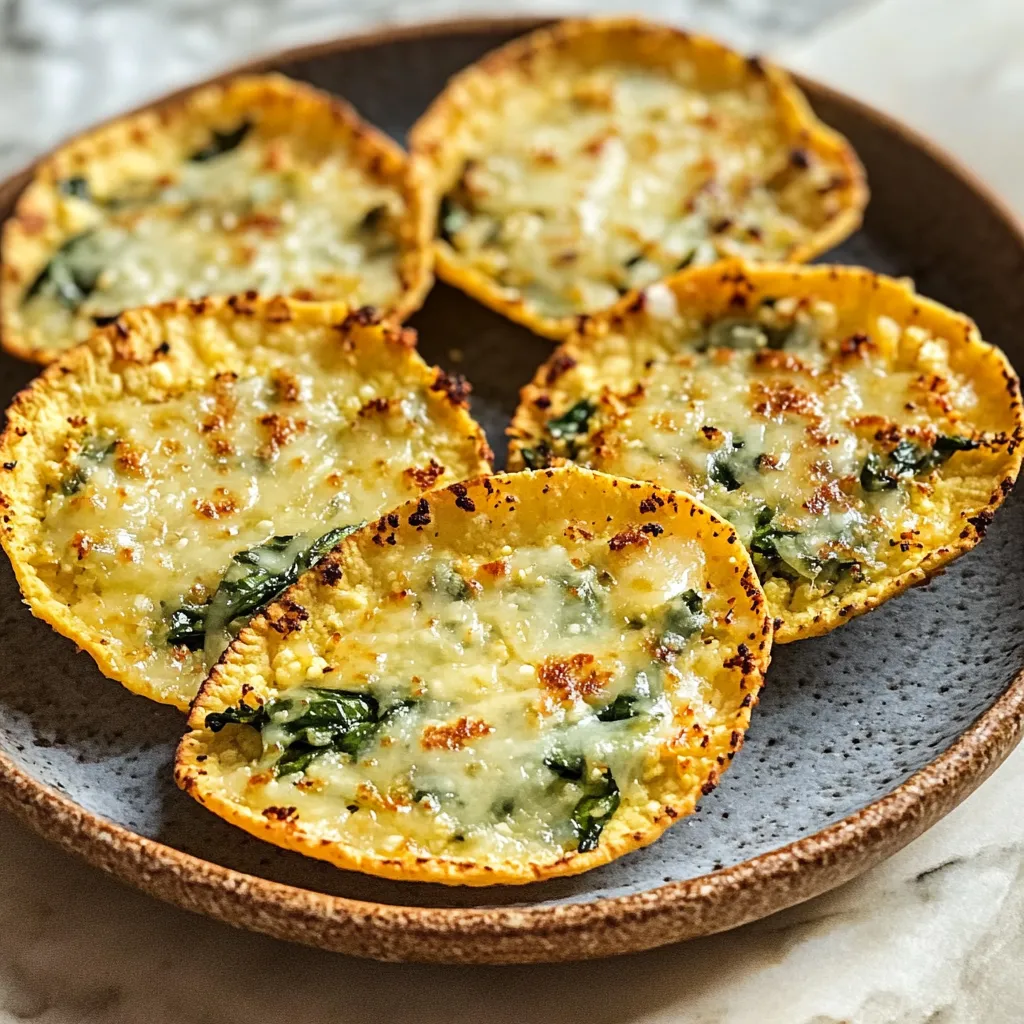
- Spread the mix into 6-inch circles on your lined baking sheet.
- Bake Until Firm
- Cook for 15-20 minutes till they look golden brown.
- Cooling Period
- Let them sit for 5 minutes before peeling off the parchment paper.
 Pin it
Beyond Taco Tuesday
Don't just use these for tacos. They're great for breakfast wraps, low-carb pizza bottoms, or instead of bread for sandwiches. Their mild taste works with lots of different foods, making them super handy in the kitchen.
The Make-Ahead Magic
You can keep these shells in the fridge up to five days or freeze them with parchment paper between each one for easy warming later. This makes planning meals simple and gives you a quick, healthy choice anytime.
Unexpected Entertaining Hero
They're great for dinner parties where guests have food restrictions, offering a tasty gluten-free, keto-friendly option that everyone will enjoy, even those without diet needs.
Seasonal Adaptations
Switch up the flavors with the seasons by throwing in fresh herbs, sun-dried tomatoes, or cozy spices to match different fillings throughout the year.
 Pin it
I found this idea when looking for gluten-free options my husband could eat. After getting the method just right, my kids now get excited when they spot cauliflower in our shopping cart. It shows that veggies can be both good for you and tasty too!
Frequently Asked Questions
- → Why do I need to remove water from the cauliflower?
- To get crunchy shells that don't break apart, you gotta squeeze out the extra water. If you skip this, they'll stay soft and might fall apart when you fill them.
- → Can I prep the shells early?
- Yep, these shells can be made up to two days ahead. Keep them in the fridge in a sealed container with parchment between them. Heat them up in a 350°F oven for 5–7 minutes to crisp them back up.
- → What fillings go best with these wraps?
- These wraps pair well with all sorts of toppings! Use ground turkey, seasoned beef, grilled veggies, or even black beans and avocado. Add salsa and some yogurt for a tasty, healthier twist.
- → Are these freezer friendly?
- Totally! Freeze them for up to three months by placing them flat on a sheet pan first. Then layer them with parchment paper in a freezer bag. Reheat straight from frozen in a 375°F oven for 10–12 minutes.
- → What’s a good sub for mozzarella cheese?
- Use any cheese that melts well, like Monterey Jack or cheddar. If you need a dairy-free swap, try plant-based cheese, but you might need to add almond flour to help it all stick together.