
 Pin it
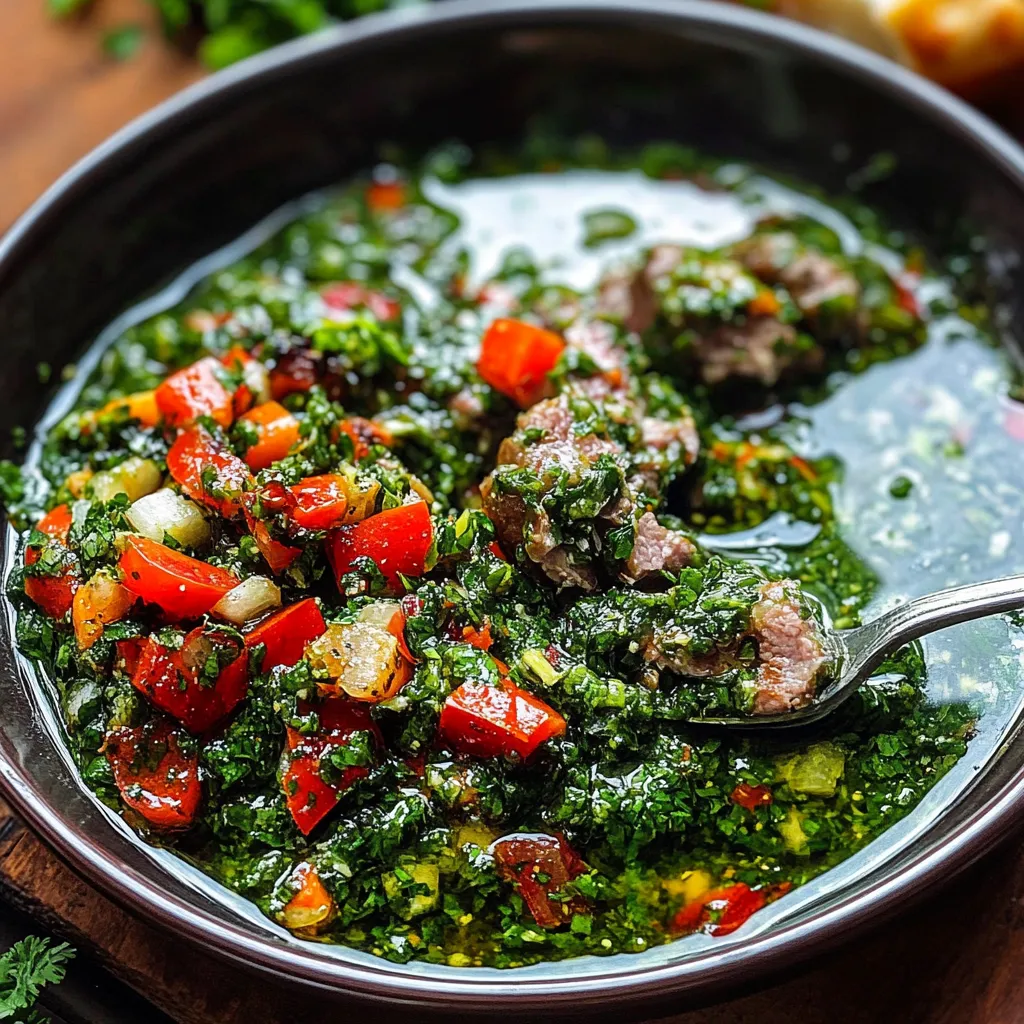
This genuine Chiles Rellenos dish turns mild poblanos into cheese-filled, crispy-coated treats that bring real Mexican taste straight to your table. You'll love how the crunchy outer layer, soft pepper, and gooey cheese work together in a mouthwatering combo that's totally worth the prep time.
I picked up this Chiles Rellenos technique from my friend's grandma who always blackened her peppers over an open flame. The first time I made these for company, everyone went quiet for a whole minute before they started raving about them.
Ingredients
- 6 poblano peppers: Blackened fresh peppers give you that true flavor base
- 1 cup all-purpose flour: Makes the first layer that helps the egg mix stick well
- 1 teaspoon salt: Brings out the pepper's taste and works with the cheese
- ½ teaspoon pepper: Adds a bit of kick without fighting against the poblanos
- ½ teaspoon oregano: Brings in that earthy touch common in Mexican dishes
- 1 teaspoon garlic powder with parsley: Makes the coating more flavorful
- 4 eggs, separated: This is what makes that special puffy coating
- ½ cup diced onion: Gives a nice sweet crunch in the filling
- 8 oz crumbled queso fresco: This real Mexican cheese keeps its shape when hot
- 8 oz shredded mozzarella: Gets all stretchy and melty when you cut in
- Oil for frying: Go with something plain like vegetable or canola that can get really hot
Step-by-Step Instructions
- Char the Peppers:
- Put poblanos on a hot griddle for 15-20 minutes, turning them now and then until they're black all over. This doesn't just make peeling easier—it adds that smoky taste that makes real Chiles Rellenos so good.
- Steam and Rest:
- Put the blackened peppers in a plastic bag and close it tight. Let them sit for 15-20 minutes. The heat gets trapped inside, helping the skin come off the pepper and cooling them enough to handle.
- Prepare Coating Mixture:
- Mix flour, salt, pepper, oregano, and garlic powder in a flat dish. This tasty flour mix not only adds flavor but also helps the egg coating stick to the peppers when you fry them.
- Peel the Peppers:
- Take the peppers out of the bag and softly rub off the black skin. Be gentle so you don't tear them—holes make stuffing harder. When done, they should be deep green and slightly soft.
- Create Opening and Clean:
- Cut one line down each pepper from top to bottom. Open them up and use a spoon to scoop out all seeds and ribs. Most of the heat lives in these parts, so cleaning them well makes your dish milder.
- Stuff with Filling:
- Put about ¼ cup queso fresco in each pepper, then a spoonful of diced onion, topped with ¼ cup mozzarella. Spread the filling evenly inside without putting too much, which might split the pepper during cooking.
- Close Peppers:
- Gently push the cut sides together to keep the filling in. The pepper's natural shape helps it stay closed. Be careful since the peppers get fragile after roasting and peeling.
- Prepare Egg Batter:
- Beat egg whites with a mixer until soft peaks form, making them light and fluffy. Then gently mix in the yolks without stirring too much. This gives you that fluffy, puffy crust that covers the stuffed pepper.
- Heat Frying Oil:
- Heat up 1.5 inches of oil in a big pan to about 350°F. Getting the right temperature matters—too cold and the coating soaks up too much oil, too hot and the outside burns before the cheese melts.
- Flour Coating Application:
- Roll each stuffed pepper in the flour mix, making sure it's covered everywhere including the stem and along the seam. The flour works like glue for the egg batter during frying.
- Apply Egg Batter:
- Dunk each floured pepper in the whipped egg mix, using a spoon to cover it completely. The batter should stick to the flour in a thick, even layer that'll puff up nicely while cooking.
- Fry to Perfection:
- Carefully put the coated peppers into hot oil, cooking 2-3 at a time so they're not crowded. Fry for about 3 minutes per side until they're golden brown and puffy. The batter grows and wraps around the pepper as it cooks.
 Pin it
When I first watched my buddy's grandma make these, she told me properly blackened peppers were the heart of the dish. She would gently squeeze each pepper after steaming—if it gave a little under her fingers, it was roasted just right.
Choosing the Right Peppers
Poblanos are the go-to for Chiles Rellenos because they're the perfect size with just a bit of heat. Try to find firm ones with smooth skin and rich green color. Good peppers feel heavy for their size and have straight, strong stems that make them easier to work with. If you want something milder, try pasilla peppers instead, or go with Anaheim peppers if you want more kick.
The Art of Charring
The stovetop method in this recipe works great, but you can also blacken your peppers under the broiler. Just put them on a foil-covered baking sheet about 4 inches from the heat, turning every few minutes until they're black all over. This works well when you're making a big batch. No matter how you do it, getting them really black is key—it makes the skins come off easily and adds that smoky flavor everyone loves.
Serving Suggestions
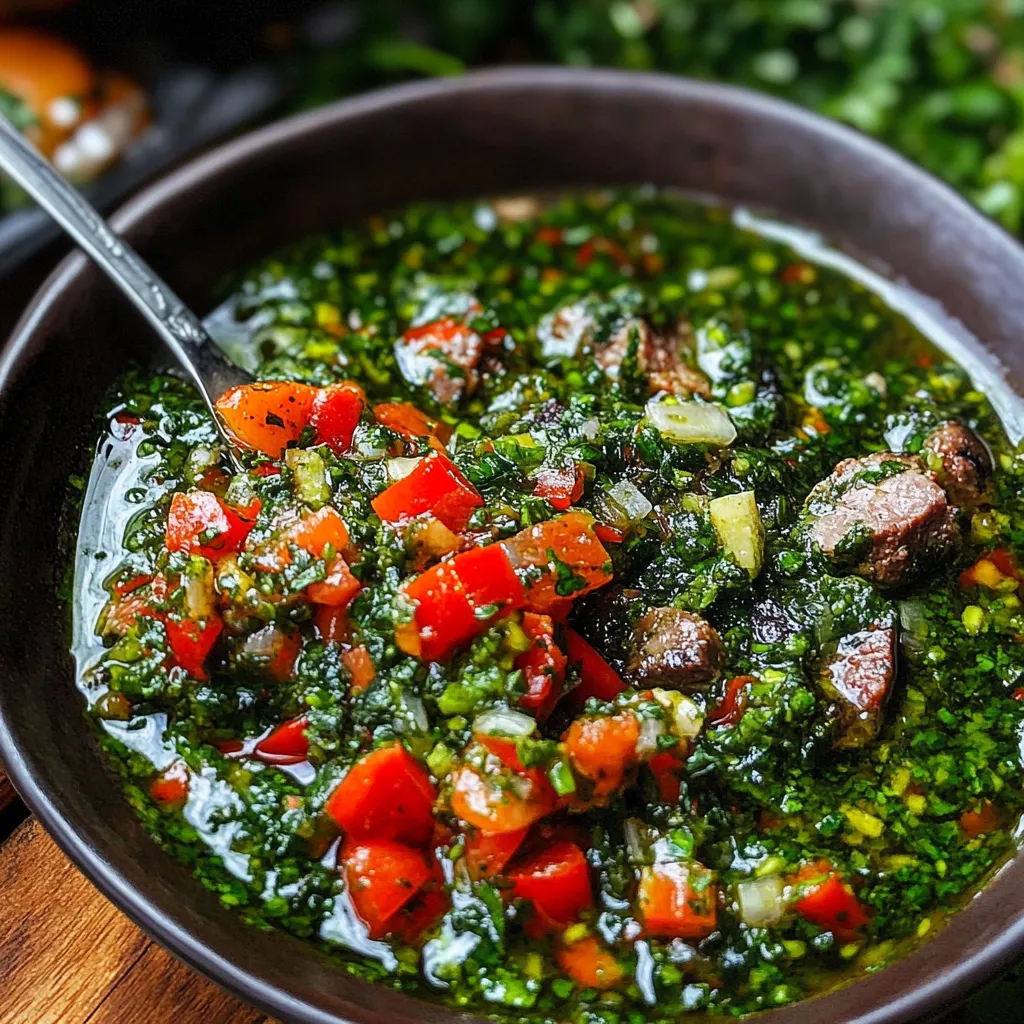
Most folks serve Chiles Rellenos with basic tomato sauce, but they're just as good with green salsa or a drizzle of Mexican sour cream. For a full meal, add some Mexican rice and refried beans on the side. These stuffed peppers work great as the main dish for dinner parties but can also join enchiladas or tacos in a bigger Mexican feast. Everyone loves how the crispy coating contrasts with the melty cheese inside.
 Pin it
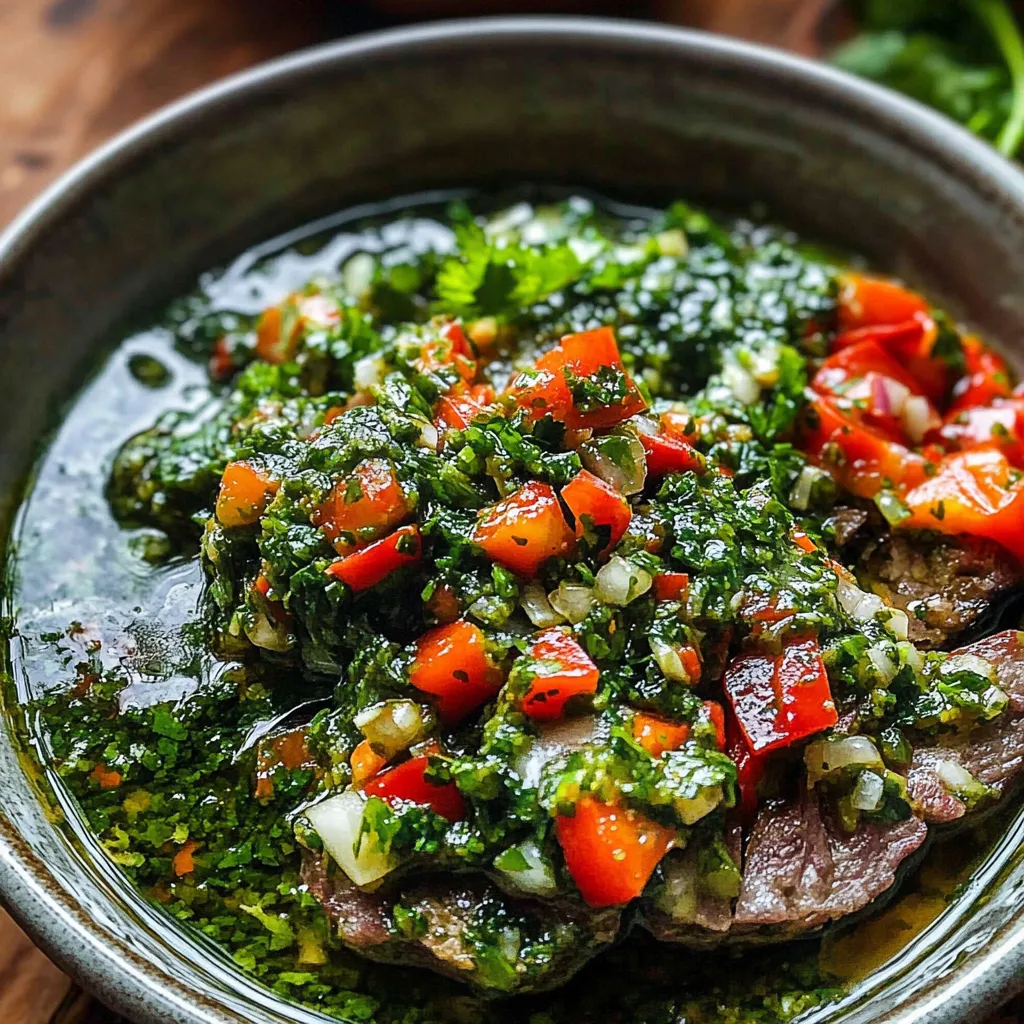
These homemade Chiles Rellenos are loaded with more cheese and have a lighter texture than what you usually find—everyone will want another helping.
Frequently Asked Questions
- → Can I use different peppers for Chiles Rellenos?
Absolutely! Poblanos are the go-to choice, but pasilla peppers work great too. If you want something milder, try bell peppers. Anaheim or Hatch chiles give you different tastes altogether. Just make sure they're big enough to stuff with cheese.
- → How do I know when my peppers are properly charred?
You'll see blackened, bubbly skin all over your peppers when they're done right. This usually takes about 15-20 minutes on medium-high heat, and you'll need to turn them now and then. This step makes the skin come off easily and adds that nice smoky flavor everyone loves.
- → What cheeses work best for the filling?
The classic combo is queso fresco with a melty cheese like mozzarella. But you can also try Oaxaca, Chihuahua, or Monterey Jack cheese. You want something that has good flavor but will also get all gooey when heated up. Many cooks mix two types for the best results.
- → Why separate the eggs for the batter?
When you beat the whites separately, you get this amazing puffy coat that expands during frying. It's an old technique that makes the outside light and airy instead of heavy and thick. This way the pepper and cheese flavors really stand out and aren't buried under too much batter.
- → How can I keep the stuffed peppers closed during cooking?
You can gently press the edges together as mentioned, but toothpicks are your friend here. Just stick them sideways through where you cut the pepper to hold everything inside while you're working with the batter and during frying. Don't forget to take them out before you serve your meal!
- → Can I prepare any parts of this dish ahead of time?
You can definitely do some prep work early. The peppers can be roasted, peeled and stuffed a day before and kept in your fridge. Your flour mix can be made ahead too. But wait to make that egg coating until right before frying. Fresh batter puffs up much better and gives you that perfect crispy outside.