
 Pin it
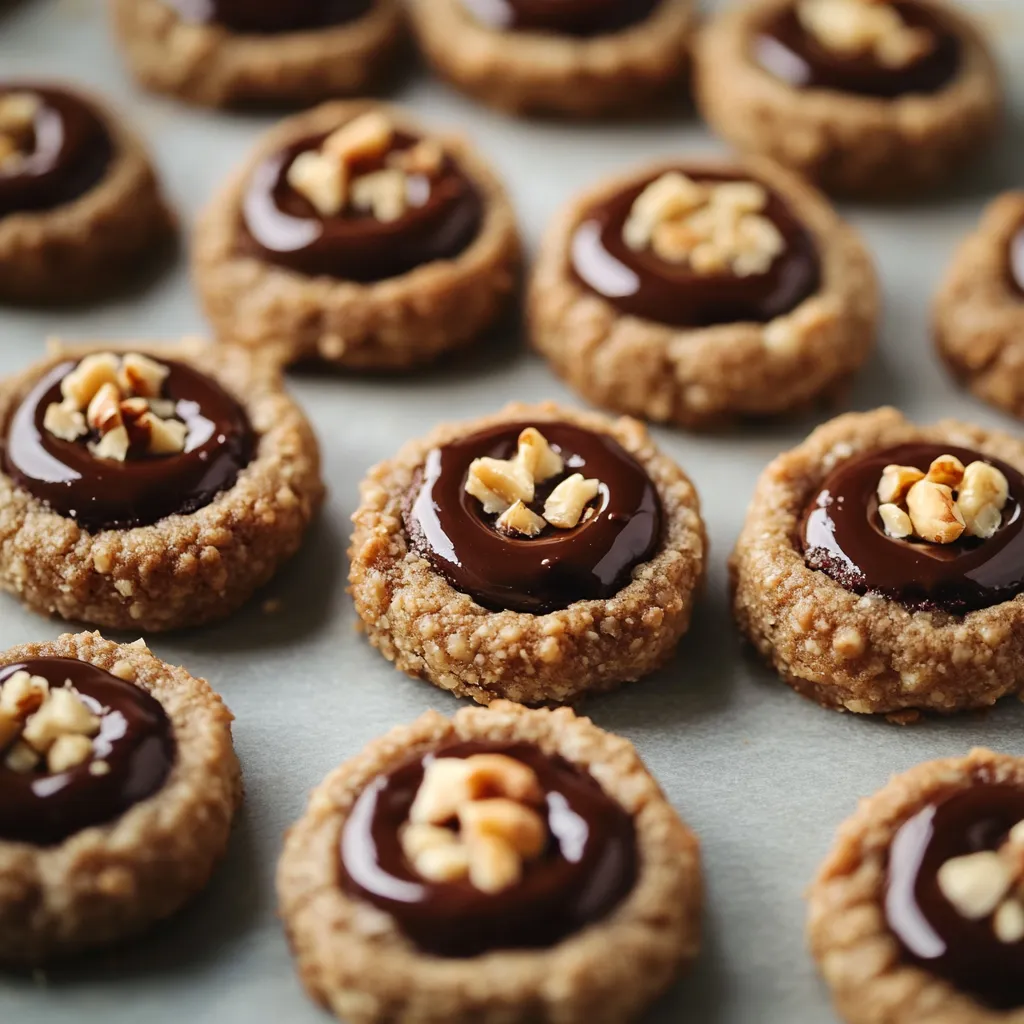
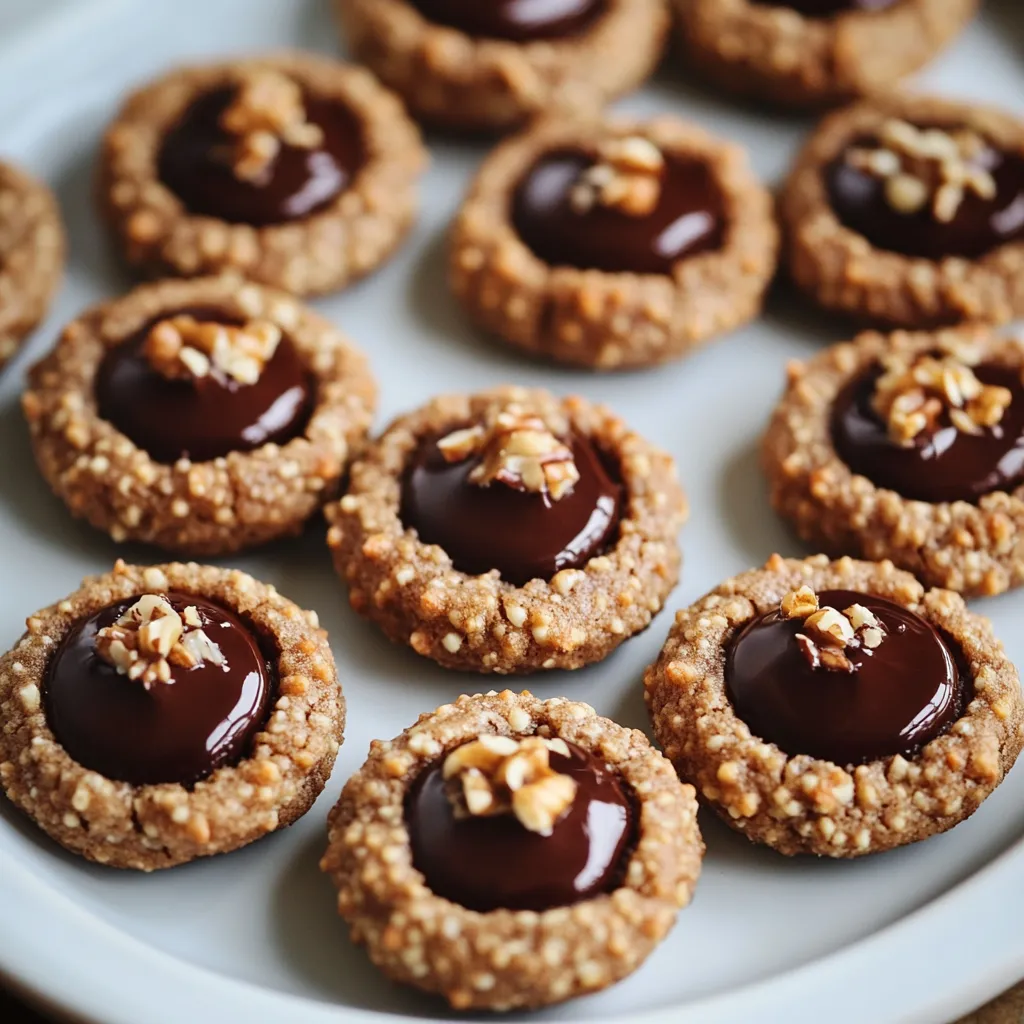
These buttery thumbprints packed with smooth chocolate hazelnut filling will win you over instantly. The mix of cocoa dough with creamy Nutella gives you a double-chocolate treat that's just right for holiday gatherings or when you feel like baking on the weekend.
I stumbled on this recipe during one crazy Christmas season, and these cookies quickly turned into my go-to for wowing visitors. Watching someone's face light up when they taste that chocolate hazelnut center makes all the fuss totally worth it.
What You'll Need
- Unsalted butter: let it warm up completely so it mixes smoothly with the sugar for the best cookie feel
- Granulated sugar: adds the perfect sweetness that doesn't fight with the chocolate flavors
- Vanilla extract: makes both the chocolate and hazelnut tastes pop throughout
- All purpose flour: gives these cookies their backbone - nothing fancy needed
- Cocoa powder: go for Dutch processed to get a deeper, more intense chocolate base
- Salt: don't skip this - it wakes up the sweetness and makes the chocolate shine
- Finely chopped hazelnuts for rolling: brings amazing crunch and boosts the nutty flavor
- Chocolate hazelnut spread: Nutella works great as filling that stays a bit gooey after cooling
- Whole hazelnuts for garnish: they're optional but look pretty and show what's inside
Foolproof Directions
- Get Everything Ready:
- Warm your oven to 350°F and put parchment on your cookie sheets. This stops sticking and makes cleanup super easy. Set out all your stuff before you start so you won't be scrambling around.
- Mix Your Base:
- Beat your room-temp butter and sugar until it looks fluffy and pale, about 3 minutes with your mixer. This puts air in your dough for softer cookies. Drop in the vanilla and mix another 30 seconds to spread the flavor everywhere.
- Handle Dry Stuff:
- Mix flour, cocoa, and salt in another bowl until they're completely blended. You might want to sift the cocoa first to break up any chunks for smoother dough.
- Blend Everything:
- Add your dry mix to the butter mixture in three batches, mixing just enough each time. Don't go crazy here or your cookies will get tough. Your finished dough should feel firm but not hard.
- Form Your Cookies:
- Roll the chocolate mix into 1-inch balls that are all about the same size. The dough will feel sticky, so work fast. Then roll each one in chopped hazelnuts, pressing them in gently.
- Make Thumbprints:
- Push your thumb or a spoon into each ball to make a little cup for the filling. Go deep but don't punch through to the baking sheet. Make sure it's big enough to hold plenty of filling.
- Watch While Baking:
- Keep an eye on them in the oven. They should get firm around the edges but stay a bit soft in the middle. It's better to take them out too soon than too late if you're not sure.
- Add Your Filling:
- Right after baking, check your dents and make them deeper if needed while the cookies are still soft. Let them cool a bit before adding the Nutella, but do it while they're warm enough so it melts slightly into the hole.
 Pin it
The hazelnuts really turn these cookies from okay to amazing. My nonna always told me to toast the nuts before chopping them to bring out their flavor. I can still picture her watching them in the oven, saying a perfect hazelnut should smell wonderful but never taste burnt.
Keeping Them Fresh
These thumbprints actually taste better the next day. The flavors come together over 24 hours, so making them a day ahead works great. Keep them in a sealed container at room temp with parchment between layers so they don't stick. If you need to store them longer, they freeze well for up to 3 months. I'd freeze them without the Nutella inside, then thaw and fill them before serving for the best results.
Other Filling Options
While Nutella gives you that classic taste, these cookies work with lots of different fillings. Try using salted caramel for a sweet-salty mix that's really good. Raspberry or cherry jam gives a nice fruit contrast to the chocolate base. For Christmas, white chocolate with a tiny bit of peppermint makes a cookies-and-cream type treat kids really go for. The cookie itself is strong enough to hold whatever filling you want to try.
Tweaks For Dietary Needs
If someone can't eat nuts, you can easily change these cookies. Skip the hazelnuts and roll them in chocolate sprinkles or cocoa powder instead. Use chocolate ganache or marshmallow fluff instead of Nutella. The cookie dough doesn't have nuts in it and works fine with these swaps. For friends who can't have gluten, I've used gluten-free flour blend in place of regular flour, though they do come out a bit more fragile.
 Pin it
You'll find these cookies becoming a regular treat in your home, bringing both comfort and fancy vibes in every mouthful.
Frequently Asked Questions
- → Can I use other nuts instead of hazelnuts?
You can totally swap hazelnuts for almonds, walnuts or pecans. The cookies will taste a bit different but still turn out yummy. Just chop your chosen nuts into small pieces for the outside coating.
- → How do I store these cookies?
Keep them in a sealed container at room temp for up to 5 days. Put some baking paper between layers so they don't stick together. If you need them to last longer, freeze the cookies without the filling and add the chocolate spread after they thaw out.
- → Can I make the dough ahead of time?
You sure can! Make your dough up to 3 days early and keep it covered in the fridge. Or freeze it for up to 3 months if you want. Just let chilled dough warm up a bit before you start shaping your cookies.
- → What if I don't have chocolate hazelnut spread?
Try melted chocolate chips mixed with a little heavy cream instead. Or go for fruit jam, caramel, or dulce de leche if you want something different but still super tasty.
- → Why did my cookies spread too much during baking?
Your butter might've been too soft. It should be easy to press but still cool when you touch it. You can also pop the shaped cookies in the fridge for 15-20 minutes before baking so they hold their shape better.
- → How do I know when the cookies are done baking?
Look for cookies that feel set around the edges but still a little soft in the middle after about 12-14 minutes. They'll firm up more as they cool down. It's always better to take them out a tiny bit early than leave them in too long and dry them out.