
 Pin it
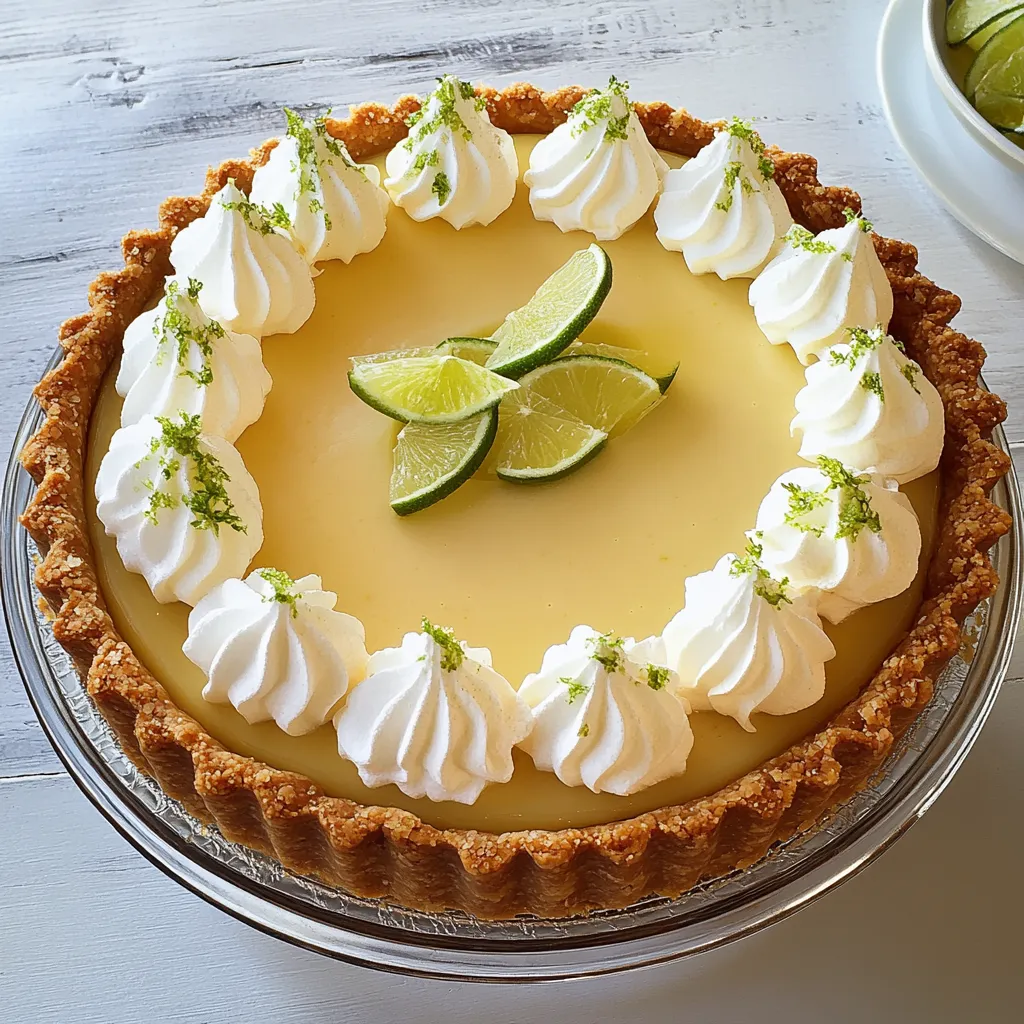
This tangy-sweet key lime treat follows Gordon Ramsay's method, blending zesty citrus with smooth creaminess in each mouthful. The DIY graham base perfectly supports the fluffy, light filling that packs a punch with fresh lime flavor.
I came across this gem while hosting a backyard get-together when I wanted something cool but fancy. Everyone loved the bright citrus taste so much that it's become my go-to when I have people over.
Ingredients
- Graham crackers crumbs: Makes a tasty buttery base that works great with the zingy filling
- Unsalted butter: Holds the crust together and lets you manage the salt level
- Egg yolks and whites: Gives shape while keeping everything nice and fluffy
- Sweetened condensed milk: Adds richness and balanced sweetness that isn't too much
- Fresh lime juice: Brings that bold tangy kick – real Key limes taste most genuine
- Lime zest: Boosts the citrus punch and adds pretty green flecks
- Heavy cream: Makes a cloud-like topping that cuts through the tang
- Confectioners sugar: Sweetens your whipped topping without any gritty texture
- Vanilla extract: Gives extra flavor to the creamy topping
Step-by-Step Instructions
- Prepare the crust:
- Combine graham crumbs with melted butter until it looks like damp sand. Push this mix firmly into your pie dish, using a measuring cup bottom to smooth it evenly across the bottom and up the sides. You want it roughly 1/4 inch thick everywhere. Bake at 160°C for 15 minutes until slightly golden and firm. Let it sit for 10 minutes before you add anything else.
- Create the filling base:
- Beat egg yolks and whole egg hard for 2 minutes until they thicken and turn pale yellow. This puts air in to make your filling fluffier. Keep whisking while you slowly add condensed milk, then mix in lime juice and zest. You'll notice it getting thicker right away from the acid.
- Incorporate the egg whites:
- In another clean bowl, whip the egg whites with an electric mixer at medium-high for about 3 minutes until they form peaks that don't droop. Gently fold these into your lime mixture with a figure eight motion using a rubber spatula. Don't stir too much or you'll lose all the fluffiness.
- Bake the pie:
- Pour everything into your cooled crust and smooth the top flat. Bake for 13-15 minutes, watching carefully toward the end. It's done when it's just set but still wobbles slightly in the middle. If you cook it too long, it'll crack. Cool it completely at room temp, then chill in the fridge for at least 6 hours.
- Finish with whipped topping:
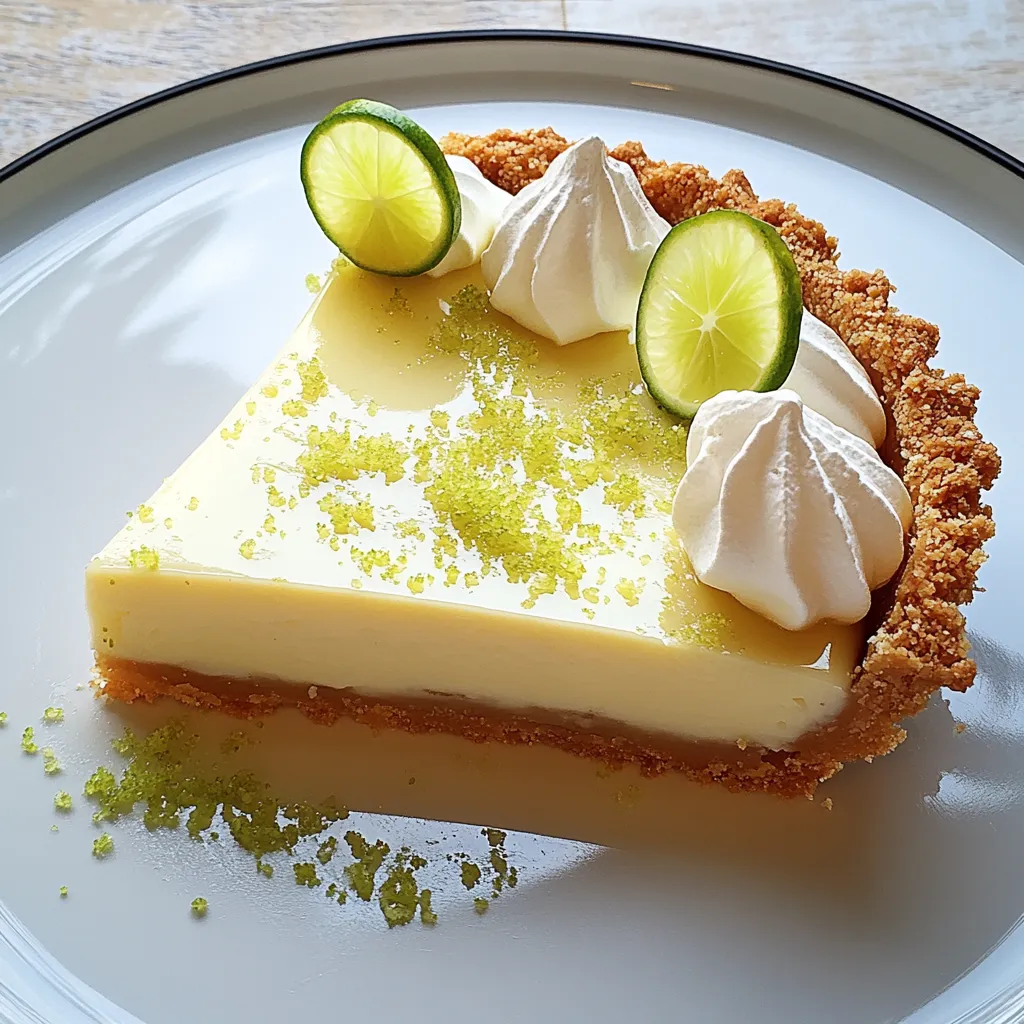
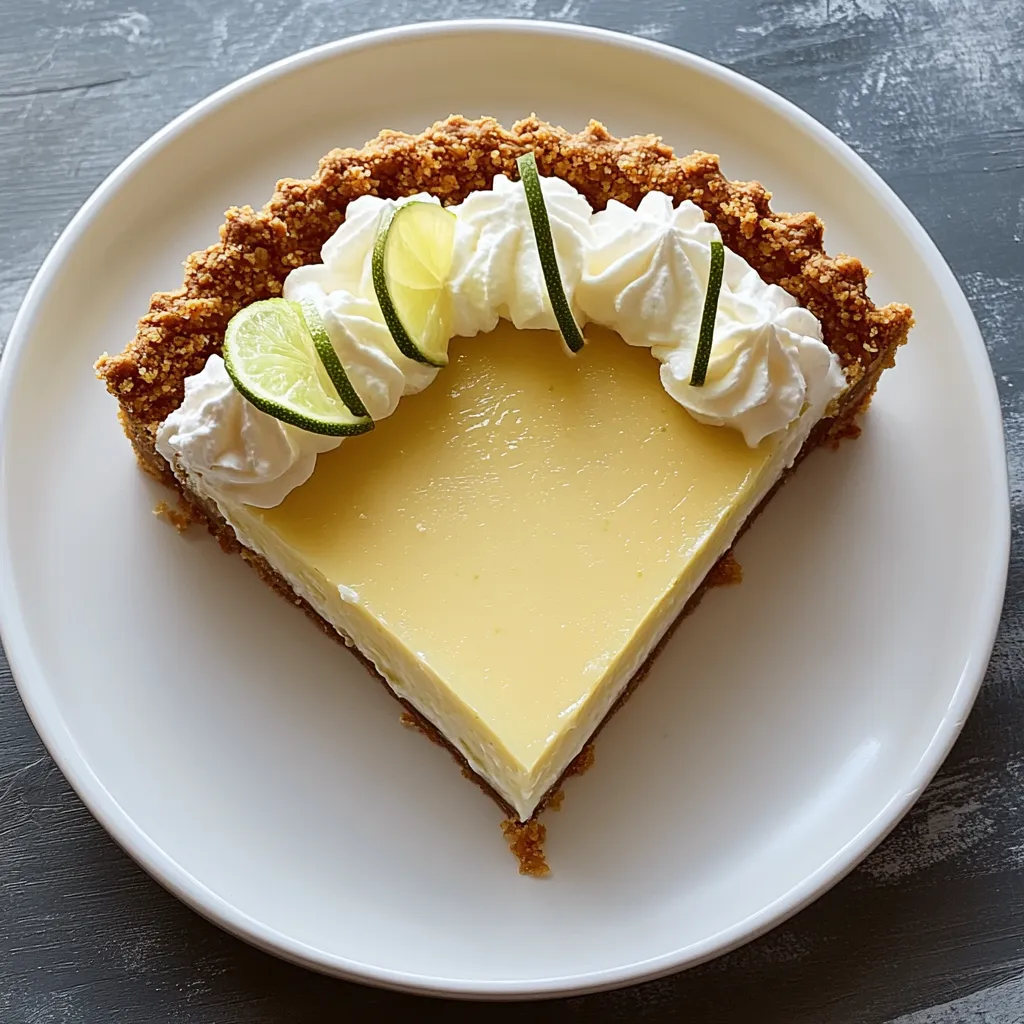
- Right before you serve, whip cold heavy cream with powdered sugar and vanilla until it forms soft peaks that gently curl when you lift the beater. This usually takes around 3 minutes. Spread or pipe this on your chilled pie and top with extra lime zest and thin lime slices.
 Pin it
I always count on lime zest as my hidden trick in this recipe. The first time I made this without it, it tasted good but kinda boring. Throwing in that extra spoonful of zest changed everything, adding bright scents that make people smile and close their eyes when they take their first bite.
Nailing Your Crust
The graham cracker base sets the stage for this dessert, so it's worth getting right. For the nicest texture, crush store-bought graham crackers in a food processor until they're fine and uniform. Make sure your butter is fully melted but not hot when you mix it in. Pack the mixture down hard in your pie dish, making an even layer with slightly thicker edges. This stops the crust from breaking apart when you cut slices later. If your mixture seems too crumbly and won't stick together, just add another tablespoon of melted butter.
The Magic of Key Limes
Real Key limes are quite different from the big Persian limes you normally see at stores. They're smaller, smell stronger, and have a special flavor that's both sweet and sour in just the right way. If you can get fresh Key limes, they're worth the trouble of squeezing even though they're tiny. A pound gives you about half a cup of juice. If you can't find Key limes, regular ones work fine too, though they'll taste a bit different. Bottled Key lime juice can work if you're in a hurry, but always grate fresh lime peel instead of using dried stuff for the brightest flavor.
Serving Suggestions
This key lime pie looks gorgeous and tastes even better with the right extras. Serve it cool but not super cold so you can really taste all the flavors. For a fancy touch, add a little fresh mint beside each piece. It goes great with coffee or an after-dinner drink. If you want a bigger dessert, put a small scoop of vanilla ice cream on the side. In summer, try putting the pie in the freezer for half an hour before serving for a super refreshing treat. Always cut with a warm, clean knife and wipe it off between slices for perfect-looking pieces.
 Pin it
Try this key lime pie next time you need something special, and watch how your guests can't stop talking about it and asking how you made it!
Frequently Asked Questions
- → Can I use regular limes instead of Key limes?
Sure thing! Regular limes work fine in place of Key limes. Just know the taste will be a bit different since Key limes have a stronger smell and tang. When using regular limes, maybe cut back on the juice a little bit (try about ¼ cup) as they're usually more sour.
- → Why do I need to refrigerate the pie for so long?
The long chill time of 6 hours or overnight helps everything firm up properly and lets all the flavors mix together. This waiting step makes sure your pie has the right firmness and spreads that lime kick throughout every bite.
- → Can I make this pie ahead of time?
You bet! This dessert is great for prepping early. You can make the base and filling up to two days before you need it and keep it cold. Just add the whipped topping and fancy lime bits right before you serve it so everything looks fresh.
- → Why do we beat the egg whites separately?
Whipping those egg whites until they're stiff and then gently mixing them in makes the filling super light and fluffy. This trick isn't in all lime pie recipes, but it gives you a less heavy dessert with a subtle airy quality.
- → What can I use if I don't have graham crackers?
No graham crackers? Don't worry! You can swap in digestive biscuits, vanilla wafers, or even spicy ginger cookies. Just crush them up really well and follow the rest of the steps the same way.
- → How do I know when the pie is properly baked?
Your pie is ready when the outer parts don't jiggle but the middle still wobbles a tiny bit when you give it a gentle shake. It'll firm up more as it cools down. Don't let it bake too long or you'll end up with cracks or a rubbery texture.