
 Pin it
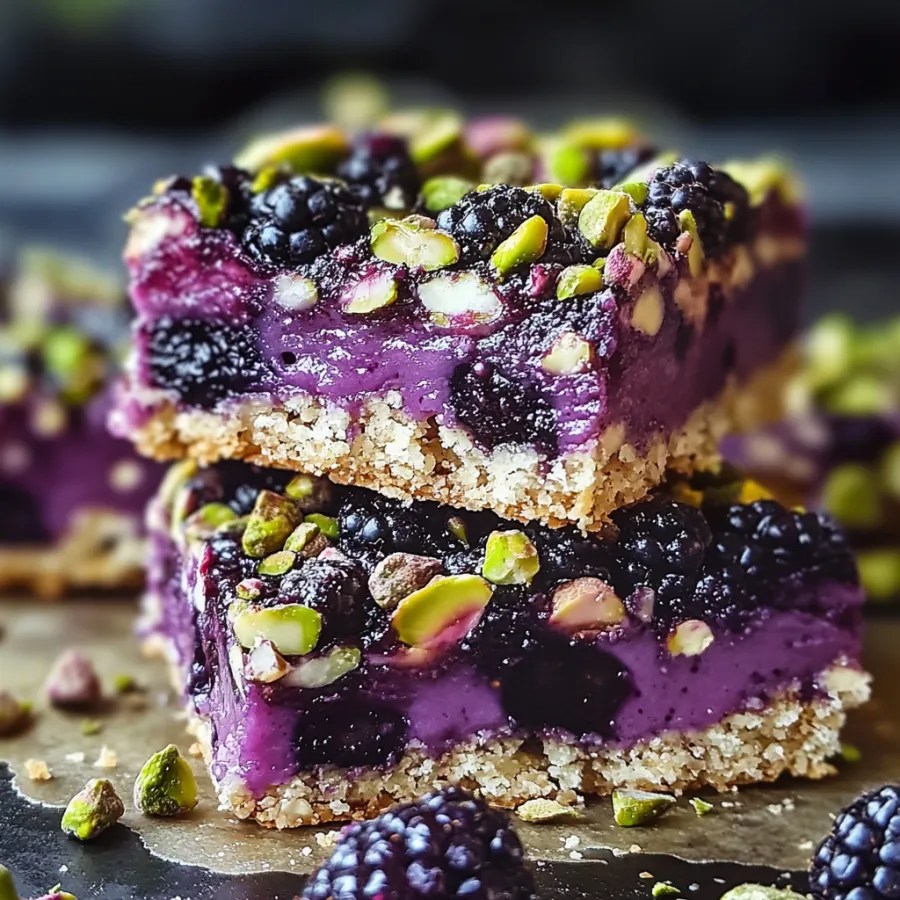
I've fallen head over heels for these blackberry pistachio dream bars. They're my top summer sweet treat find. The sharp blackberries paired with nutty pistachios make a combo that's just too good to pass up.
I whipped these bars up during a backyard party last summer when my blackberry bush went crazy with fruit. Everyone was so amazed by the bright purple filling next to the green pistachios that they begged for my recipe before heading home.
Ingredients
- Pistachios: Get them shelled and unsalted. They make the crust rich and give it that pretty green look
- All purpose flour: Builds the framework without taking away from the pistachios' taste
- Granulated sugar: Cuts through the berry tang without going overboard on sweetness
- Baking powder: Adds just enough puff to keep the crust light
- Salt: Perks up all the tastes and keeps things balanced
- Unsalted butter: Gets you that soft, crumbly texture
- Old fashioned oats: Brings nice bite and country charm to the top layer
- Fresh blackberries: Go for deep purple ones with a bit of give for best flavor
- Large eggs: Hold the filling together so it sets right
- Vanilla extract: Rounds out the berry flavor nicely
- All purpose flour: Makes the filling just thick enough
- Salt: Makes the berries taste even better
- Baking powder: Gives the filling a tiny bit of rise
Step-by-Step Instructions
- Prepare the Crust:
- First get your oven hot at 350°F. This heat works great for turning the crust golden without burning the nuts. Put parchment in your 9x9 pan with some hanging over two sides so you can pull it out easily later.
- Process the Pistachios:
- Give the pistachios quick pulses in your food processor. Keep an eye on them as they can turn to mush fast. You want them chopped fine but still a bit chunky for that nice crunch.
- Mix the Dry Ingredients:
- Throw your ground pistachios into a big bowl with flour sugar baking powder and salt. The green bits mixed with white stuff looks really cool and gives you a sneak peek of the taste to come.
- Add the Butter:
- Use your fingers or a pastry tool to work soft butter into the dry mix. Keep going till it looks like rough crumbs that stick when squeezed. Add the oats last with a light touch to keep their shape.
- Form the Base:
- Push about two thirds of your mix firmly into the pan making it flat all over. A measuring cup bottom works great for this job. Bake until the edges start looking golden about 15 minutes.
- Prepare the Filling:
- While that's baking smash your blackberries till they let out their bright purple juice. Leave some lumps for a more fun filling. Mix in sugar eggs vanilla flour salt and baking powder until it's mostly smooth but still a bit chunky.
- Assemble and Bake:
- Pour your blackberry mix over the warm crust and spread it to all corners. The gold base under deep purple filling looks amazing. Sprinkle leftover pistachio mix on top. Stick it back in the oven for around 30 minutes till the filling is mostly set but wiggles a tiny bit in the middle.
- Cool Completely:
- This part can't be skipped. Let the bars cool all the way in the pan. The filling will keep firming up as it cools giving you bars that cut cleanly. For the neatest slices stick them in the fridge for at least two hours before cutting.
 Pin it
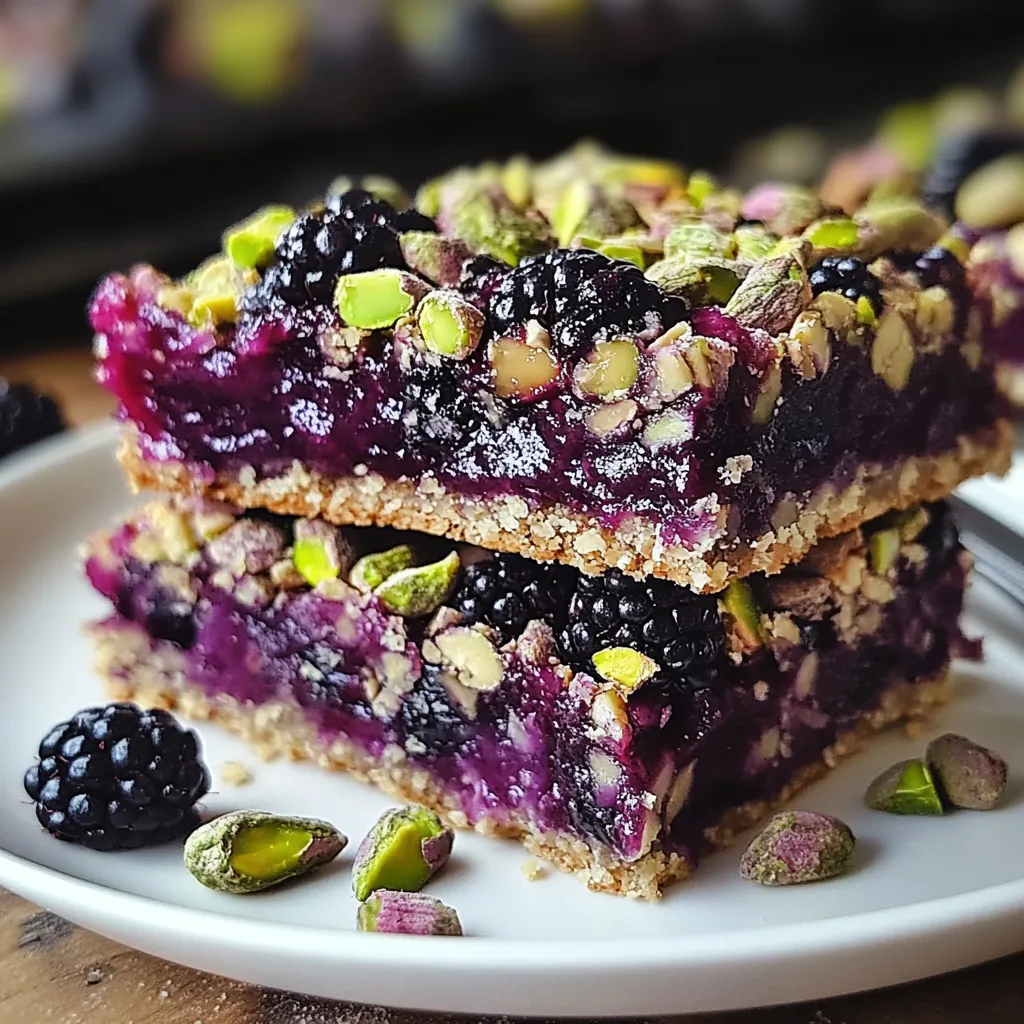
There's something truly special about seeing these bars come out of the oven with purple filling bubbling through the golden pistachio top. My little girl calls them jewel bars because the blackberries remind her of tiny purple gems tucked into the pistachio crust.
Make Ahead Options
These treats get even better after chilling overnight as all the flavors blend together. You can make them up to three days before you need them. Just keep them in a sealed container with parchment between layers so they don't stick. Take them out about 20 minutes before serving so they warm up a bit for the best taste and feel.
Seasonal Variations
Though blackberries give the prettiest color next to green pistachios you can switch things up all year long. Try using raspberries for a similar tang or go with blueberries for something sweeter. When fall comes around cranberries work great if you add extra sugar to the filling. The pistachio base goes well with all these berries while keeping that special nutty flavor that makes these bars stand out.
Serving Suggestions
For a fancy dessert warm up each bar slightly and add a small scoop of vanilla bean ice cream. The mix of warm bar and cold ice cream tastes amazing. At brunch these bars can take the place of coffee cake for something different. Sprinkle some powdered sugar right before serving to make them look extra nice and show off the bumpy top.
 Pin it
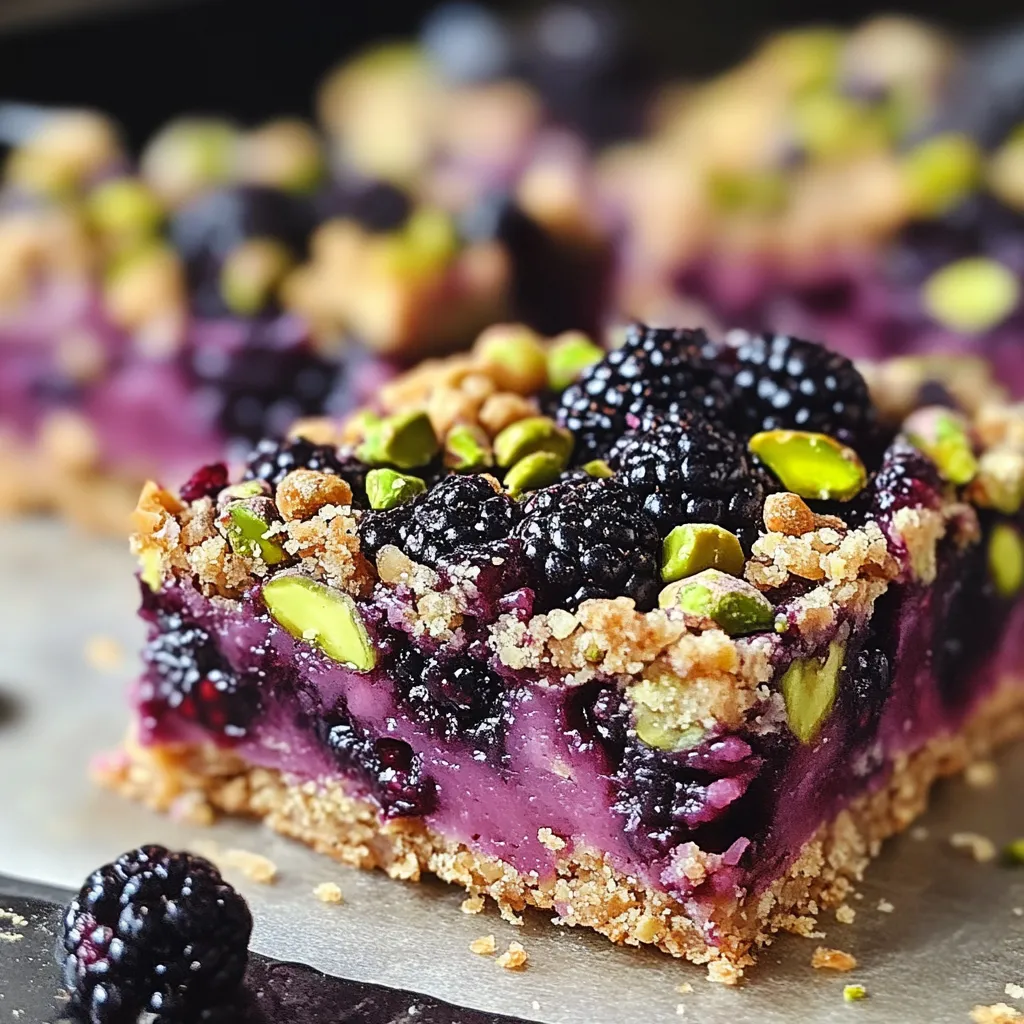
Getting these bars just right comes down to how you handle the crust mix. Save a good amount for the topping but press the bottom layer down hard in the pan. This gives you that perfect mix of firm base that holds up the juicy filling and loose, crumbly top that gives such a nice bite when you dig in.
Frequently Asked Questions
- → Can I use frozen blackberries instead of fresh?
Definitely! Frozen blackberries are totally fine! Just make sure you thaw them all the way and pour off any extra juice first so your bars don't turn out soggy.
- → How should I store these bars?
Keep them in a sealed container in your fridge for up to 5 days. If you want them to last longer, wrap each bar in plastic and put them in a freezer bag—they'll stay good for 3 months.
- → Can I substitute other nuts for pistachios?
For sure! Try almonds, walnuts or pecans if you want. They'll each bring their own unique taste, but you'll still get that nice crunch.
- → How do I know when the bars are fully baked?
They're ready when the filling doesn't wobble anymore and the top turns golden brown. Stick a toothpick in the middle—it should come out mostly clean with maybe a few moist bits.
- → Can I use other berries instead of blackberries?
Go for it! Raspberries, blueberries or even a mix would taste amazing. Each type will change the flavor and look of your bars a bit.
- → Why did my bars crumble when cutting?
Let them cool all the way down first. For really neat slices, stick them in the fridge for an hour after cooling, and use a sharp knife. Wipe the blade clean between each cut.