 Pin it
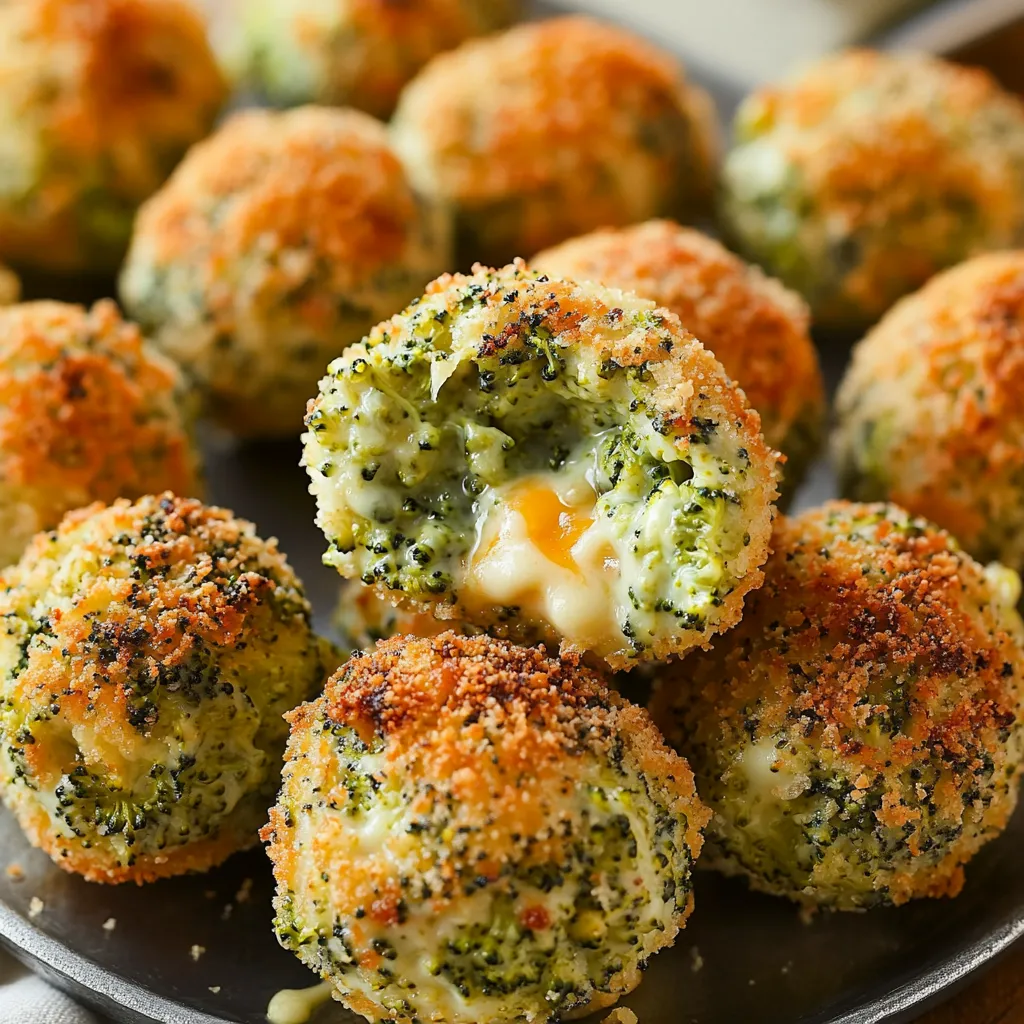
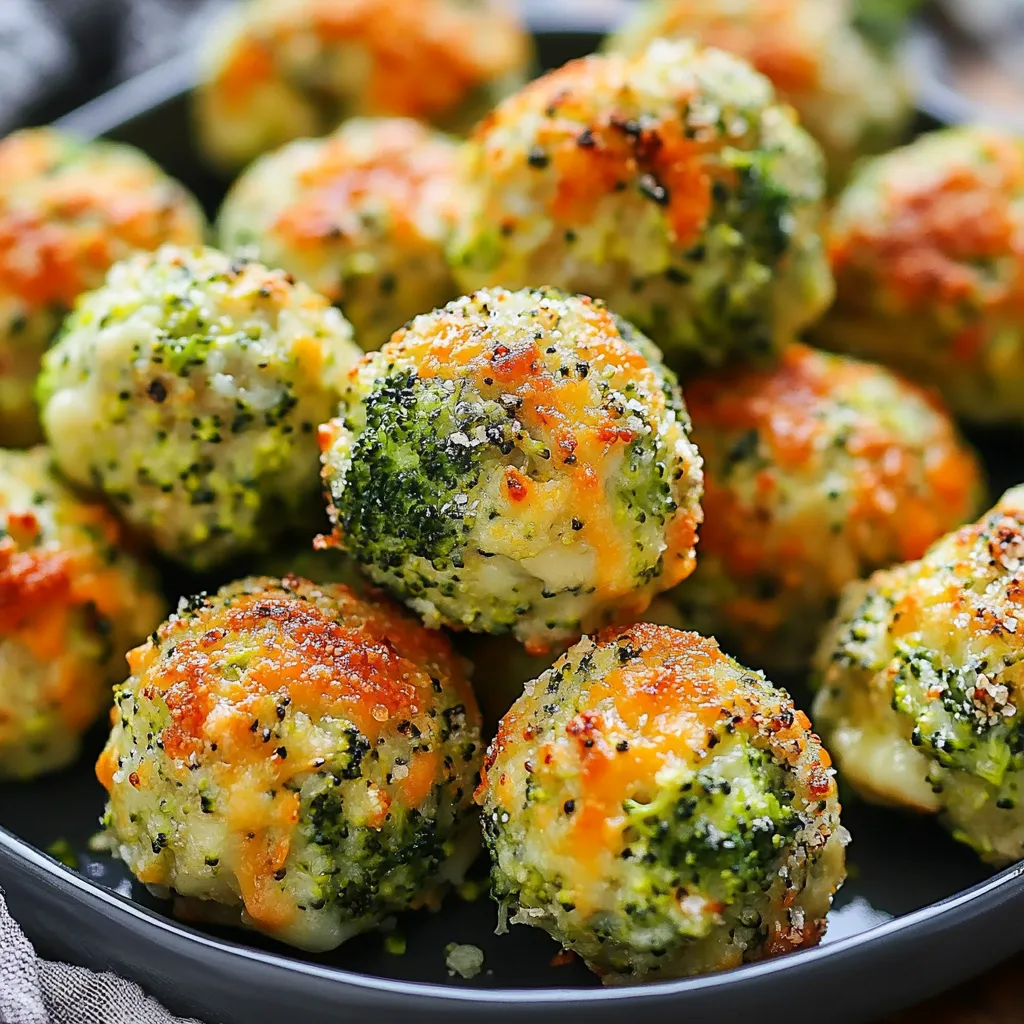
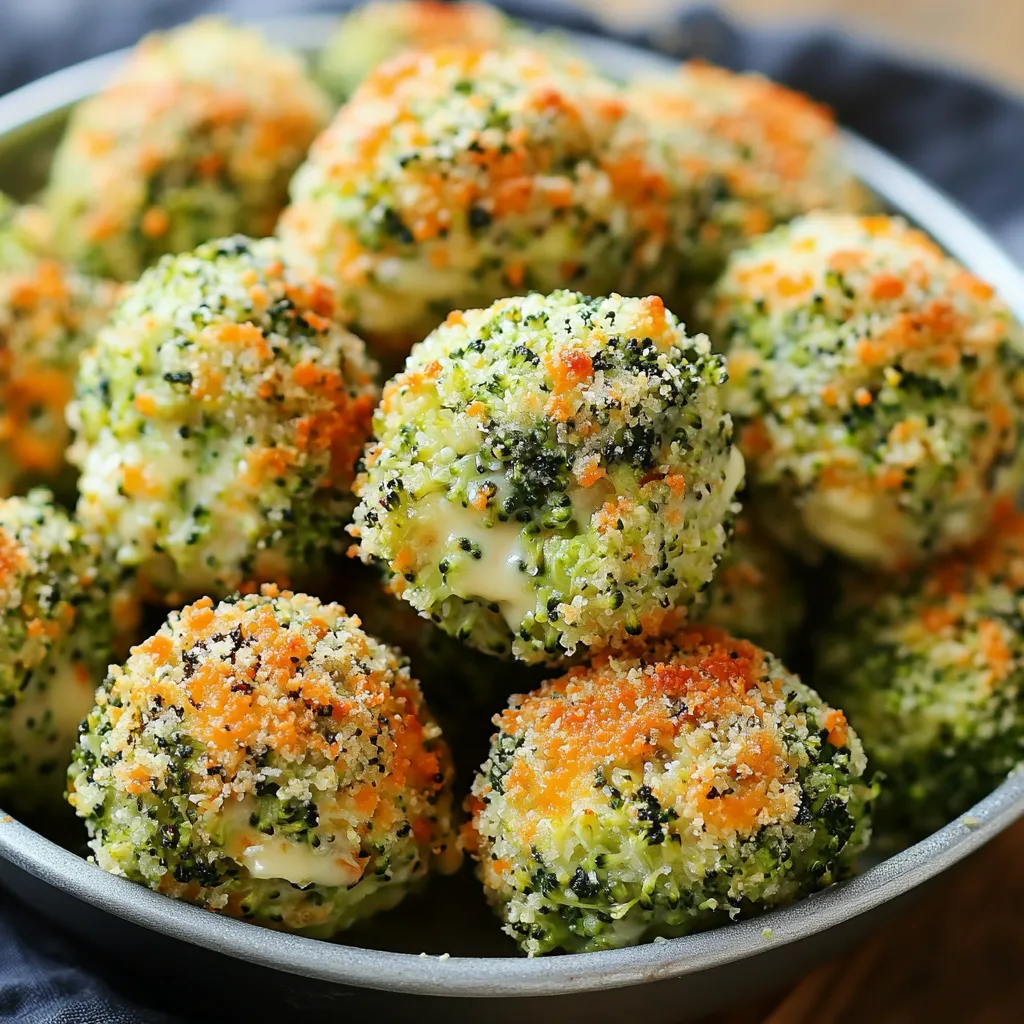
Broccoli cheese balls fresh out of the oven are ridiculously tempting. You'll forget they're even packed with veggies once you bite into the golden, crunchy outside and that gooey, cheesy middle. Way better than fried snacks, and picky eaters can't walk by without grabbing one more.
When I was teaching cooking, these won over even kids that swore off veggies. It all comes down to how you prep and what each part brings to the magic.
Irresistible Ingredient Picks
- Olive oil or any spray you like: Helps everything crisp up evenly outside.
- Sea salt and cracked black pepper: Season until you're happy with the taste—they bring it all together.
- Half teaspoon garlic powder: Adds just enough flavor without being too much.
- Japanese panko breadcrumbs (1 cup): Super light and crispy compared to plain crumbs.
- Large egg, at room temp: This holds the whole thing together and mixes well when it’s not cold.
- Real Parmigiano-Reggiano, grated (⅓ cup): Adds a salty, nutty vibe and big flavor.
- Block of sharp cheddar, hand-grated (1½ cups): You get the best melt and punchy taste this way.
- Fresh broccoli tops (2 cups): Go for tight clusters that feel solid and skip any with yellow spots.
How to Get Awesome Broccoli Balls
- Check Your Oven Game:
- Keep an eye on the oven. Too hot? The outsides singe quick. Wait for a toasty color and cheese just bubbling a bit near the edges to know it’s ready.
- Get Rolling:
- Mix up cheeses first in a big bowl, stir in the chopped, cooled broccoli, add your beaten egg, and then breadcrumbs last. Roll into 1-inch balls—it’s easier if you dampen your hands a little bit so nothing sticks.
- Broccoli Prep Secrets:
- Give broccoli a short steam (2-3 minutes max), dunk in really cold water right after to keep it bright, dry it on a towel, then finely chop it up.
- Start Smart:
- Heat oven to 400°F (200°C). Line your tray with parchment paper so cleanup’s easy and nothing sticks.
 Pin it
Genius Kitchen Hacks
- Cool your mixing bowl first—it helps the cheese mix in without clumping.
- Weigh each ball on a scale for perfect consistency.
- Wet your hands before rolling so nothing sticks.
- Poke a little dent in the center of each one so they bake evenly.
- Halfway through, spin the tray for even coloring.
- Give them a three-minute breather before munching for best crunch and texture.
Make Ahead and Save
Want to prep ahead? These are easy to work into your week:
- Unbaked balls keep fine in the fridge a full day.
- Flash freeze, then stash in a bag for easy space saving.
- Let them defrost in the fridge before you bake.
- Skip the microwave—reheat in your oven or air fryer to keep the crunch.
- Pack leftovers in a container with layers of parchment so they don't stick.
When Things Don’t Go As Planned
- Too much moisture in your mix?
- Sprinkle in breadcrumbs a tablespoon at a time and pause for five minutes before checking again.
- Balls falling apart?
- Stick the mix in the fridge for 15 minutes, then stir in a bit more Parmesan.
- No color on the outside?
- Dab some oil on, push the oven up by 25°F, or bump your tray higher up.
Fun Flavor Spins
- Deluxe: Add real bacon bits and a sprinkle of fresh chives.
- Italian: Sub in mozzarella with a shake of Italian herbs.
- Asian Touch: Toss in grated ginger and use a few drops of sesame oil.
- Southwestern: Try pepper jack cheese and chopped mild green chilies.
- Mediterranean: Add feta, a pinch of oregano, and some sun-dried tomatoes.
Based on years in the kitchen, nailing crispy, cheesy broccoli balls is all about watching the moisture, keeping portions even, and staying on top of your oven temp. Do those three, and these snacks will be gone before you know it.
 Pin it
People constantly ask me to bring these for every occasion, whether it’s laid-back get-togethers or fancier parties. Shows just how good simple ingredients can be when you do things the right way.
Frequently Asked Questions
- → Why should the broccoli get steamed first?
- Steaming keeps the broccoli soft, so it mixes easily and gets completely cooked inside your cheesy bites.
- → Is frozen broccoli okay to use?
- Totally, just thaw it out and drain well. You might want to give it a minute less in the oven.
- → Which dips are really tasty with these?
- They go great with ranch, marinara, or even honey mustard for a sweet twist.
- → What’s the best way to store and warm them back up?
- Pop leftovers in the fridge, sealed up, for about three days. Heat them in the oven at 350 to keep them crunchy.
- → How do I make them gluten-free?
- Go with gluten-free breadcrumbs or smash up some GF crackers for the coating.
