
 Pin it
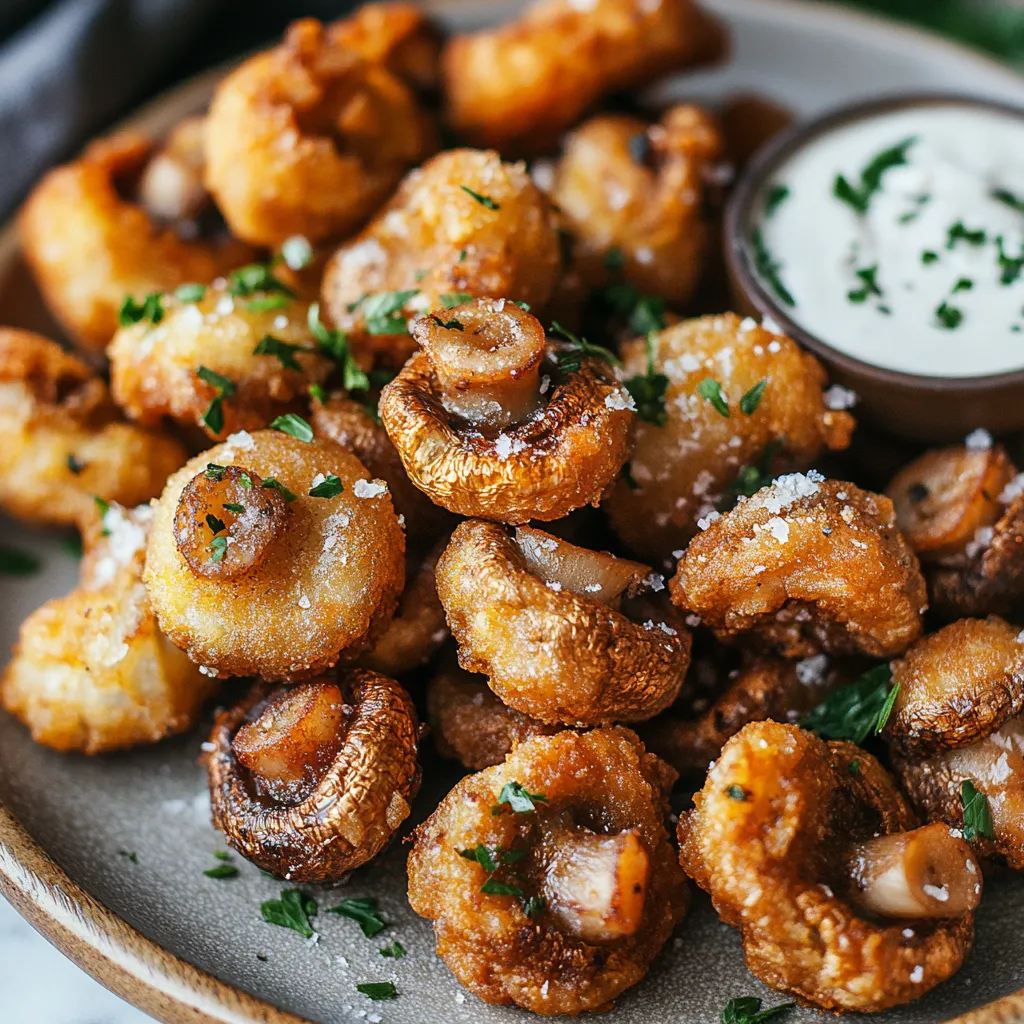
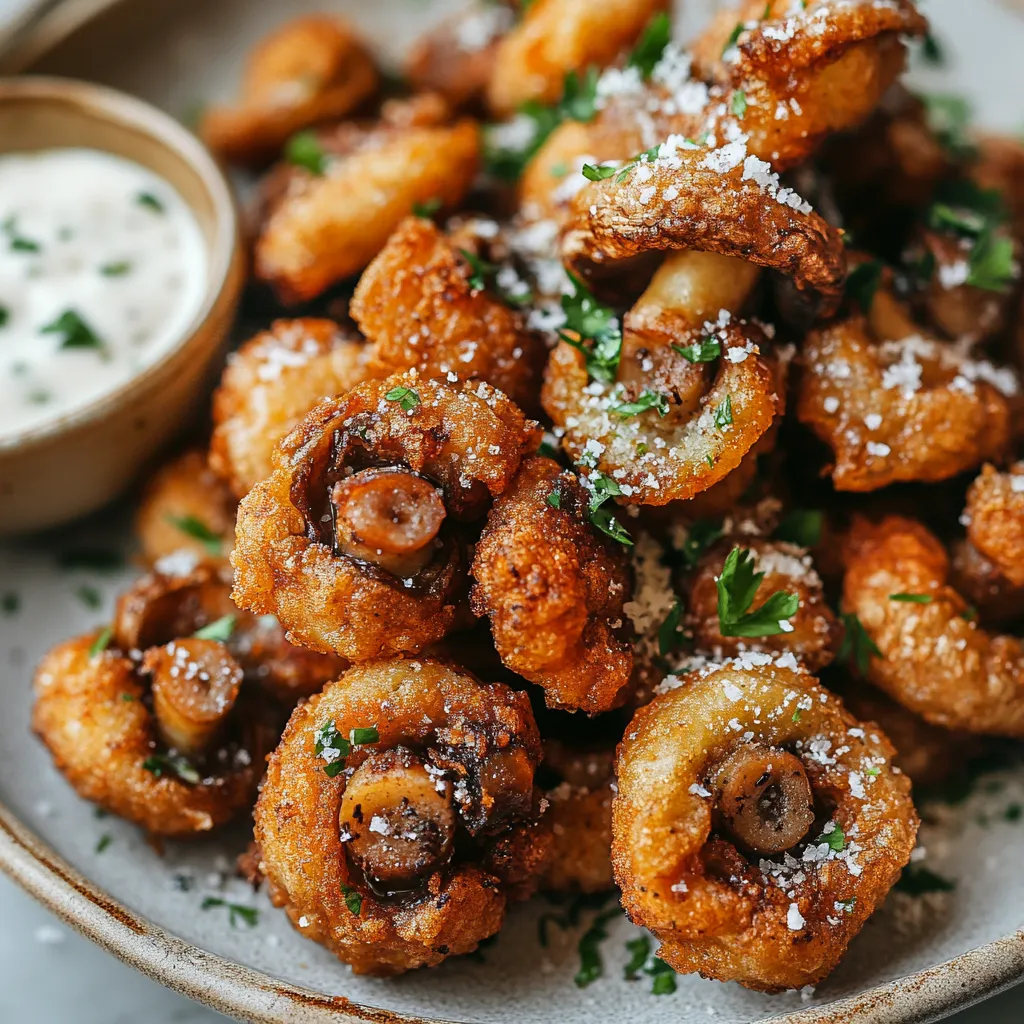
These crunchy fried mushrooms turn ordinary button mushrooms into irresistibly crispy snacks that won't last long at any party. The combo of a golden, well-seasoned outer shell and juicy middle makes an unbeatable starter that'll win over even those who usually avoid mushrooms.
I whipped these up for a football Sunday when I needed something fast that wasn't your typical chips and salsa. They were gone before halftime, and now my buddies always ask for my "mushroom bites" whenever we hang out.
Ingredients
- Button mushrooms: Look for solid ones with no dark spots for the best outcome
- Seasoned bread crumbs: The Italian variety brings more flavor complexity
- All purpose flour: This forms the foundation for the coating to stick well
- Eggs: They work as the key glue for that perfect crunchy layer
- Milk: Thins out the egg mix for better consistency
- Dried oregano: Brings that familiar Italian scent and taste
- Garlic powder: Adds rich flavor without burning like fresh garlic would
- Cayenne pepper: Gives a touch of warmth without going overboard
- Black pepper: Provides necessary punch against the earthy mushrooms
- Salt: Lifts all the other flavors but add bit by bit to control saltiness
- Red chili flakes: Add little bursts of color and mild heat
- Dried basil: Contributes sweet herb notes that work well with mushrooms
- Dried thyme: Adds woodsy undertones that boost mushroom flavor
- Vegetable oil: Has no strong taste and handles high heat, making it ideal for frying
Step-by-Step Instructions
- Get Your Mushrooms Ready:
- Wipe mushrooms with a damp paper towel instead of washing them under water which makes them too wet. Take off stems by gently twisting or using a small knife to cut them. Sprinkle with just a bit of salt to pull out extra moisture and help flavors stick better. Let them sit for 5 minutes while setting up your coating station.
- Create Your Coating Station:
- Get three containers with lids if you can for the shake method, but regular bowls work too. In your first container, mix flour with all your dried seasonings and stir well so everything's evenly spread out. In your second container, beat eggs until they're fully mixed, then pour in milk and stir until it's smooth and a bit thinner. Fill your third container with bread crumbs and feel free to add extra seasonings if you want more flavor outside.
- Cover The Mushrooms:
- Work with small groups of 6 to 8 mushrooms at once in the flour mix. If you've got containers with lids, close them up and gently shake for about 10 seconds until mushrooms are totally covered. Move floured mushrooms to the egg mix, shake or use tongs to coat them completely. Finally, transfer to the breadcrumb container and shake or roll until fully coated with no wet spots showing. Put them on a clean plate and continue with the rest.
- Fry Your Mushrooms:
- Warm oil to 350°F using a candy thermometer to check. Getting the right temp is super important since too low makes them oily and too high burns the outside before cooking the inside. Use enough oil to cover mushrooms by 1 to 2 inches. Carefully drop in 6 mushrooms at a time so you don't crowd the pan or cool the oil too much. Cook for 3 to 5 minutes until light gold, then flip with a slotted spoon and cook another 3 to 5 minutes until deep gold all around. Let oil heat back up between batches.
- Finish And Serve:
- Lift fried mushrooms out with a slotted spoon or mesh strainer and place on paper towels in one layer. Pat gently with more paper towels if needed. While they're still hot, add a tiny sprinkle of salt if you want. Serve right away with ranch dressing, garlic aioli, or marinara for dipping.
 Pin it
Dried thyme is the hidden hero in this recipe. My grandma always told me mushrooms and thyme were meant for each other, and these fried goodies prove she was right. When that special smell fills my kitchen as they cook, I'm instantly back at her side learning how properly fried food can be truly magical.
Make Ahead Options
You can prep these crunchy mushrooms hours before cooking time. Just finish all the breading steps, lay them out on a baking sheet lined with parchment, and stick them in the fridge uncovered for up to 4 hours. This waiting period actually helps the coating stick better when frying. If you need longer storage, freeze the breaded raw mushrooms on a tray until hard, then dump them in a freezer bag. When you're ready to cook, fry them straight from frozen, just add about 2 extra minutes to your cooking time.
Oven Baking Alternative
Want something lighter? You can bake these instead of frying. Heat your oven to 425°F and cover a baking sheet with parchment. Spray your breaded mushrooms all over with cooking spray or drizzle them with olive oil. Bake for 15 to 20 minutes, flipping them halfway, until they're golden and crispy. They won't be quite as indulgent as the fried version but they're still tasty and flavorful with way less oil.
Perfect Pairings
These mushrooms work great as part of an appetizer spread next to marinara or garlic parm dip. For a full meal, serve them with a simple green salad dressed with just lemon and olive oil to cut through the richness. They also taste amazing tossed on pasta with a light cream sauce or piled on top of a hamburger. For a fancy presentation, stack them on a platter surrounded by fresh herbs and lemon wedges with a dipping sauce in the middle.
 Pin it
Frequently Asked Questions
- → Which mushrooms work best for frying?
Go for button mushrooms—they stay firm and don't lose texture. Cremini mushrooms add a richer, earthier taste if you prefer.
- → How do I keep them crisp after cooking?
Place them on a rack where air can flow freely to stop sogginess. Avoid stacking them while hot.
- → Is it okay to prep them in advance?
Absolutely! Coat them, pop them in the fridge, and they're good to fry within a few hours. Best eaten fresh, though.
- → What’s the best dipping sauce for these?
Ranch, spicy mayo, garlicky aioli, or marinara—they all pair nicely with crunchy mushrooms.
- → How do I check if the oil’s ready?
You can use a candy thermometer and wait for 350°F. Or just drop in a breadcrumb—it should lightly sizzle and turn golden quickly.