
 Pin it
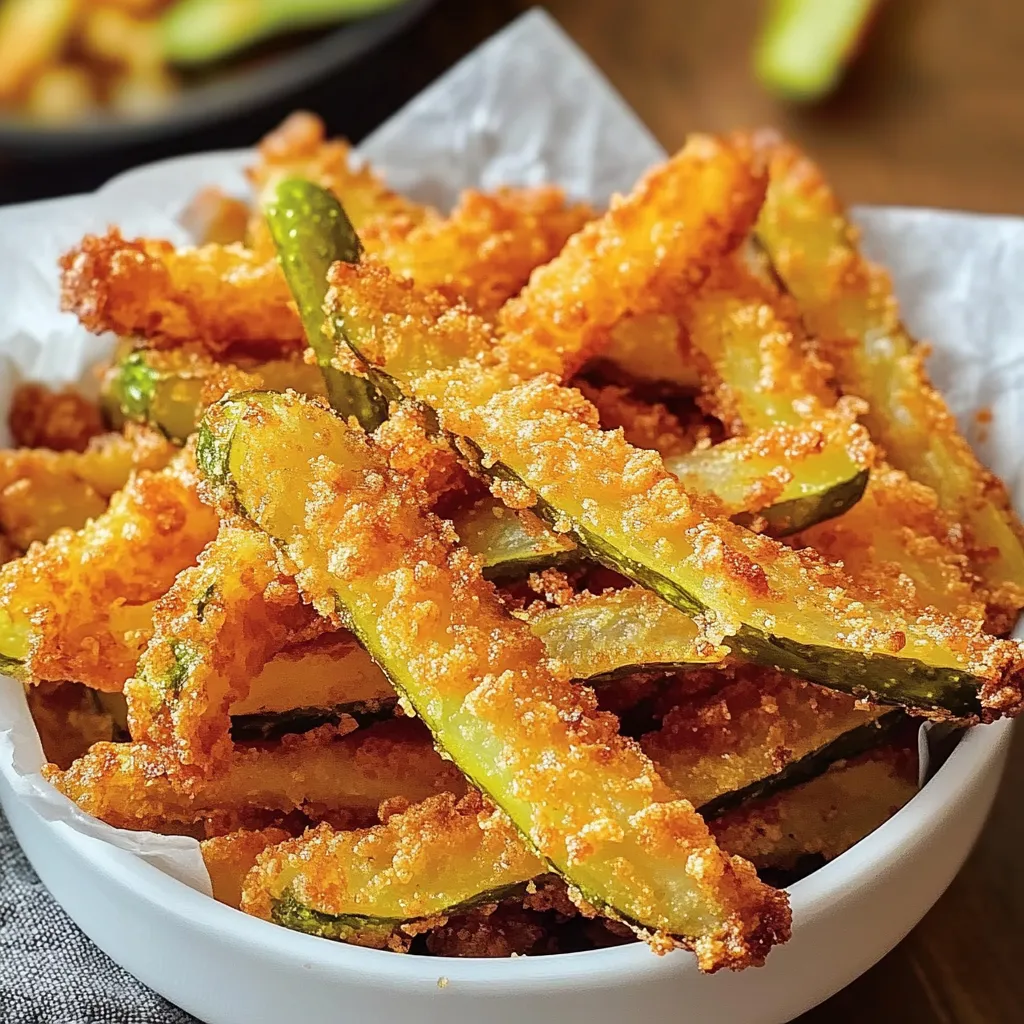
These zesty dill pickle and melted cheddar sticks turn ordinary pickles into a mouth-watering low-carb treat that'll win over cheese fans and pickle lovers alike. The tangy cucumber base pairs perfectly with sharp cheddar, giving you snacks that crunch on the outside while staying juicy and flavorful inside.
I came up with this idea during one midnight hunger pang when I couldn't eat carbs but really wanted something crunchy and cheesy. After trying them once, these pickle sticks became my favorite thing to bring to gatherings—even my friends who love bread and pasta keep asking for them.
What You'll Need
- Jar of pickles: They're the main star giving that zingy taste. Dill ones work great, though bread and butter pickles add a nice sweetness if that's what you prefer.
- Shredded cheddar cheese: Go for sharp cheddar for the biggest flavor kick—it melts just right. Cheese you grate yourself works way better than the pre-shredded bags that have stuff added to stop clumping.
- Large egg: This holds everything together and adds richness. Eggs that aren't cold mix in much easier.
- Seasonings: Play around with what you like—garlic powder, salt, and pepper make a classic mix that makes the pickle taste even better.
- Baking powder: This hidden helper makes everything fluffier and adds extra crunch to the outside.
- Onion powder (optional): Gives a nice savory undertone that goes great with the sour pickle taste.
- Smoked paprika (optional): Adds a hint of smokiness that makes the whole snack taste more interesting.
- Fresh dill (optional): Pumps up the pickle flavor with fresh, green notes.
Simple Making Method
- Heat Your Oven:
- Turn your oven up to 400°F and let it get hot. You need this high heat to get that nice crunch. Put some parchment on a baking tray so nothing sticks and cleanup's a breeze.
- Chop Up The Pickles:
- Throw your pickles in a food processor and give them a few quick pulses until they're finely chopped but not mushy. You want small bits that'll mix well with everything else.
- Squeeze Out The Juice:
- This might be the most important part for success. Put your chopped pickles in a cheesecloth or bunch of paper towels and squeeze hard until no more liquid comes out. Try with fresh towels again if needed. The drier your pickles, the crunchier your snacks will turn out.
- Mix Everything Together:
- In a bowl, stir the dried pickle bits with shredded cheese, egg, whatever seasonings you picked, and the baking powder. Mix it all up until everything's well combined and the mixture sticks together when you press it.
- Form Your Sticks:
- With clean hands, grab small bits of the mixture and roll them into fry shapes about half an inch thick. Put them on your parchment-lined tray with a little space between each one so they can get crispy all around.
- Cook Them Up:
- Stick the tray in your hot oven and bake for 20 minutes. They should turn golden brown with crispy edges. If you want them extra crunchy, flip them over halfway through cooking.
- Enjoy Right Away:
- Take them out and let them cool just a minute before eating. They taste best right away while the cheese is still warm and the outside is super crispy.
 Pin it
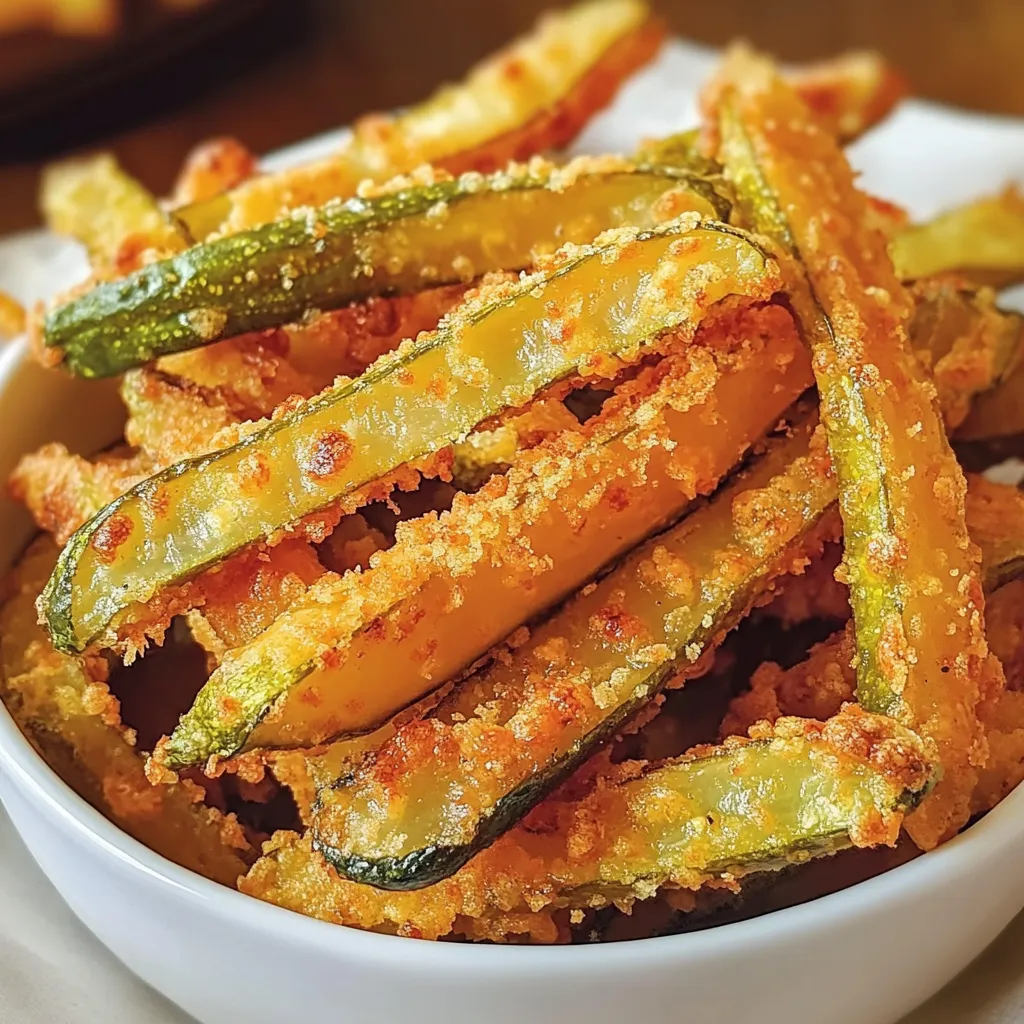
Pickles really shine in this snack. I've found that different pickle types totally change how these taste in the end. I love using garlic dill pickles that have been in my fridge for a while so they've gotten really flavorful. They have a depth that brand new pickles just don't match, reminding me of the ones my grandma would put up every summer.
Keeping And Warming Up
These cheesy pickle sticks keep their flavor when stored right, but they're definitely best fresh. If you have leftovers, put them in a sealed container with paper towels on the bottom and between layers to soak up moisture. Keep in the fridge for up to 3 days. Don't use the microwave to warm them up—they'll get soggy. Instead, put them in a 350°F oven for 5-7 minutes or an air fryer at 375°F for 2-3 minutes until they get crispy again.
Tasty Dipping Ideas
These sticks taste great on their own, but the right dip makes them even better. Ranch dressing works really well with the tangy pickle taste, or try a hot sriracha mayo if you like spicy food. For something really good, mix sour cream with fresh dill and a bit of garlic powder. The cool creaminess tastes amazing next to the hot, crunchy sticks.
Ways To Switch It Up
You can change this basic recipe in so many ways. For a kick, add chopped jalapeños or a bit of cayenne pepper to the mix. Trying different cheeses makes a big difference too. Go for pepper jack if you want heat, smoked gouda for richness, or mix mozzarella and parmesan for an Italian feel. If you like herbs, try adding fresh thyme, rosemary, or basil. Each change keeps the low-carb goodness but gives you a whole new flavor.
 Pin it
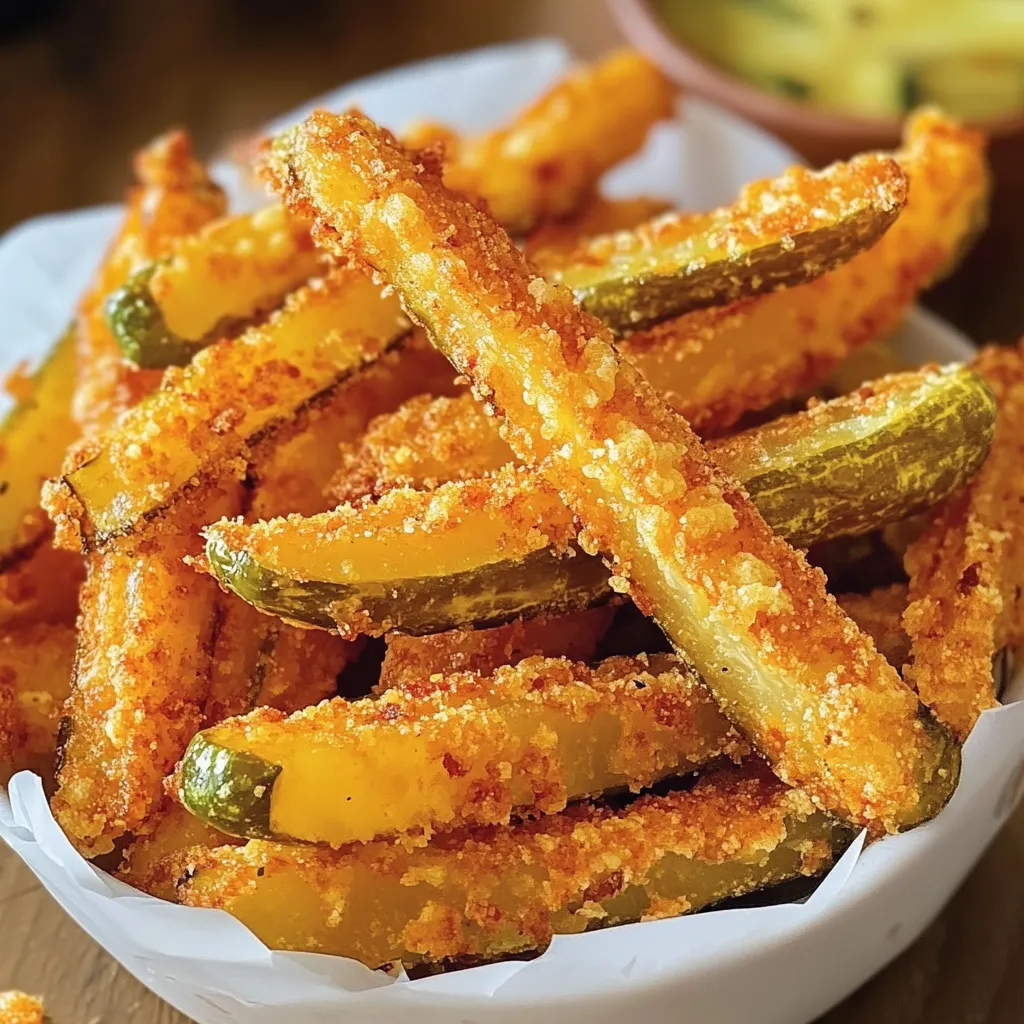
The sour-cheesy combo in these pickle sticks can't be beat—they're just what you need for snack cravings or party food. Make sure to eat them while they're still warm to get that perfect crunch.
Frequently Asked Questions
- → Can I use different types of pickles for this recipe?
Definitely! Feel free to try any pickle variety you like. Dill pickles give you that classic tang, while bread and butter pickles add a touch of sweetness. You can even try tiny cornichons to make mini snack bites.
- → Why is it important to squeeze out the pickle moisture?
Getting rid of extra moisture is key to making them crunchy. If you skip this step, all that liquid will turn to steam while baking and you'll end up with soft, soggy sticks instead of crispy ones. The more liquid you remove, the crunchier they'll turn out.
- → Can I use a different type of cheese?
For sure! Cheddar works great, but try mozzarella if you want something milder with a good pull, pepper jack to add some kick, or mix a few cheeses together for more complex flavor. Just pick something that melts nicely.
- → How should I store and reheat leftovers?
Keep any extras in a sealed container in your fridge for up to 3 days. When you want to eat them again, put them on a baking sheet in a 350°F oven for about 5-10 minutes until they're hot and crispy again. Don't use the microwave or they'll turn mushy.
- → Are these suitable for freezing?
They freeze really well both before or after cooking. To freeze them raw, lay the shaped sticks on a baking sheet, freeze them solid, then pop them in a freezer bag. Cook them straight from frozen but add a few more minutes. For already baked ones, let them cool down first, freeze on a tray, then bag them up. Just heat in the oven until they're crispy again.
- → What dipping sauces work well with these fries?
Ranch is always a winner, but you might also enjoy spicy mayo, sriracha mixed with mayo, blue cheese dressing, or a simple garlic mayo. For something tangy, try mixing sour cream with some fresh herbs and a squeeze of lemon juice.