
 Pin it
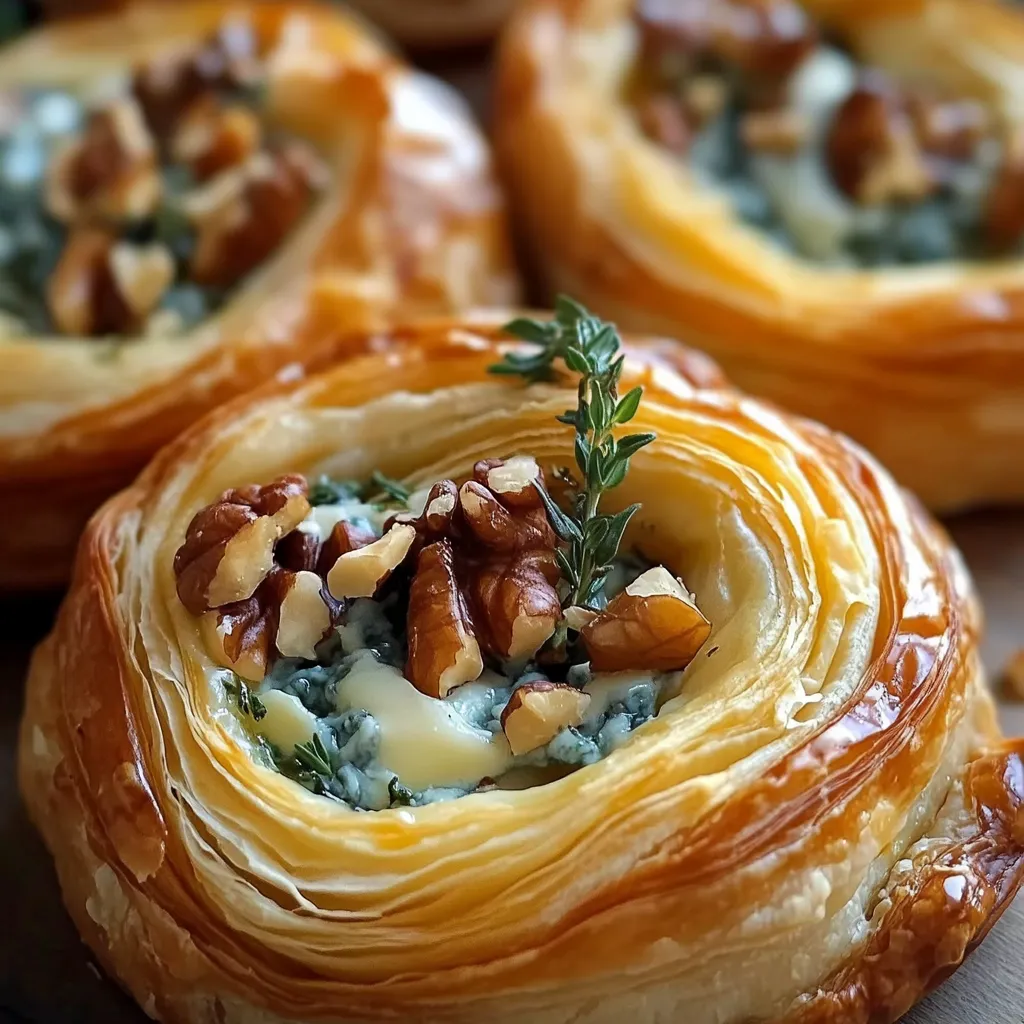
These fancy blue cheese, walnut and thyme puff pastry spirals make a standout snack for any get-together. They mix bold tastes with a pretty look, but don't let that fool you - they're actually super easy to make. The twisty design will impress your guests even though there's hardly any work involved.
I first brought these out during a last-minute wine evening with my pals, and they were gone in seconds. The mix of sharp blue cheese with sweet honey worked so well together that my husband, who usually avoids blue cheese, couldn't stop eating them.
Ingredients
- Puff pastry sheets: go for ones made with real butter for the tastiest, flakiest results
- Honey: brings a gentle sweetness that works against the strong blue cheese
- Blue cheese: break it into tiny crumbles so it spreads and melts evenly
- Parmesan cheese: adds a savory depth that works with the blue cheese
- Walnuts: give them a quick toast first to bring out their nutty taste
- Fresh thyme leaves: pull them off the stems right before you need them for the best flavor
- Milk: brush this on top to get that lovely golden crust
- Sea salt and cracked pepper: flaky sea salt gives a nice texture difference
Step-by-Step Instructions
- Warm Up the Oven:
- Turn your oven to 180C or 350F if you've got a fan-forced model. For regular ovens, bump it up to 200C or 390F. Give it about 10 minutes to get hot – this helps your pastry puff up properly and cook evenly.
- Set Up Your Sheets:
- Put your puff pastry sheets on a clean counter. Pour 1 tablespoon of honey on each sheet and spread it around, leaving a little edge untouched. This honey will turn slightly caramel-like during baking.
- Layer Your Toppings:
- Sprinkle both sheets with equal amounts of blue cheese, Parmesan, walnuts, and thyme. Spread everything out nicely, gently pushing the toppings into the honey so they stick. Sprinkle with sea salt and fresh pepper to boost the flavors.
- Make Your Logs:
- From one edge, carefully roll each sheet into a tight log. Take your time to keep it even. Once rolled up, slice each log down the middle lengthwise with a sharp knife to show off the pretty layers inside.
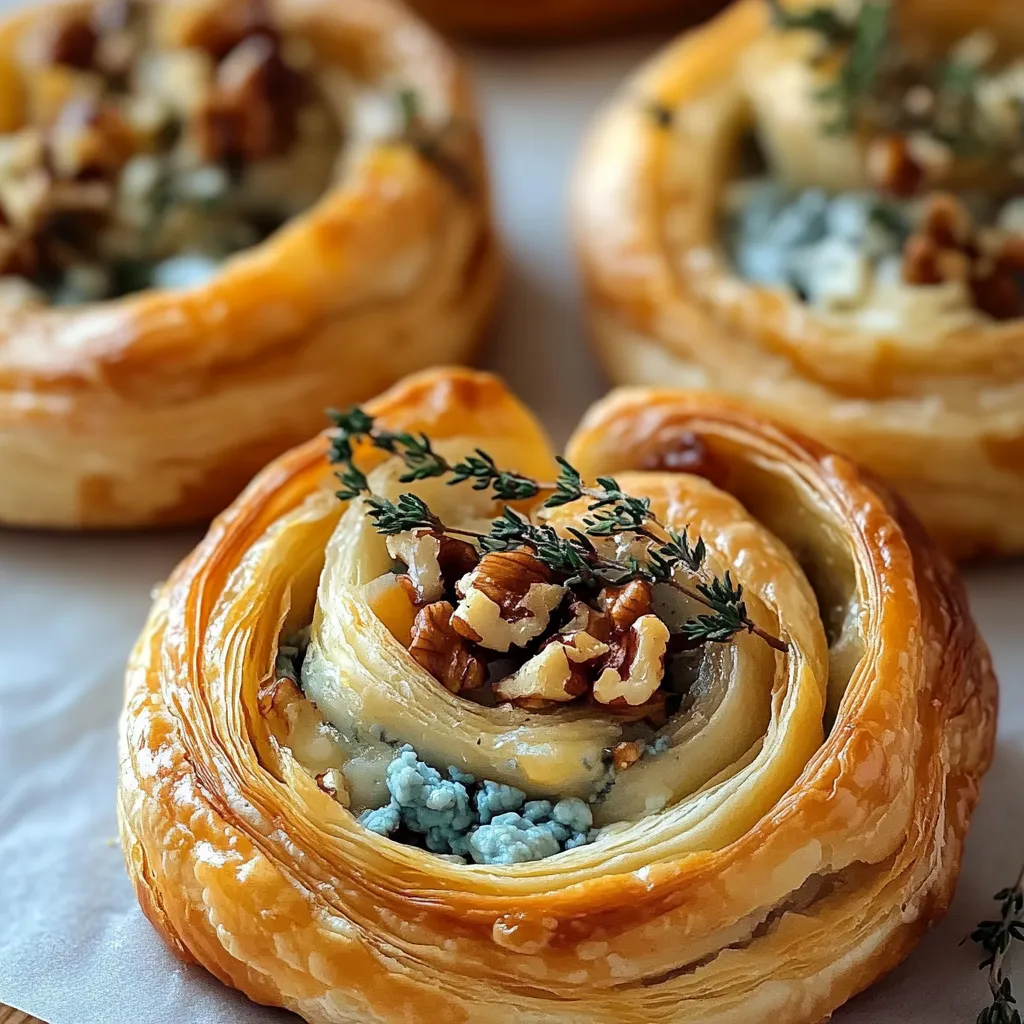
- Shape Your Spirals:
- Twist each sliced piece gently, keeping the cut side facing up. Then curl each twisted strip into a spiral shape and tuck the end underneath so it doesn't unravel. Put them on a baking sheet lined with parchment, leaving room between each one.
- Cook Until Golden:
- Brush the tops with milk to help them brown nicely. Bake for 25 to 30 minutes until they've risen and turned a rich golden color. You'll know they're done when the cheese is bubbling and the edges look slightly caramelized.
 Pin it
Blue cheese really makes this dish special. I found that using a gentler blue cheese like Gorgonzola Dolce works great for people who think they don't like blue cheese. My mother-in-law avoided blue cheese her whole life until she tried these at our family holiday party - then she wanted to know how to make them!
Make Ahead Options
You can put these spirals together up to 24 hours before you need to bake them. Just make them as described, put them on a parchment-covered baking sheet, wrap with plastic, and store in the fridge. When you're ready to cook, brush with milk and pop them in your hot oven. Add about 5 extra minutes to the cooking time since they'll be cold.
If you want to store them longer, freeze the uncooked spirals on a baking sheet until they're hard, then move them to a freezer bag. When you want to bake them, don't thaw first. Just brush with milk and bake them frozen, adding 10 to 15 minutes to your baking time. Having these ready to go in the freezer is perfect when unexpected visitors drop by.
Flavor Variations
The blue cheese, walnut and thyme combo is amazing, but you can totally switch things up. Try using goat cheese with pistachios and fresh rosemary for something different. Another great mix is caramelized onions with gruyere cheese. You could even go for a sweet version using cinnamon sugar, pecans and cream cheese as the base.
No matter what fillings you pick, the basic method stays the same. Just don't use too many wet ingredients or your pastry might get soggy. Always try a bit of your filling mixture before you build your spirals to make sure the flavors work well together.
Serving Suggestions
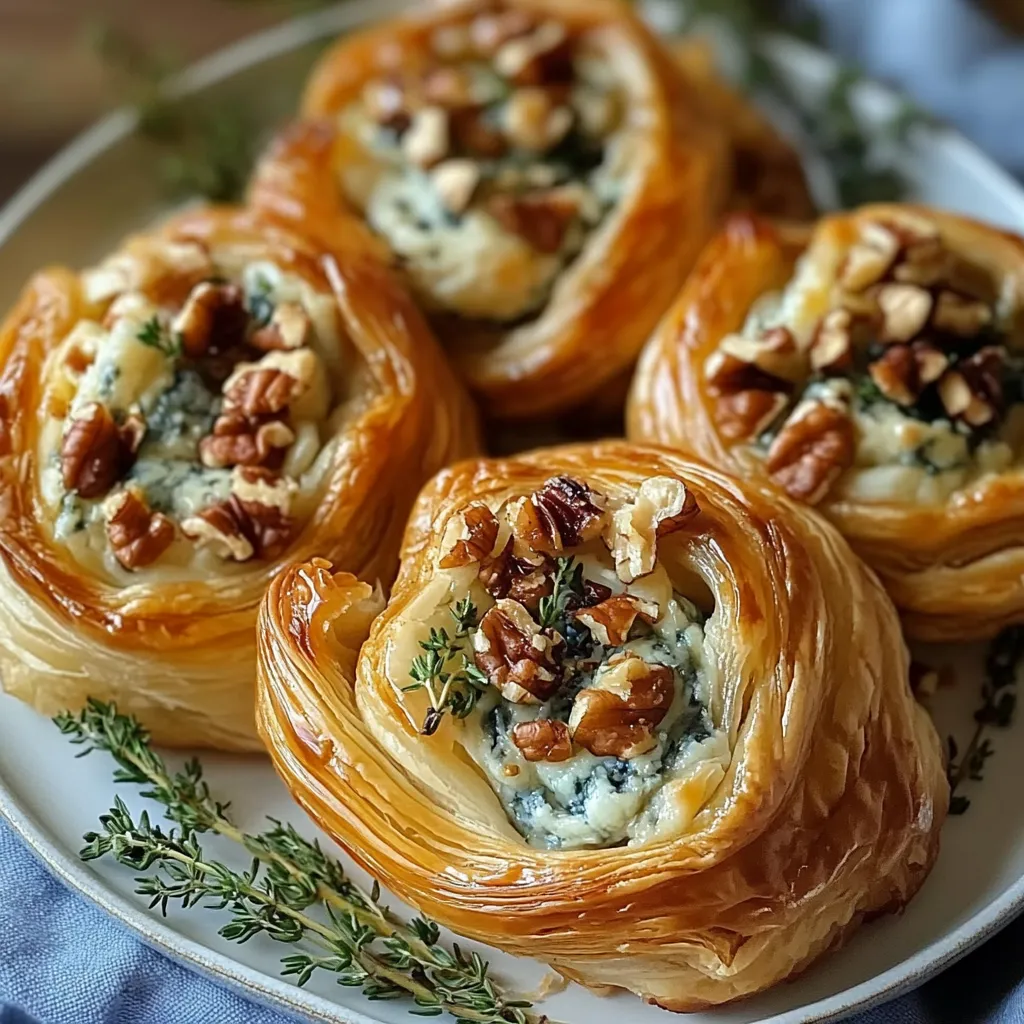
These twirls fit into all kinds of situations. They work as fancy appetizers at dinner parties alongside some bubbly or white wine. They look great on a cheese board with fresh fruit and some tasty spreads.
For something more laid-back, have them with a simple green salad and light dressing for lunch. They also go really well with soup for a fuller meal. I love having them with tomato soup - the flavors play off each other perfectly.
 Pin it
Frequently Asked Questions
- → What are good alternatives to blue cheese?
Gorgonzola, feta, or a mild goat cheese can work well if you're not a fan of blue cheese.
- → How do I make sure the pastry stays crispy?
Chill the dough properly before using and don't overload it with wet ingredients. This will help you get a nice, flaky texture.
- → Can I prep these twists ahead of time?
Yes! You can get the twirls ready and refrigerate them until you're set to bake. They'll taste best baked fresh.
- → What pairs well with these twists?
They're tasty on their own, but team them up with a green salad or light soup for a complete meal.
- → Can I use store-bought puff pastry?
Of course! Store-bought puff pastry saves time and still works wonderfully.
- → How do I store any leftovers?
Keep them in an airtight container at room temp for a day, or in the fridge up to three days. Warm them in the oven to crisp them up again.