
 Pin it
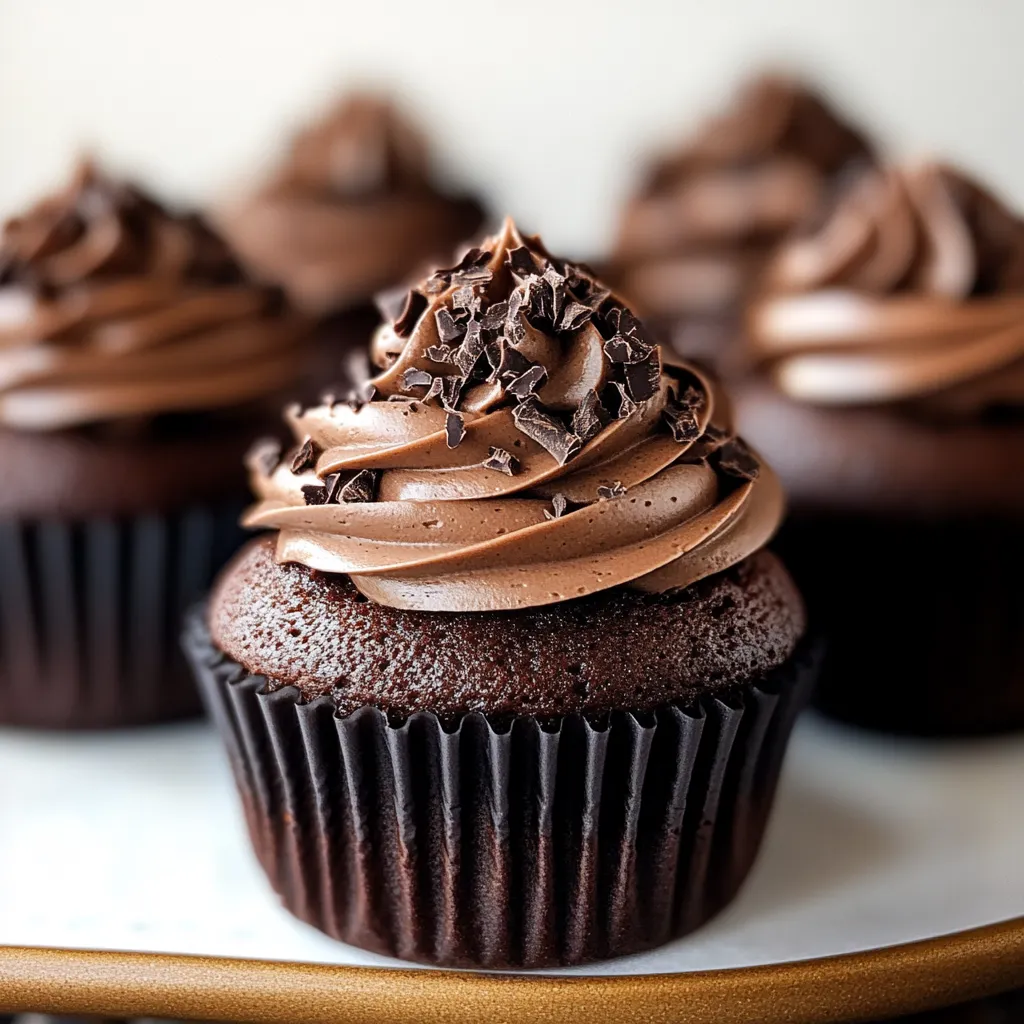
Get ready for an insanely rich and ultra tender chocolate treat that basically melts as soon as you take a bite. After messing around with different ingredient combos for way too many hours, I finally landed on what my friends now say is the most unforgettable chocolate cupcake ever. The trick? Hitting just the right sweet spot between super moist and sturdy, so each one comes out fudgy and fluffy at the same time.
I remember serving these for my daughter’s birthday and before the cake even got cut, a few people were begging for my secret. There’s just something about cocoa and real buttermilk together that makes these cupcakes taste so much better than what you’d find wrapped in plastic at the store.
Ultimate Ingredients Guide
- Vegetable oil: Go for a mild option like canola or sunflower since it keeps things moist without taking over the flavors
- Eggs: Get them to room temp so everything blends smoothly
- Unsweetened cocoa powder: Pick natural cocoa for punchier taste and sift out clumps first
- All-purpose flour: Unbleached is the way to go; measure by spooning in and leveling for accuracy
- Buttermilk: Real cultured buttermilk is key for that awesome texture, so try not to swap it out
- Baking soda & powder: Double check they’re still good by testing with water before you start
- Granulated sugar: Finer sugar disappears better in the batter and helps with the soft crumb
Epic Chocolate Cupcake Steps
- Filling and Timing:
- Use a scoop or ¼-cup to fill each cupcake liner about three quarters full. Don’t fill higher or you’ll get sad, flat tops. Bake for 18–22 minutes. Check with a toothpick—it should come out with a few soft crumbs, not sticky batter. Rotate the pan halfway for even baking love. Leave them in the tin for five minutes, then move to a cool rack so they don’t get soggy bottoms.
- Incorporation Technique:
- Pour your wet mix into the big bowl of dry ingredients. Fold them together gently with a spatula—about 15 to 20 turns should do it. Scrape the sides and bottom so no dry stuff hides out. Gently stir in half a cup of really hot water (not quite boiling). The batter will look thin but that’s perfect for max moisture.
- Temperature Management:
- Let eggs and buttermilk hang out at room temp for half an hour. Line your muffin pan with papers and hit them lightly with nonstick spray. Heat up your oven to a solid 350°F (175°C) and use an oven thermometer for confidence. Move your rack to the center so the heat’s even.
- Emulsion Creation:
- Mix the oil, room temp eggs, buttermilk, and vanilla in a bowl. Give it a good fast whisk for about a minute, until it’s a little frothy and blended. This helps lock in moisture for a beautiful soft texture.
- Mixing Method:
- Whisk together 1¾ cups flour, 1½ cups sugar, ¾ cup cocoa powder, 1½ teaspoons baking soda, 1 teaspoon baking powder, and ½ teaspoon salt in a big bowl. Do this for about 30 seconds so everything spreads out evenly and the cocoa isn’t clumpy.
 Pin it
My grandma always swore by real buttermilk when baking chocolate cakes. She said it made her cakes so tender, people would close their eyes and just sigh after that first bite. Turns out, she was right.
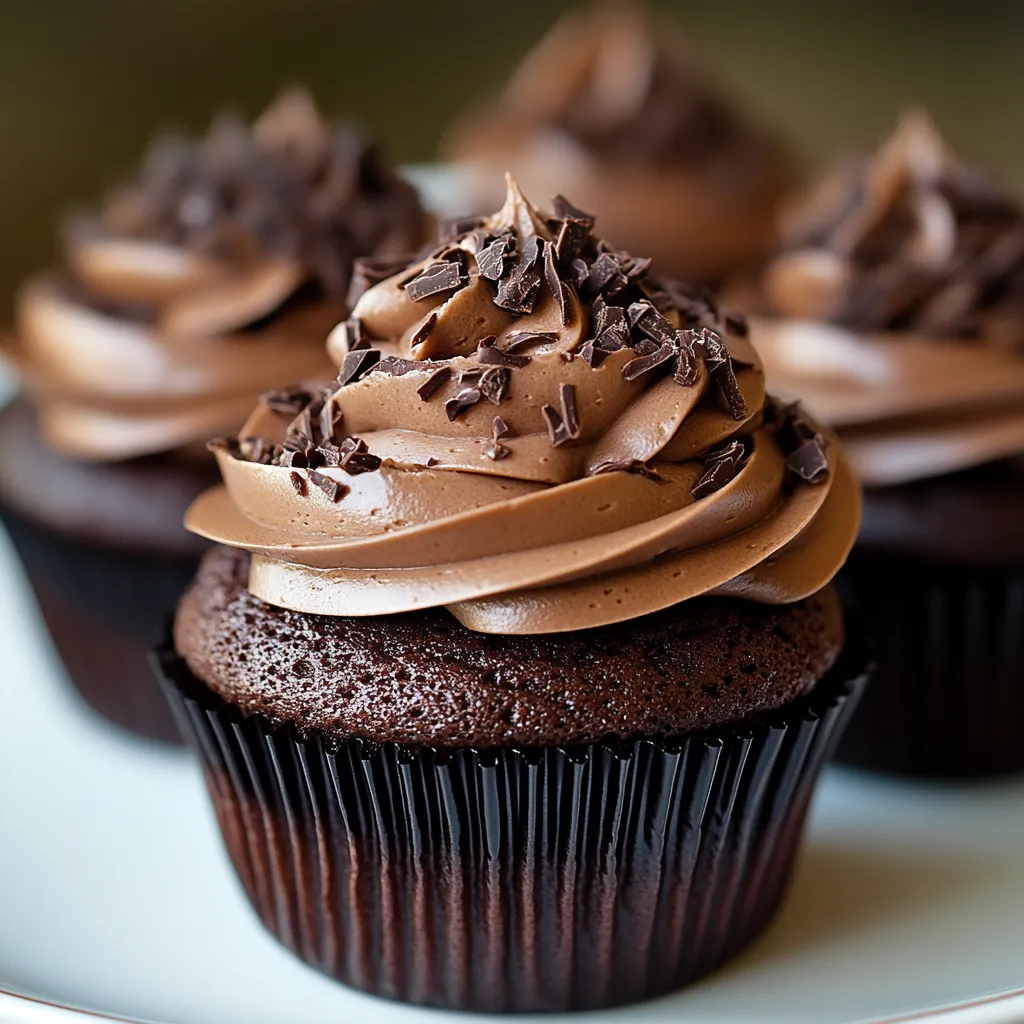
Serving Ideas
Stack these chocolate beauties on a layered stand for big impact. Let them reach room temp so the flavor really pops. Hand them out with milk or serve up with hot coffee—can’t go wrong. Want to get extra fancy? Toss on berries, cherries, or even throw on a sprinkle of gold if you’re feeling festive.
Fun Twists
Switch it up with these simple tweaks:
- Swap hot water for strong coffee—it kicks up the flavor
- Stir in a teaspoon of instant espresso powder for moodier chocolate
- Fold in mini chips to add tiny chocolate surprises
- Drop in a couple spoonfuls of raspberry jam and swirl before baking
- Spread on peanut butter frosting for an old-school favorite
Smart Storage Tips
Pack up frosted cupcakes in an airtight box and keep them on your counter—good for about three days. If you need more time, tuck unfrosted ones in the freezer (airtight, of course) and they’ll be great for up to three months. To eat, let them thaw at room temp for a couple hours before decorating. You can also whip up your frosting up to three days ahead and stash in the fridge.
 Pin it
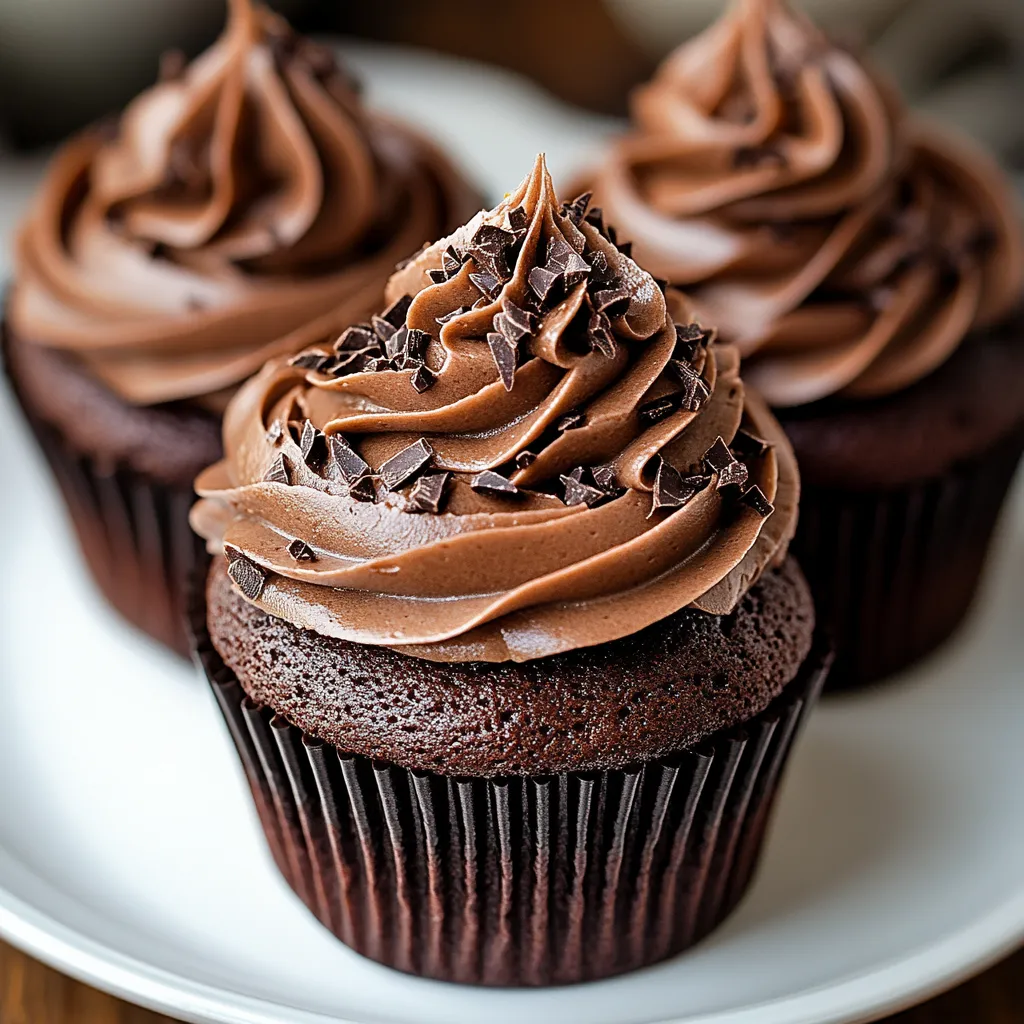
These chocolate treats nail that magical combo of luxe flavor and cozy homemade vibes. You get that big, bold chocolate taste plus a tender bite that never feels heavy. Swirl on chocolate buttercream, or get wild with your favorite toppings—either way, they’ll make any day feel like a mini party.
Frequently Asked Questions
- → Why is this cupcake batter so thin?
- It’s supposed to be that way! Pouring in hot water at the end wakes up the cocoa’s flavor and makes the mix pretty liquid, so you get crazy moist cupcakes after baking.
- → Can I switch out the buttermilk?
- Yep, you can! Just add a tablespoon of white vinegar or lemon juice to a cup of milk, let it chill for about 5-10 minutes so it curdles a little, and it’ll fake buttermilk's tang and do the job with the baking soda.
- → What’s the best way to keep them fresh?
- Pop the frosted ones in a closed container at room temp for three days. They honestly taste even more chocolatey on day two. If you want to hang onto them longer, stick them in the fridge for a week, but let them warm up before you eat so they're fluffy again.
- → Are these okay to freeze?
- Totally! Stash plain cupcakes in a sealed box in your freezer and they'll last three months. Thaw and frost later if you want. You can freeze frosted ones too, just know the top might look a bit different after thawing.
- → What keeps these cupcakes super soft?
- A few things: swapping in oil makes them moist for longer, buttermilk keeps it tender, and adding hot water thins the batter and really lets the cocoa do its thing for the softest cupcake with awesome flavor.