
 Pin it
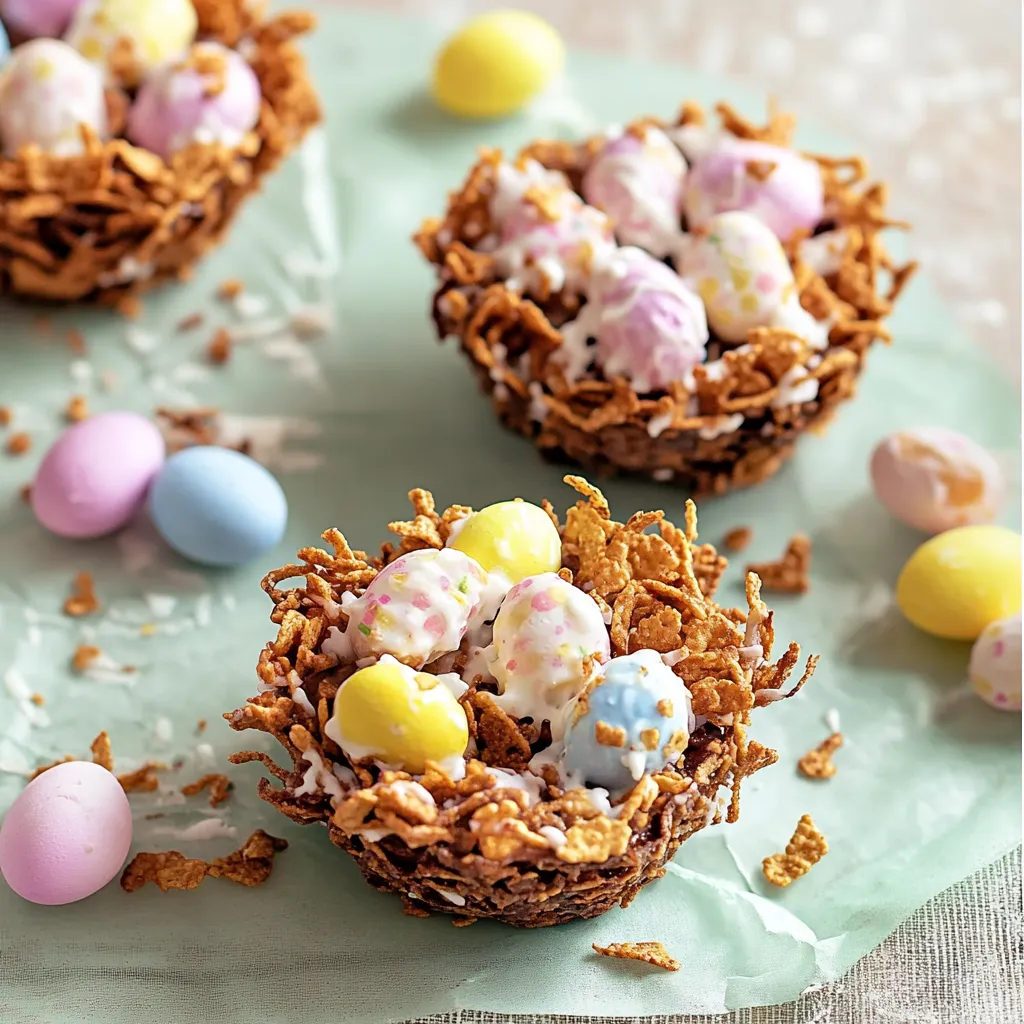
Throwback to childhood Easter comes to life when you whip up these sweet chocolate cornflake bird nests. The crunchy flakes covered in melty chocolate give you a perfect spot for those candy eggs on top. You only need a handful of pantry stuff to pull these together, and they definitely wow everyone—especially if you're running late and still want your dessert table to look fun.
We kind of made these into a yearly must-do. My niece (she was five last spring) wanted to handle everything with just a little help. Watching her carefully set those eggs on each nest made my messy counters totally worth it. You should've seen her giant grin when we put them out for everyone. Honestly, moments like that are what stick with me.
Yummy Nest Fixings
- Mini Eggs (36 pieces): These are the stars, adding pops of color and sweetness. Go with bright, fun shades for the prettiest nests.
- Clear Honey (2 tablespoons): Gives a gentle flowery flavor and a nice shine. Something mild like clover or orange blossom works best.
- Unsalted Butter (3 tablespoons): Richness and smoothness come from this. European butter (more fat) means a super creamy bite.
- Milk Chocolate (1¼ cups): This is what holds everything together—and it melts better if you pick bars with 30% cocoa or more.
- Cornflakes (3 cups): The “nest” itself! Look for whole, unbroken flakes for a cool shape.
One year, I realized I was out of golden syrup and swapped in honey while making these. The taste hit just right, so now I always use honey. My husband asks for them all the time, but I keep them just for Easter—makes them feel extra special that way.
Dreamy Nest Assembly
- Chill Until Firm:
- Once your nests are shaped, pop them in the fridge for about an hour so they set up nice and solid.
- Drop in Sweet Eggs:
- While the chocolate is still soft, push a few candy eggs into each nest so they’ll stick as everything cools.
- Craft Your Nests:
- Scoop scoops of the gooey cornflake mix into muffin liners, then shape them up with the back of a spoon.
- Mix in the Flakes:
- After your chocolate is melted, dump in all the cornflakes and gently turn them over until every flake is chocolatey.
- Melt the Chocolate Mix:
- Put chocolate, butter and honey in a heatproof bowl. Set this over a simmering pot and keep stirring till smooth and glossy.
- Get Muffin Pan Ready:
- Pop paper cups into your muffin pan so everything comes out easily later.
 Pin it
The very first time I tried these, I got impatient and stuck the nests in the freezer. They turned grayish-white in patches (still fine to eat, just ugly). Since then, I always let them chill at their own pace in the fridge. My mom loves bringing up this fail every time Easter rolls around.
Charming Display Ideas
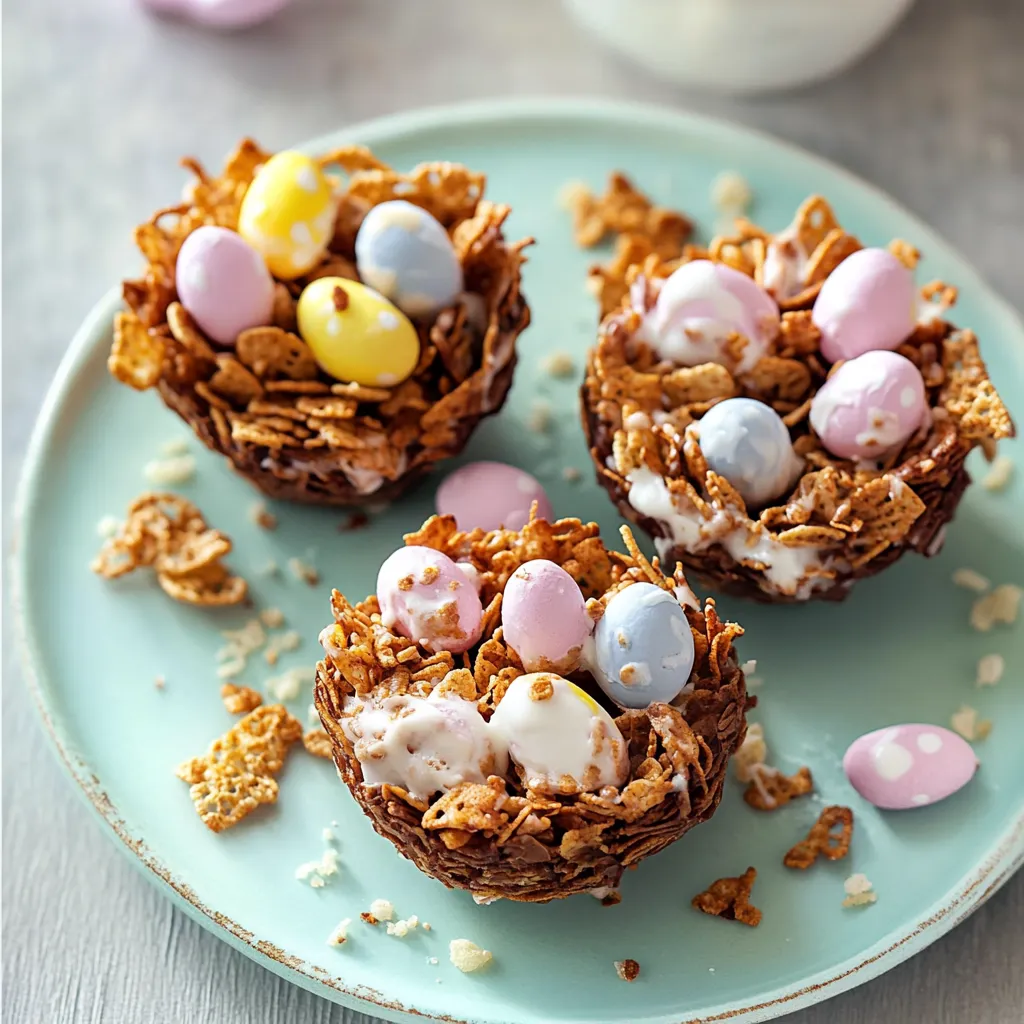
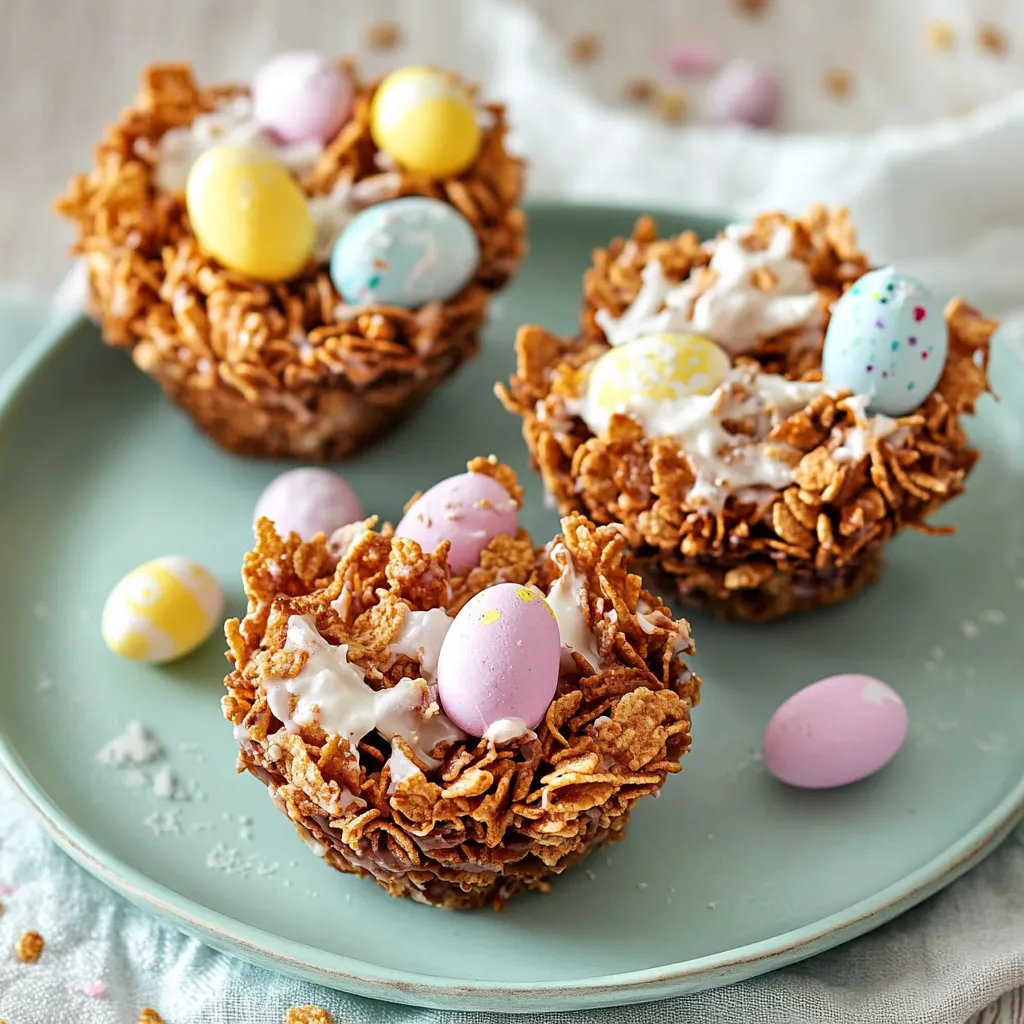
Half the fun is making them look super cute. Put your nests on a tray with green-dyed coconut for a grass effect. Use cake stands or flipped-over cups to set some nests higher for that cool layered look. Bunch them in odd numbers—they just look better that way! Three candy eggs per nest is classic, but you can switch them out for jelly beans or little foil eggs. For extra smiles, set a tiny chick toy next to each one for the kids.
Fun Tasty Twists
The best part? You can totally switch things up. Try white chocolate for a festive, bright look. Stir in a bit of lemon or orange peel to add zing. Fans of bold flavors love dark chocolate with a pinch of sea salt for a grown-up version. If you want extra chew and color, mix in tiny bits of dried cranberries or apricots. That way, your nests feel brand new every time spring rolls around.
Keep Them Fresh
To keep these crisp and flavorful, let them cool off all the way and store them in one layer in something airtight. This stops the chocolate from picking up odd fridge smells and keeps the flakes from going soggy. If you have to stack them, separate layers with parchment so they don’t stick together.
Got a hot kitchen? The fridge is your friend—just be sure to let the nests rest on the counter for 10-ish minutes before you eat so they taste best. Thinking of storing them more than a few days? Try a cool, dry shelf instead of the fridge—it helps with the chocolate getting that weird condensation.
Freezing works in a pinch. Wrap each nest in plastic wrap, then toss them in a sealed bag or box. When you want one, let it thaw at room temp so there’s no extra moisture messing with the crunch.
 Pin it
I started making cornflake nests with my kids when they were little. Now they do it with their own kids. There’s just something magical about turning everyday stuff into a treat that everyone waits for year after year. Even when we can’t get together, it’s sweet to know we’re all eating the same thing at Easter—something that ties us together, no matter what.
Frequently Asked Questions
- → Is it fine to switch the cereal in Chocolate Easter Nests?
- Totally! Go for Rice Krispies, torn Shredded Wheat, or chow mein noodles if you want them to look and crunch a bit different.
- → How long will Chocolate Easter Nests stay fresh?
- Keep them in a sealed box and they'll be good for around 5 days on the counter, or up to two weeks if you pop them in the fridge. If it's hot, stick with the fridge so they don’t melt.
- → Don’t have mini eggs—what do I use?
- Jelly beans, candy-coated sunflower seeds, Jordan almonds, or any small Easter candies work great. Make it colorful and cute!
- → Why won't my chocolate cover everything or seems too thick?
- Try adding a spoon of extra butter to loosen things up. Fold gently so you don’t crush your flakes, and keep mixing until every piece shines.
- → Can I make these Chocolate Easter Nests fully vegan?
- Yep! Go for vegan chocolate, skip honey for maple syrup, pick plant butter, and top with egg-shaped vegan sweets or dried fruit.