
 Pin it
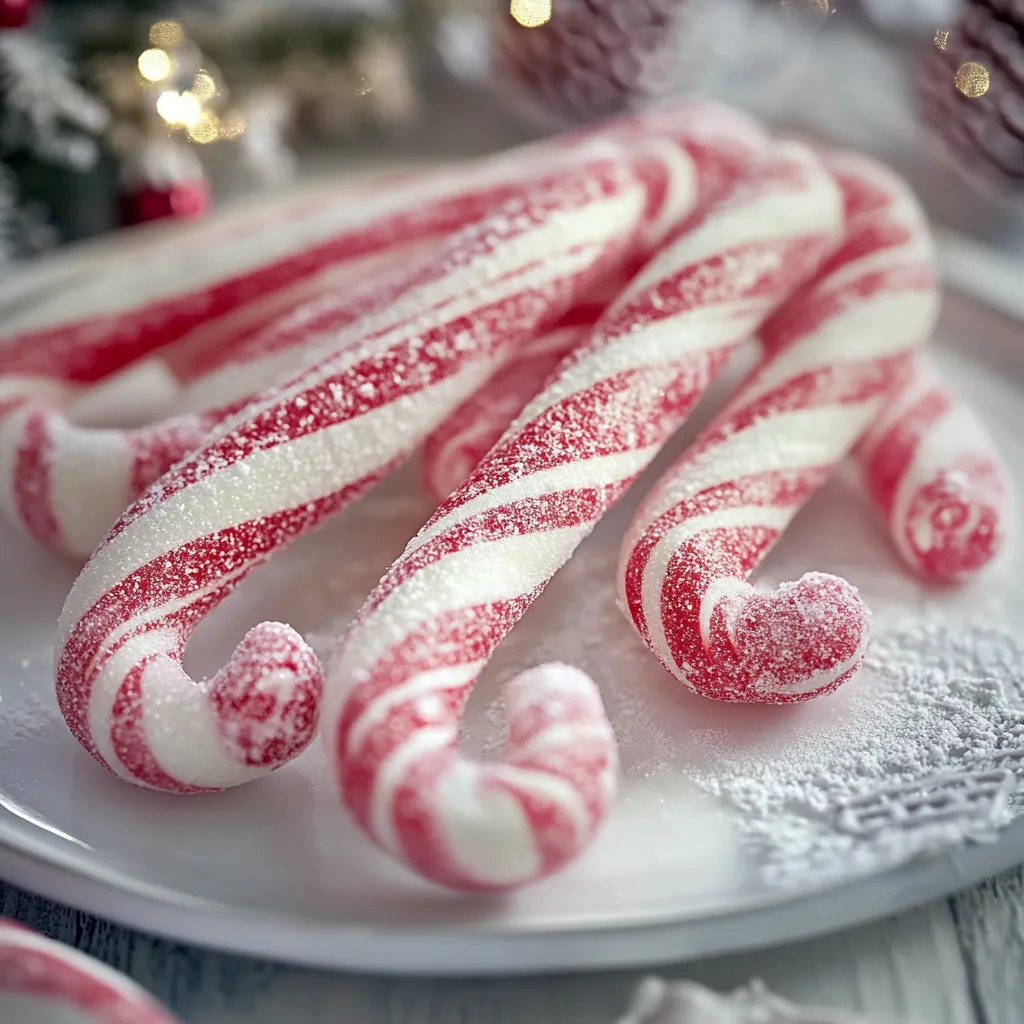
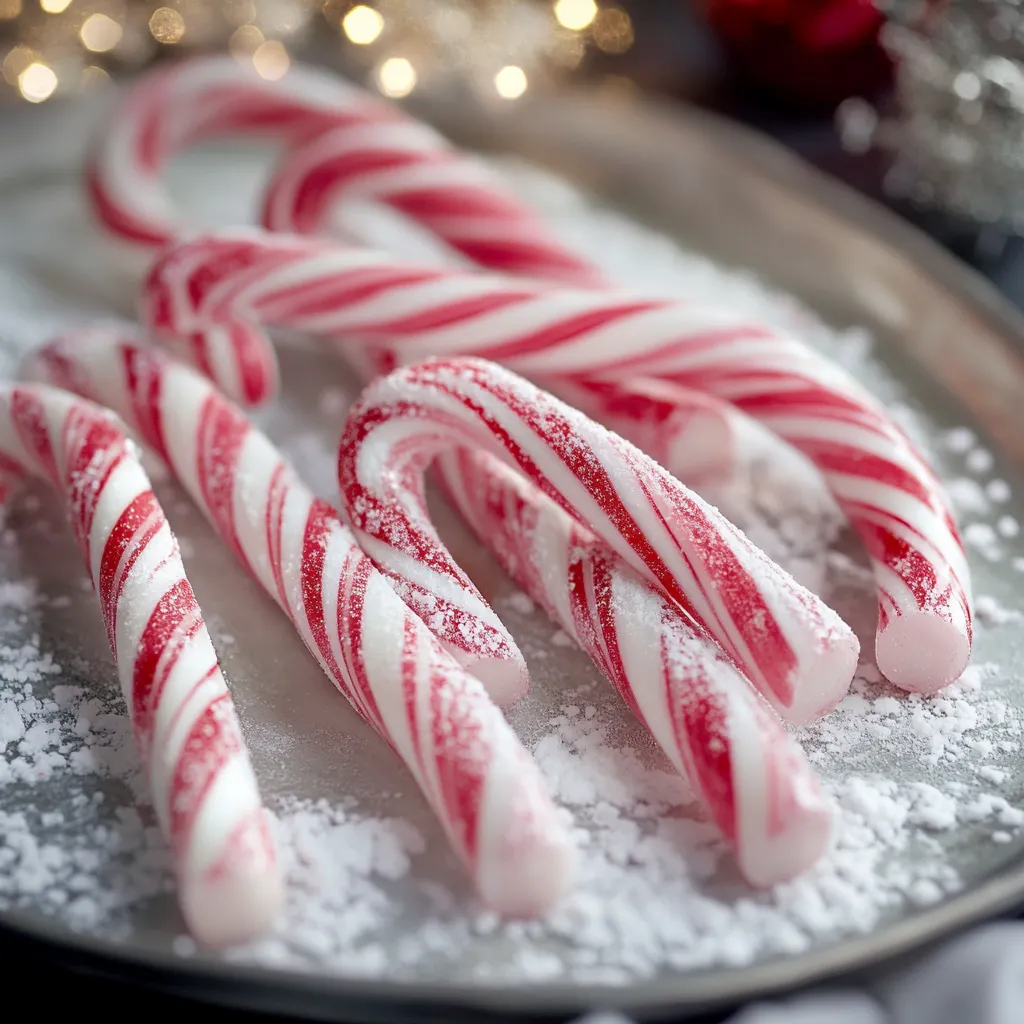
Bring holiday magic straight to your kitchen with this handmade candy cane creation. When you make these yourself, you'll get that pure peppermint kick and bright colors that just can't compare to what you'll find at the store.
I first tried making these candy canes when my kids were little because I wanted special holiday traditions. Now, fifteen years in, our yearly candy-making session kicks off our Christmas celebrations, and the neighbors ask for our treats every December.
Ingredients
- Granulated sugar: forms the sweet foundation and gives that needed hard texture when it sets up
- Light corn syrup: keeps the mix from getting grainy so your candy stays nice and smooth
- Water: dissolves the sugar at first but goes away as everything cooks down
- Peppermint extract: gives that classic cool taste that works best when added after cooking
- Red gel food coloring: creates those famous stripes without making your candy too runny
Step-by-Step Instructions
- Prepare Workspace:
- Getting ready first saves headaches later. Cover several baking sheets with parchment and coat your marble slab or counter with butter or shortening. The candy will harden fast, so having everything set up before you start really matters.
- Cook Candy Mixture:
- Mix sugar, corn syrup, and water in a sturdy pot over medium heat. Keep stirring with a wooden spoon until you can't see any sugar crystals anymore. Put your candy thermometer on the pot's edge, then let the mixture cook without touching it until it hits exactly 300°F (hard crack stage). This usually takes between 10-15 minutes, depending on your stove.
- Flavor and Color:
- Take the pot off the heat right when it reaches temperature. Carefully but quickly stir in the peppermint extract, and step back since it'll bubble up with strong smell. Pour half the clear mixture onto your buttered surface. Put several drops of red gel coloring into what's left in the pot and mix fast to spread the color throughout.
- Shape Candy Canes:
- Pour the red candy onto another greased spot. Let both colors cool about 2 minutes until they're safe to touch but still bendable. Stretch and fold each color on its own to add air, which makes them shiny and opaque. Split each color into 12 equal bits. Roll each piece into a rope, twist the red and white pieces together, then bend one end to make that famous candy cane hook.
- Cool Completely:
- Move the shaped canes carefully onto your parchment sheets. Let them sit untouched for at least 4 hours or better yet, overnight. This waiting time lets the sugar structure fully harden, giving you candy canes that break cleanly instead of just bending.
 Pin it
What I love most about making these is watching plain syrup turn into shiny, striped treats. I'll never forget when my daughter twisted her first perfect candy cane all by herself - her beaming face was sweeter than any candy we'd ever made.
Troubleshooting Sugar Candy
The biggest issue with homemade candy canes is getting the temperature just right. If your candy gets too hard while you're working with it, keep a heating pad set on low nearby to warm pieces briefly. On the flip side, if your candy never fully hardens, you probably took it off the heat before it hit that crucial 300°F hard crack point, and sadly there's no way to fix it after it cools.
Storage Recommendations
Homemade candy canes soak up moisture from the air. Wrap them individually in cellophane or put layers of parchment paper between them in sealed containers. Keep them somewhere cool and dry, away from steam sources like your dishwasher or stove. When stored properly, they'll stay tasty and crunchy for about three weeks.
Flavor Variations
Traditional peppermint candy canes are the crowd favorite, but this basic recipe works great for trying new things. Switch out the peppermint extract with cinnamon, wintergreen, or orange oil for different tastes. Grown-ups might enjoy adding a tiny bit of pure vanilla extract with the peppermint for something more complex. Try playing with different color combos too - maybe blue and white for a winter theme or green and red for a classic Christmas look.
 Pin it
Frequently Asked Questions
- → What stops candy from sticking to hands while shaping?
Wear gloves or rub a little oil on your hands to stop the candy mix from sticking while you work.
- → Can the candy flavor be changed?
Sure thing! Replace peppermint extract with options like almond, cinnamon, or vanilla for your twist.
- → Which food color is best?
Gel-based coloring works amazingly. It gives bright shades without messing up the candy’s texture.
- → How long do I wait before packing the candy?
Let the candy cool completely. Give it at least 4 hours or, ideally, leave it overnight before locking it up in a container.
- → Is a marble slab a must?
If you don’t own one, a non-stick counter prepped with grease or a sturdy silicone mat works just as well.
- → How do I get the candy to the right stage?
Keep a candy thermometer handy and cook until the mix hits the 300°F mark for the classic hard snap feel.