
 Pin it
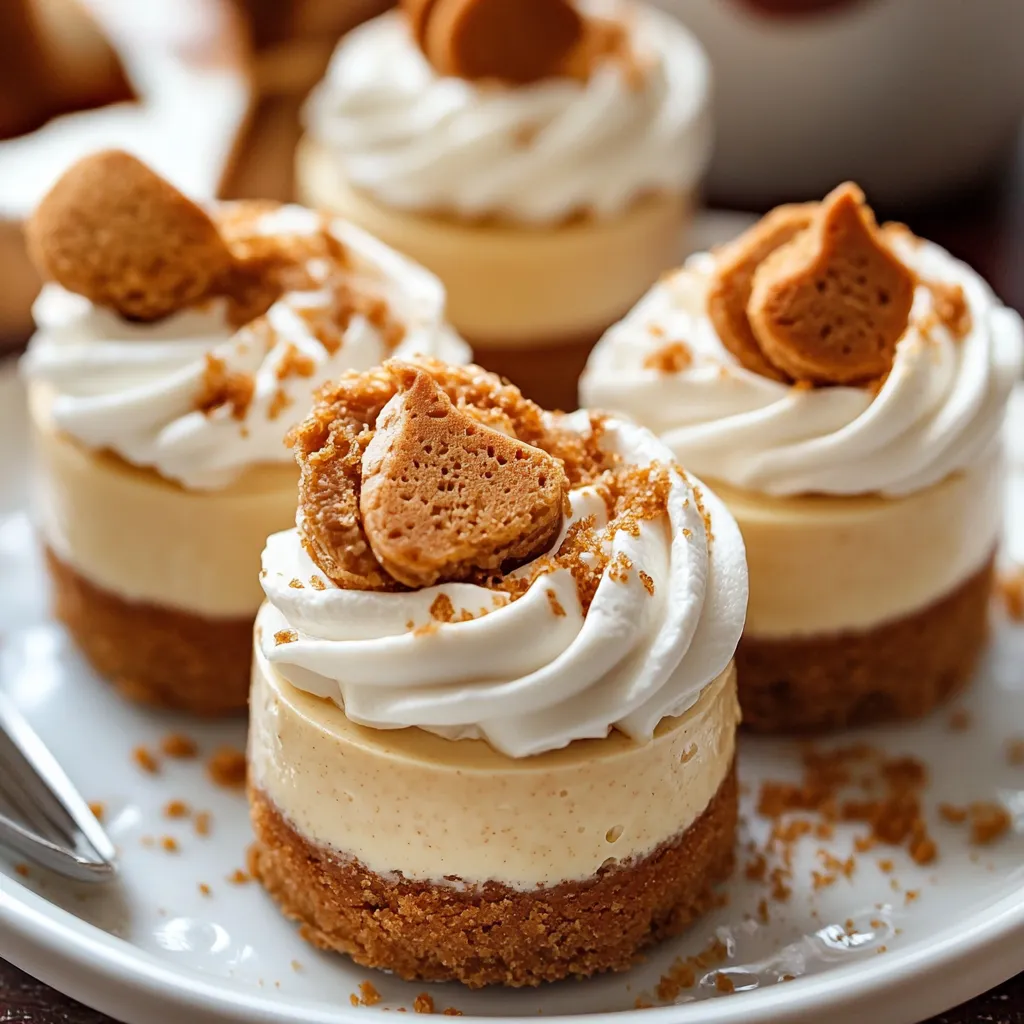
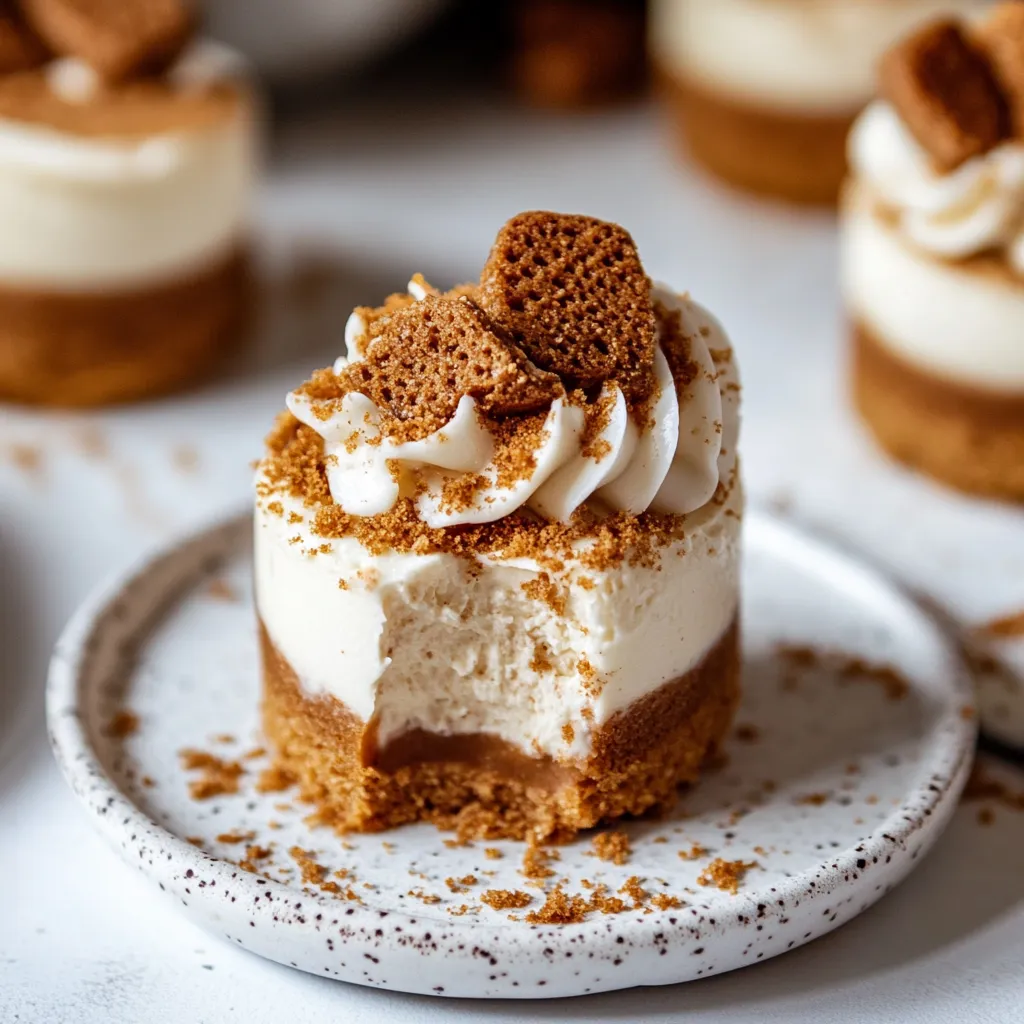
Little cheesecakes with an ultra-creamy center and a blast of cookie butter flavor hit the spot every single time—all without firing up the oven. You’ve got a crunchy Biscoff cookie base at the bottom, then a fluffy no bake cheesecake filling loaded with sweet, warm spices from those famous European cookies. Every smooth spoonful is both sweet and a bit spicy in a way that’s hard to forget. These are a breeze for parties or any occasion when you want a wow-worthy dessert with hardly any effort.
Biscoff spread was love at first taste on a Belgium trip for me, and I couldn’t resist sliding it into every dessert I made. Take one batch of these cheesecakes to a holiday get-together, and instantly they’ll become your signature dessert—I know because that’s what happened to me. Even my tough-to-please mother in law asked if I’d share how I made them! My proudest moment? A friend who bakes for a living thought I trained as a pastry chef because of these little bites.
Irresistible Ingredients
- Pinch of salt: Lifts all the flavors and keeps things from getting too sweet
- Pure vanilla extract: Makes the spice notes taste even deeper
- Powdered sugar: Blends right in, so you get that silky texture
- Sour cream: Gives a little tang and helps the filling feel smoother
- Cookie butter: Packs in the bold Biscoff taste throughout
- Heavy cream: Brings super airy lightness after getting whipped up
- Full fat cream cheese: Adds just the right amount of richness and helps it set nicely
- Biscoff cookies: These crumbs become your sturdy base and add their unique spiced caramel taste
Simple Instructions
- Add Finishing Flair:
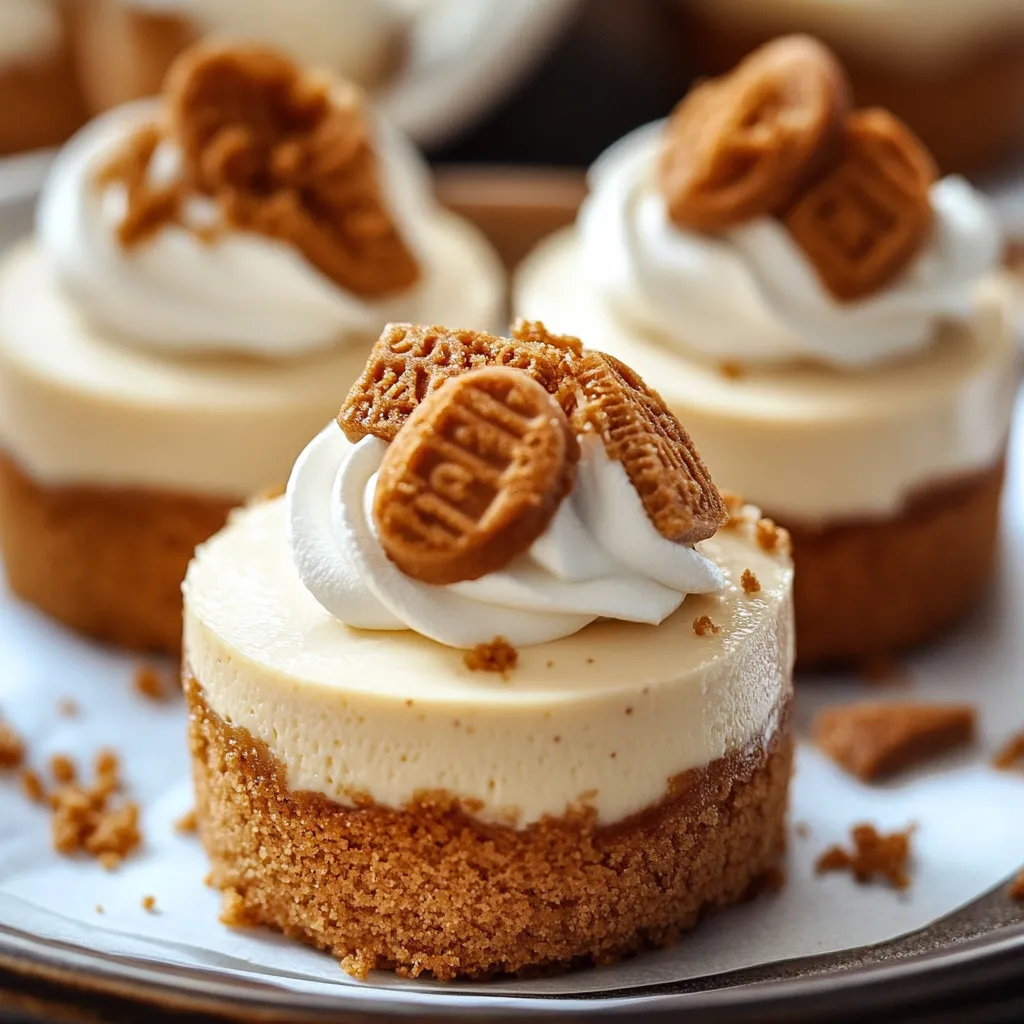
- Warm up a spoonful of cookie butter till it's runny, then pour over every cheesecake. Pop a Biscoff cookie on top and swirl on a bit of whipped cream if you like. Dive in.
- Spoon In and Chill:
- Get your mix into a piping bag or use a spoon to fill up your prepared crusts. Smooth out the tops. Let these chill in the fridge for at least six hours, but overnight works even better.
- Put it All Together:
- Spoon about a third of the whipped cream into your cheesecake base. Fold it in easy. Then do the rest of the whipped cream gently in two parts—you don’t want to lose all that fluff.
- Mix Up the Filling:
- Beat cream cheese so it’s totally smooth, then add your powdered sugar little by little. Next, toss in the cookie butter, sour cream, vanilla, and salt. Keep beating till it looks uniform.
- Whip Your Cream:
- Chill your bowl and beaters. Beat cold heavy cream until you see stiff peaks, then stick it in the fridge while you prep everything else.
- Start the Crust:
- Grind Biscoff cookies until you get fine crumbs. Pour melted butter over them and give it a mix. Divide the mixture between your mini pans or muffin molds and really press it down.
 Pin it
Through trial and error, I found out these turn out craziest good if you give them a full night in the fridge, not just a few hours. My daughter now picks these instead of a regular birthday cake. First time I brought them to a big party, folks guessed they’d come from a fancy bakery. Couldn’t believe they’re no bake and super easy! Even though they look fancy, you barely have to work at all to make them.
Serving Ideas
Make these stand out by serving them on a wood or slate board for a cozy-cool vibe. Top with fresh strawberries or raspberries so you get a pop of color and brightness. Sprinkle with cinnamon or cocoa for fun. Dust on some edible gold for instant glam. These go perfectly with an espresso or bold cup of coffee—rich and creamy meets smooth and strong.
Fun Twists
Switch things up and try new versions. Melt dark chocolate and blend it in for a chocolate Biscoff twist. Toss in a sprinkle of espresso powder for a mocha vibe. When it’s sunny, shave in a little lemon or orange zest for zing. If it’s the holiday season, try a pinch of ginger, cinnamon, or nutmeg for extra spice.
Storing Tips
Store them covered in the fridge, and they’ll be good for four days. Want to save some for later? Wrap each one tight and stick them in the freezer for up to three months. Just thaw them in the fridge overnight. For Instagram-worthy looks, freeze them plain and decorate after they’re thawed.
Handy Hints
Dip your knife in hot water for smooth, clean slices. Press the crust using a cookie stamp for a perfectly even base. Top with crunchy bits to get that mix of texture that looks amazing.
 Pin it
What's awesome about these mini no bake cheesecakes is how they feel fancy without being a pain to make. You'll spend barely any time mixing them up, but the final result totally thrills the crowd. The caramel spice flavors really do stand out—you don’t get this with the typical variety. They’re made for summer when firing up the oven is the last thing you want. Honestly, they fit in at chill hangouts or dressy parties. Everyone’s always blown away and begging to know how you pulled them off.
Frequently Asked Questions
- → Is it fine to use a full-size cheesecake tin?
- Totally! Try a 9-inch springform and let it chill at least 8 hours, so it gets nice and firm.
- → Best way to get the cheesecakes out of the pan?
- Pop a small knife around the sides, then slowly push from underneath. Muffin liners? Just lift the whole thing right out.
- → Is freezing okay for these?
- You sure can—just skip the warm cookie butter on top until serving. Stash ‘em in the freezer for up to three months, then let them thaw out in your fridge and add the final layer before digging in.
- → What if I don’t have cookie butter?
- Give peanut butter or Nutella a shot. They won’t match the classic taste, but they’ll still make a yummy dessert.
- → Why did my cheesecake filling stay too soft?
- Double-check you whipped the cream till it was super thick, and let the cheesecakes chill for a solid 6 hours, or even better, overnight.