Raspberry Lamingtons

Featured in: Sweet Treats for Every Occasion

These raspberry lamingtons bring a fun pop of pink to the old-school Aussie classic. The trick? A super light hot milk sponge, whipped up by beating eggs and sugar till they puff up, then folded with warm milk and butter to make it moist but sturdy for those dips. The raspberry outer layer clings just right thanks to gelatin, so the cake won’t get soggy. Roll them in desiccated coconut for sweet, nutty crunch outside and fruity, soft inside. They look gorgeous and taste even better—great for parties or your next afternoon break.
A woman in a kitchen smiling.
By Chloe Chloe
Updated on Wed, 14 May 2025 19:51:14 GMT
Rows of pink raspberry lamingtons dusted with coconut on a white platter. Pin it
Rows of pink raspberry lamingtons dusted with coconut on a white platter. | cookitdelish.com

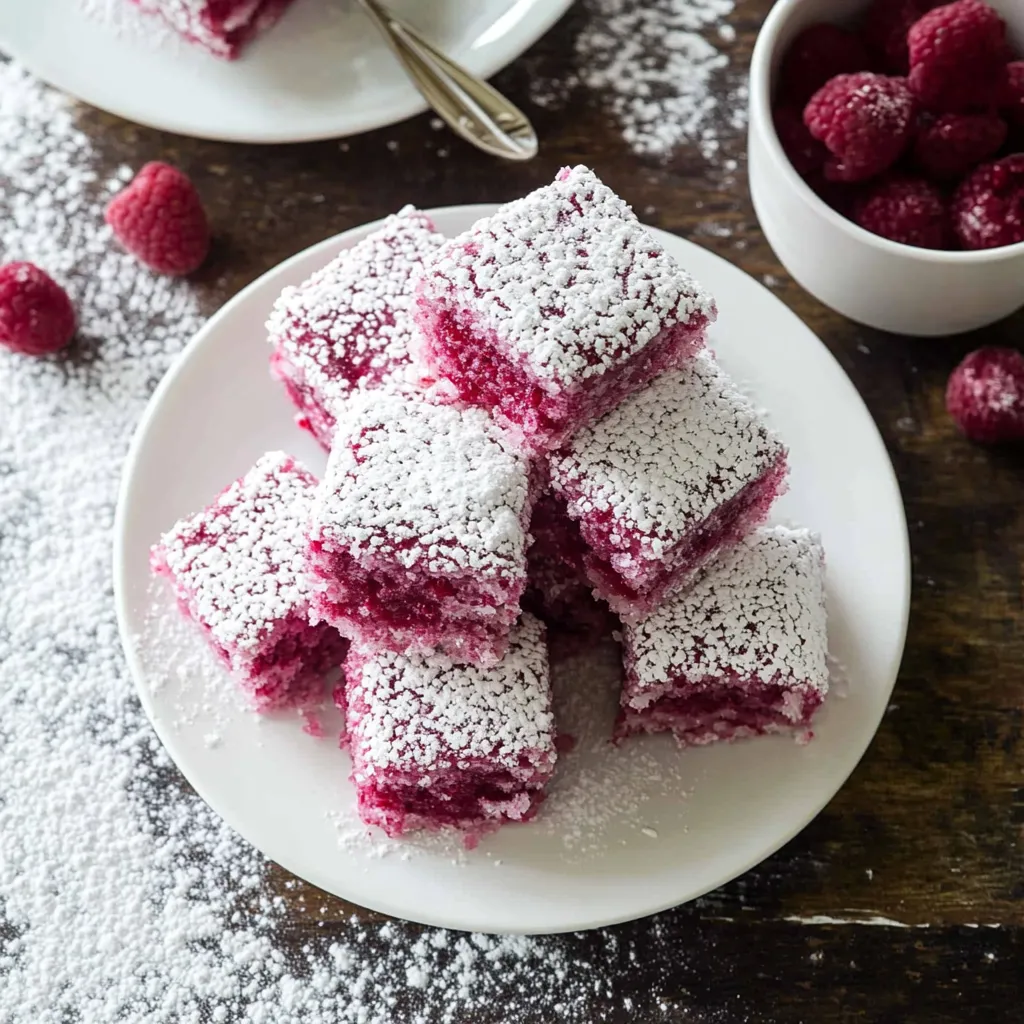
Classic Aussie favorites get a pop of berry fun with these raspberry lamingtons. Fluffy chunks of vanilla sponge cake soak up a bright red glaze, then get smothered in coconut for that signature soft-meets-crunchy bite. Every mouthful brings together sweet cake, zippy raspberry, and sunny coconut. They’re just right for celebrations or when you want to jazz up your afternoon tea.

I first came across raspberry lamingtons while poking around a little bakery in Melbourne way back. The bright pink instantly stood out from all the usual chocolate ones. When I finally tried to make them at home myself, my kitchen looked like a coconut tornado hit. Still, I’d say it was more than worth the mess. My friends keep asking for these lively pink squares anytime we hang out. I never mind since they’re actually simple, even if they look fancy.

Essential Elements

  • Desiccated Coconut: Gives the classic coating for that unmistakable finish and texture
  • Gelatin Powder: Helps the glaze set just right so the coconut sticks perfectly
  • Quality Raspberries: Bring bold color and bright taste to the glaze—strain out the seeds so everything stays smooth
  • Cake Flour: Makes the cake soft and lets it soak up the berry glaze without getting soggy
  • Whole Milk: Heat with butter for richness and a tender sponge
  • Fresh Eggs: Beat with sugar so the cake turns light and airy while baking

Getting Neat Squares

Baking Just Right:
Pop the sponge in the oven until the middle is done and a toothpick comes out clean. Let it cool off fully before you cut it.
Egg Fluffing:
Whip up eggs and sugar on high until they’re pale and triple in size—when you lift the beater, ribbons should slowly fade in.
Combining Gently:
Carefully mix in the dry stuff so you don’t squish out the air bubbles, then pour in the warm milk and butter to keep things fluffy.
Prepping the Sponge:
Get your pans ready with butter and parchment, then warm up the milk and butter on the stove—melt them but don’t let it bubble.
A stack of white and red raspberry desserts. Pin it
A stack of white and red raspberry desserts. | cookitdelish.com

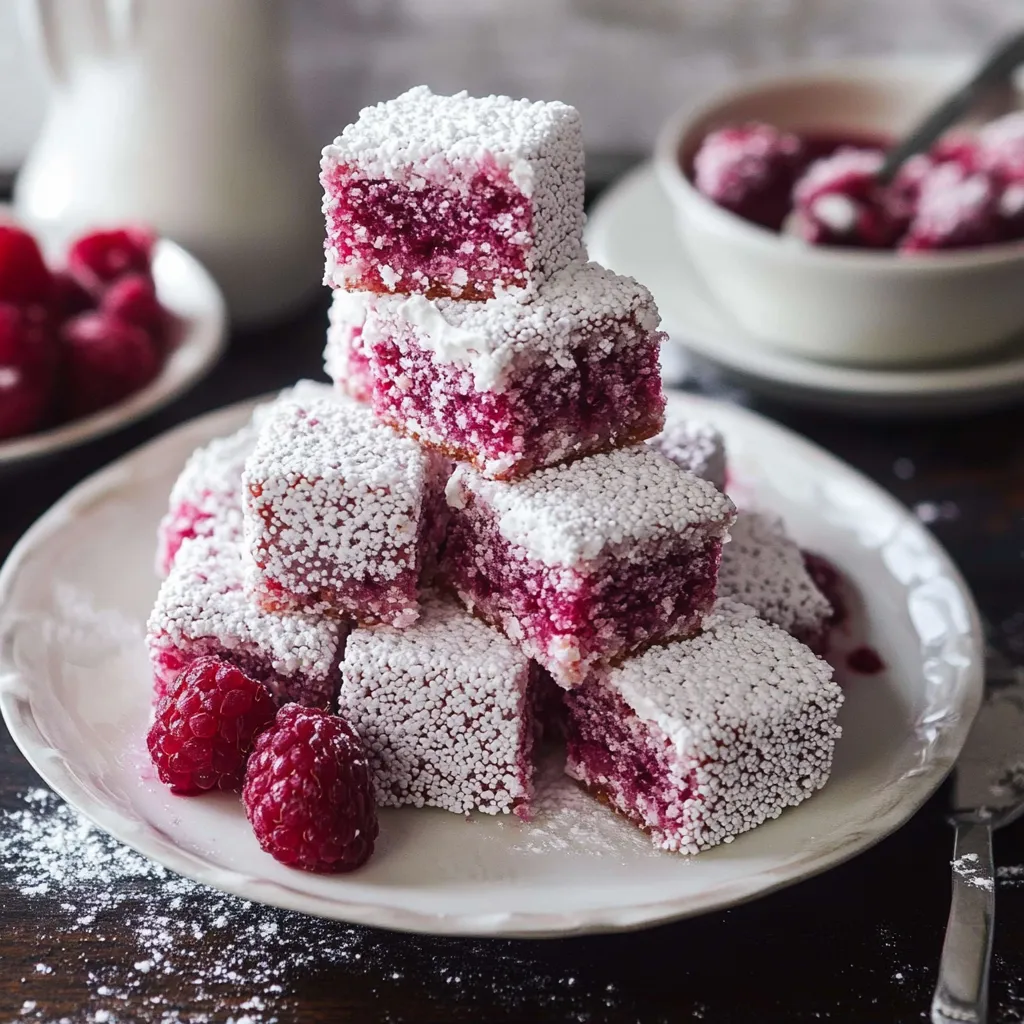
Patience made all the difference when I was learning to coat these lamingtons. Rushing led to a glaze that soaked in and disappeared, instead of giving a nice glossy layer. Now I wait until it’s cool and syrupy—kinda like maple syrup—so it actually coats but isn’t too thick. That trick took my lamingtons from “just okay” to ones you’d swear came from a pro bakery. Every slice came out with that pretty raspberry look.

Easy Assembly

Once your sponge is totally cool, cut it into squares and trim off the darker edges. Freeze them for about 20 minutes so they’re less crumbly. Get your setup ready with bowls of glaze, coconut, and a wire rack. Dip each piece in the glaze, let the extra drip away, then roll it around in the coconut. Let them hang out for at least half an hour before digging in.

The Texture Switch-Up

Want extra vibes? Toss some lemon zest into your batter for a zingy twist. Make a surprise center by adding jam between cake layers. For a fun shape, punch out circles with a cookie cutter or layer thin slices with whipped cream to make a pretty dessert stack.

Keeping Them Tasty

Stash them in an airtight box in a single layer, or slip parchment between layers if you need to stack. They’ll last in the fridge up to three days—just bring them to room temp before serving. You can freeze the cut (but not yet glazed) sponge for a month. Or save finished lamingtons in the freezer for a sweet treat anytime.

A plate of dessert with white powder on top. Pin it
A plate of dessert with white powder on top. | cookitdelish.com

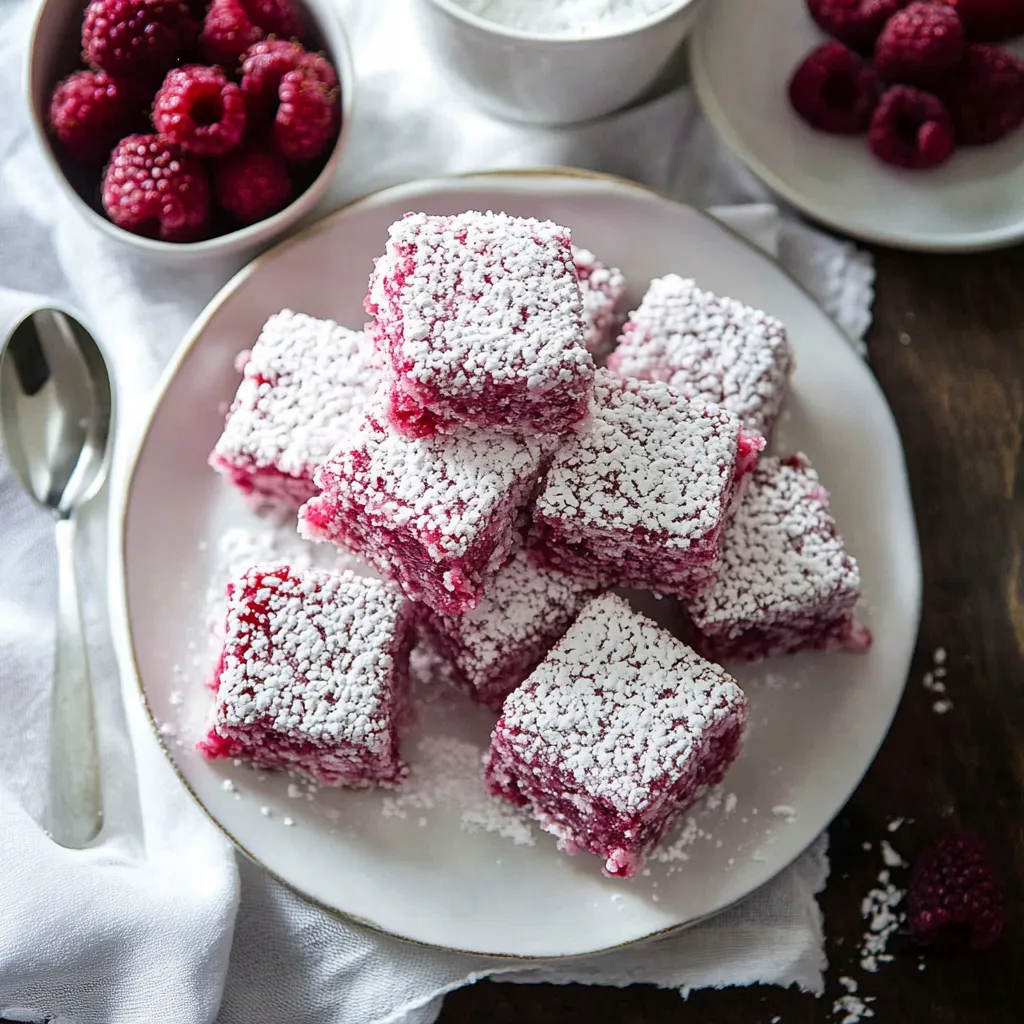
Diving into these raspberry lamingtons helped me feel part of Aussie baking traditions and scratch my itch for berry goodies. What started as curiosity over that bright pink twist has become my go-to dessert. They always get a big reaction, whether I’m serving them at a chill hangout or something a bit fancier. The way the cake, fruit, and coconut come together just works magic with such simple stuff.

Frequently Asked Questions

→ Is it okay to prep raspberry lamingtons a day or two early?
Definitely! Make them one to two days before you need them. Keep them sealed up on the counter or chill them in the fridge. They get even tastier after a bit of time.
→ Why do I have to whip eggs and sugar so long?
Giving eggs and sugar a long mix (like 8–15 minutes) helps pump in air, so the cake turns out extra light and fluffy, even without lots of baking powder.
→ Could I swap in fresh raspberries instead of frozen?
Of course! Just trade the frozen ones for the same amount of fresh. Don’t bother thawing, just toss fresh straight in with the sugar syrup.
→ Help! My glaze seems runny—what now?
If the glaze looks too thin, sprinkle in more powdered sugar a spoonful at a time till it gets thick enough. Too thick? Add splashes of water, just a little at a time.
→ Is it possible to make chocolate lamingtons with this?
You bet. Swap the raspberry glaze for a chocolate one—just mix up confectioners’ sugar, cocoa powder, a pat of butter, and some milk, heat till smooth, then dunk cake squares and coat them in coconut.

Raspberry Lamingtons

Bite into soft raspberry lamingtons—pillowy hot milk sponge, dipped in tangy berry syrup, and tucked in a blanket of coconut. A classic treat with a fruity, modern edge.

Prep Time
30 Minutes
Cook Time
35 Minutes
Total Time
65 Minutes
By Chloe: Chloe

Category: Desserts

Difficulty: Intermediate

Cuisine: Australian

Yield: 16 Servings (16 portions)

Dietary: Vegetarian

Ingredients

→ Hot Milk Sponge Essentials

01 6 tbsp butter
02 1 cup milk, whole
03 ½ tsp salt
04 1 tbsp vanilla extract
05 5 eggs, large
06 2 cups (220g) cake flour
07 2 cups (400g) sugar, granulated
08 2 tsp baking powder

→ Raspberry Glaze Coating

09 2 cups shredded coconut
10 10 oz raspberries, frozen and thawed
11 ¼ tsp optional red food dye
12 2 tsp gelatin, powdered
13 1¼ cups water, split
14 1 cup (200g) sugar, granulated
15 2 cups (250g) powdered sugar

Instructions

Step 01

Take a bowl of warm water and let the eggs, still in their shells, sit in it. This preps them to whip up extra fluffy later on. While they soak, get the baking tins ready and measure the other stuff.

Step 02

Set your oven to 350°F (175°C). Grease two 8-inch square pans very well, dust some flour over them, and put a square of parchment at the bottom to ensure it doesn’t stick.

Step 03

In a small pot, melt butter into the milk over low heat. Don’t let it bubble! Keep the mixture just warm until it’s time to mix later. This step adds that nice sponge texture.

Step 04

Beat the eggs (warmed ones) with the sugar on high speed in a large bowl. It takes around 8-15 minutes! When it’s pale yellow and has tripled its size, you’re ready. It should fall in ribbons when you lift the mixer.

Step 05

Sift the flour, salt, and baking powder right over your whipped eggs mixture. Scoop and fold gently with a big spatula, stopping once there’s just a bit of flour streak left. Don’t overmix or you'll ruin the airiness.

Step 06

Take the warm milk-butter combo and stir in the vanilla. Then, pour it all into the batter and mix it gently by hand. Scrape the edges and bottom to make sure there aren’t any pockets of flour hiding.

Step 07

Pour the batter evenly into your prepared pans and bake for 30-34 minutes. Start checking around the half-hour mark by poking the middle with a toothpick—it should come out clean or have a few crumbs.

Step 08

Once the cakes are baked, leave them in the pans to cool completely on a wire rack. This makes handling them a breeze later. Use a knife to loosen edges before flipping them out.

Step 09

Sprinkle gelatin over ¼ cup water in a small bowl and let it sit for about 5 minutes to ‘bloom.’ In another pot, cook frozen raspberries with sugar and 1 cup water until the berries break down after a few minutes, stirring often.

Step 10

Push the raspberry mixture through a strainer into a bowl, squeezing out all the juice. Toss out the seeds. Microwave the bloomed gelatin until it’s liquidy, then whisk it into the raspberry mix. Pour the raspberry syrup over powdered sugar and whisk it smooth. Add food dye for more pop if you like, then let it chill a bit in the fridge until it thickens.

Notes

  1. This twist on an Aussie favorite features a fluffy hot milk sponge dressed in tangy raspberry and coated with coconut shreds.
  2. Using the warmed milk technique gives the cake extra moisture while keeping the texture airy.
  3. Take your time whipping the eggs since the air here is what keeps the cake tall and light.

Tools You'll Need

  • Two square cake pans (8-inch)
  • Baking parchment
  • Stand mixer or handheld mixer with large bowl
  • Small saucepan
  • A fine strainer
  • Cooling rack for cakes
  • Flexible spatula

Allergy Information

Please check ingredients for potential allergens and consult a health professional if in doubt.
  • Includes milk products
  • Contains eggs
  • Made with wheat/gluten
  • Has coconut

Nutrition Facts (Per Serving)

It is important to consider this information as approximate and not to use it as definitive health advice.
  • Calories: 325
  • Total Fat: 9 g
  • Total Carbohydrate: 59 g
  • Protein: 4 g