S'mores Bars No-Bake

Featured in: Sweet Treats for Every Occasion

S'mores Bars combine the classic graham cracker, chocolate, and marshmallow trio into a convenient, no-oven-needed dessert. The bottom is a buttery cracker crust with just the right crunch. A smooth, rich chocolate layer in the middle is made by melting semi-sweet chips with condensed milk. Mini marshmallows sit on top, adding that signature gooey sweetness, and optional extra chocolate chips amp up the flavor. Unlike regular s'mores, these can be prepped in advance and chilled for later. Easy and perfect for summer fun without the fireplace.
A woman in a kitchen smiling.
By Chloe Chloe
Updated on Sat, 10 May 2025 18:22:40 GMT
A square dessert with whipped cream and chocolate chips on top. Pin it
A square dessert with whipped cream and chocolate chips on top. | cookitdelish.com

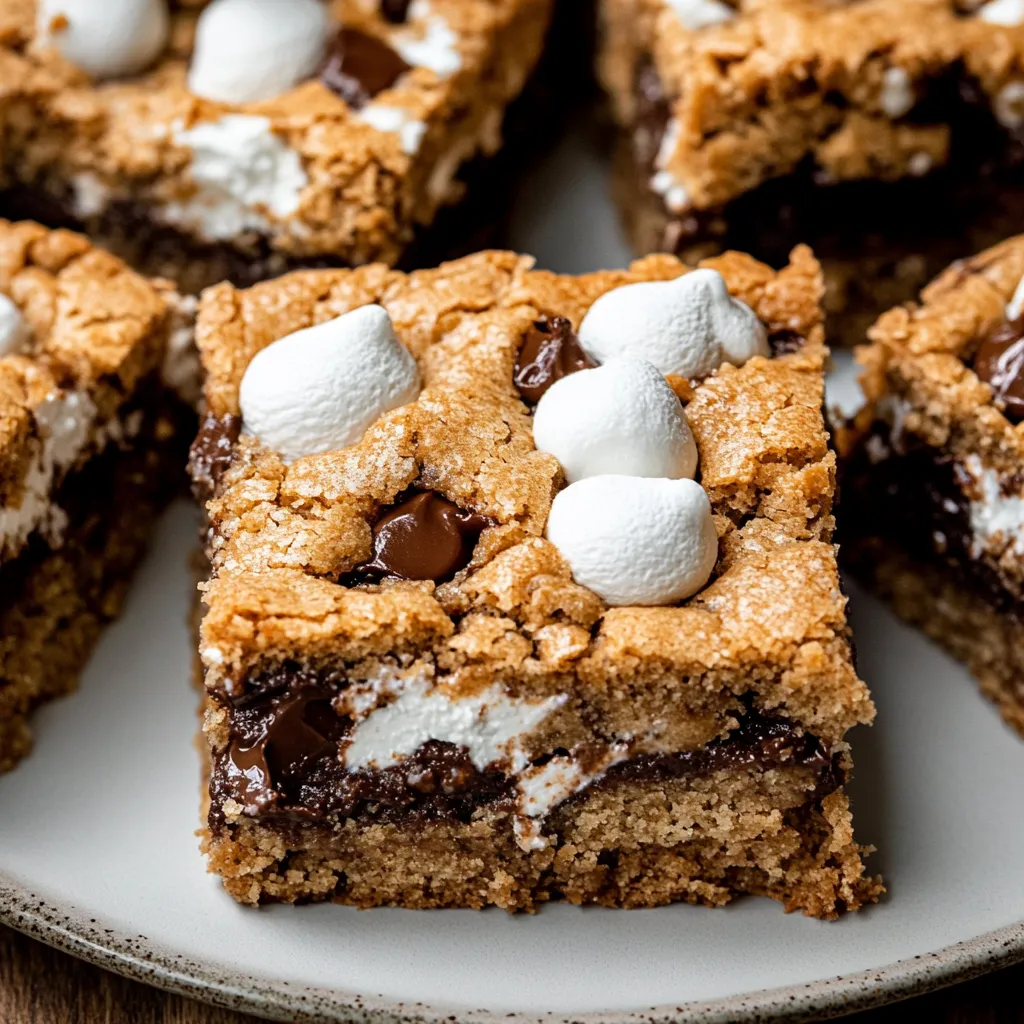
These No-Bake S'mores Bars pack all the magic of traditional fireside treats without needing matches or stacks of graham crackers. The combo of crisp graham base, velvety chocolate middle, and fluffy marshmallows makes a sweet that brings back those warm summer vibes in each mouthful. Every layer works together while still keeping what makes it special – the crunch at the bottom, the smooth center, and the soft, puffy top.

I took a batch to my neighbor's cookout last week and they were gone in minutes – fastest empty plate on the dessert table. Even my hubby who always says 'I'm not into sweets' gobbled up three pieces and begged me to whip up another batch right away. There's just something about marshmallows and chocolate that turns everyone into kids again.

What You'll Need

  • For The Base: Graham cracker crumbs, melted unsalted butter.
  • For The Middle: Semi-sweet chocolate chips, sweetened condensed milk.
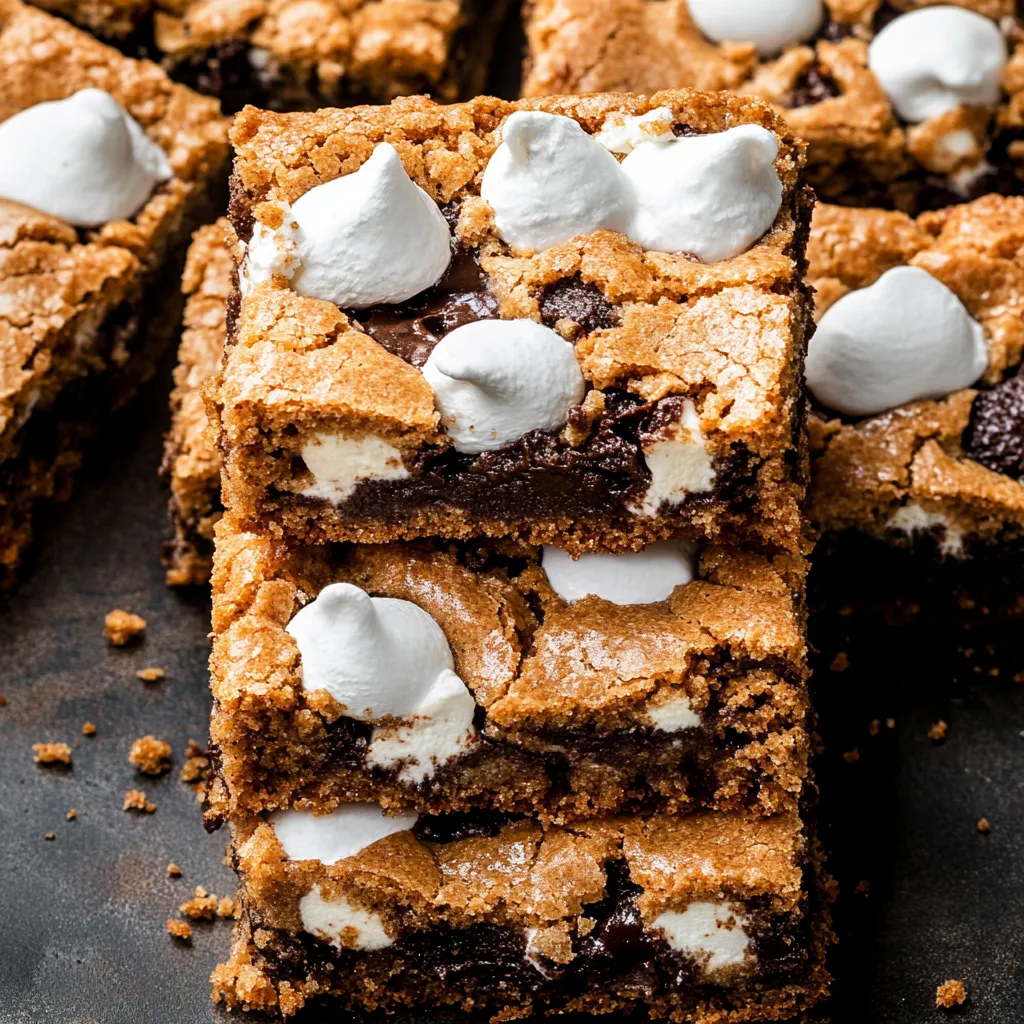
  • For The Top: Mini marshmallows, extra milk chocolate chips if you want more goodness.

How To Make Them

Get Your Base Ready:
Stir graham cracker crumbs with melted butter and push firmly into a parchment-lined 8×8-inch pan.
Create The Chocolate Middle:
Mix chocolate chips with sweetened condensed milk until melty and smooth, then pour over your crust.
Top It Off:
Scatter mini marshmallows on the warm chocolate and gently press down. If you want, sprinkle some milk chocolate chips on top for extra goodness.
Finish Up:
Let chill in the fridge for at least 2 hours before cutting into squares.
A plate of brownies with marshmallows on top. Pin it
A plate of brownies with marshmallows on top. | cookitdelish.com

Tasty Year-Round Treats

You can enjoy these bars any time of year. Try adding a dash of cinnamon to the base for a fall feel, or spread some raspberry jam between the layers for spring freshness.

Creating Family Traditions

Treats can build lasting memories, and these bars let you bring campfire fun inside. They're a tidy, simple way to share childhood favorites with people you care about.

Mix It Up

When the holidays come around, try mixing in crushed candy canes. Or spread a layer of peanut butter on the graham base before the chocolate for an amazing nutty version.

A square of chocolate cake with white icing and marshmallows. Pin it
A square of chocolate cake with white icing and marshmallows. | cookitdelish.com

I first threw these bars together when rain ruined our camping plans. They turned our disappointment into a happy surprise and now my family asks for them all the time. It's funny how some of your favorite treats come from totally unplanned moments.

Frequently Asked Questions

→ How can I toast the marshmallows for that campfire feel?
To toast the marshmallows, use a small torch once the bars are set, or pop them under the broiler for 30-60 seconds. Keep an eye out so they don't burn!
→ How long will these bars last in the fridge?
They'll stay good for up to 5 days if stored in an airtight container in the fridge, but they're tastiest within 2-3 days as the marshmallows stay soft and the base crisp.
→ Can these bars be frozen?
Yes, you can freeze them for up to 2 months. Slice them into pieces, store in a container with parchment between layers, and thaw in the fridge before serving.
→ Can I make the graham cracker crumbs at home?
Definitely! Blend around 10-12 regular graham crackers in a food processor to get about 1½ cups of crumbs. Homemade ones often taste fresher.
→ What can I do to add more flavor?
Try stirring some vanilla extract into the chocolate, sprinkle sea salt on top, or mix peanut butter chips with the chocolate. For a fun twist, add banana slices before layering the marshmallows.

S'mores Bars No-Bake

Crunchy graham crackers, melted chocolate, and gooey marshmallows come together in these easy-to-make, no-bake bars. A no-fuss twist on the beloved campfire snack.

Prep Time
15 Minutes
Cook Time
~
Total Time
15 Minutes
By Chloe: Chloe

Category: Desserts

Difficulty: Easy

Cuisine: American

Yield: 16 Servings (16 bars)

Dietary: Vegetarian

Ingredients

→ Crust Ingredients

01 ½ cup butter, melted and unsalted
02 1 ½ cups finely crushed graham crackers

→ Chocolate and Marshmallow Layer

03 1/3 cup condensed milk (sweetened)
04 1 cup tiny marshmallows
05 ½ cup milk chocolate chips (optional, for extra chocolate)
06 1 cup semi-sweet chocolate chips

Instructions

Step 01

Start by preparing the crunchy base. In a bowl, mix the melted butter with graham cracker crumbs until all crumbs look coated and blend together. If you pinch the mixture and it crumbles, drizzle a little more butter. Then press this mix into the bottom of an 8×8-inch pan with something flat, like the back of a measuring cup. Set aside.

Step 02

Melt together your chocolate chips and condensed milk in a microwave-friendly bowl. Heat for 30 seconds, stir well, and repeat if needed until it’s silky and smooth. Pour this mixture over the crust you made earlier and use a spatula to spread it evenly all the way to the pan’s edges.

Step 03

Before your chocolate sets, scatter marshmallows across the top like a blanket, making sure they’re spread out. Sprinkle optional milk chocolate chips randomly over the marshmallows for extra gooeyness. Don’t worry—the marshmallows stick as the chocolate cools!

Step 04

Put the pan in the fridge to chill for about 2 hours, or until everything’s set and firm. If you want to try and speed it up, pop it in the freezer for around 45 minutes, though slower fridge-setting gives a better texture.

Step 05

Once it’s cooled and firm, take it out and cut into squares. I like to warm the knife under hot water and dry it before slicing each time for neat shapes. Pull the bars out of the fridge a bit before serving so they’re softer to eat. These make great snacks at parties or outdoor gatherings.

Notes

  1. Love s’mores? You’ll adore these no-campfire-needed s’mores bars! They taste like your favorite campfire treat but are made in a kitchen!
  2. Put them under the broiler for about a minute if you want that toasted marshmallow flavor—just don’t take your eyes off them.
  3. The bars stay fresh for up to seven days if kept in a sealed container in the fridge.
  4. For extra pizzazz, drizzle some melted chocolate across the finished bars before putting them in the fridge.

Tools You'll Need

  • Mixing bowl (medium-sized)
  • Pan – 8×8-inch size
  • Bowl for microwave use
  • Spatula for spreading
  • Measuring tools
  • Sharp cutting knife

Allergy Information

Please check ingredients for potential allergens and consult a health professional if in doubt.
  • Includes dairy products (like butter, condensed milk, chocolate)
  • Contains gluten due to graham crackers
  • Chocolate may include soy, so check labels

Nutrition Facts (Per Serving)

It is important to consider this information as approximate and not to use it as definitive health advice.
  • Calories: 195
  • Total Fat: 12 g
  • Total Carbohydrate: 22 g
  • Protein: 2 g