
 Pin it
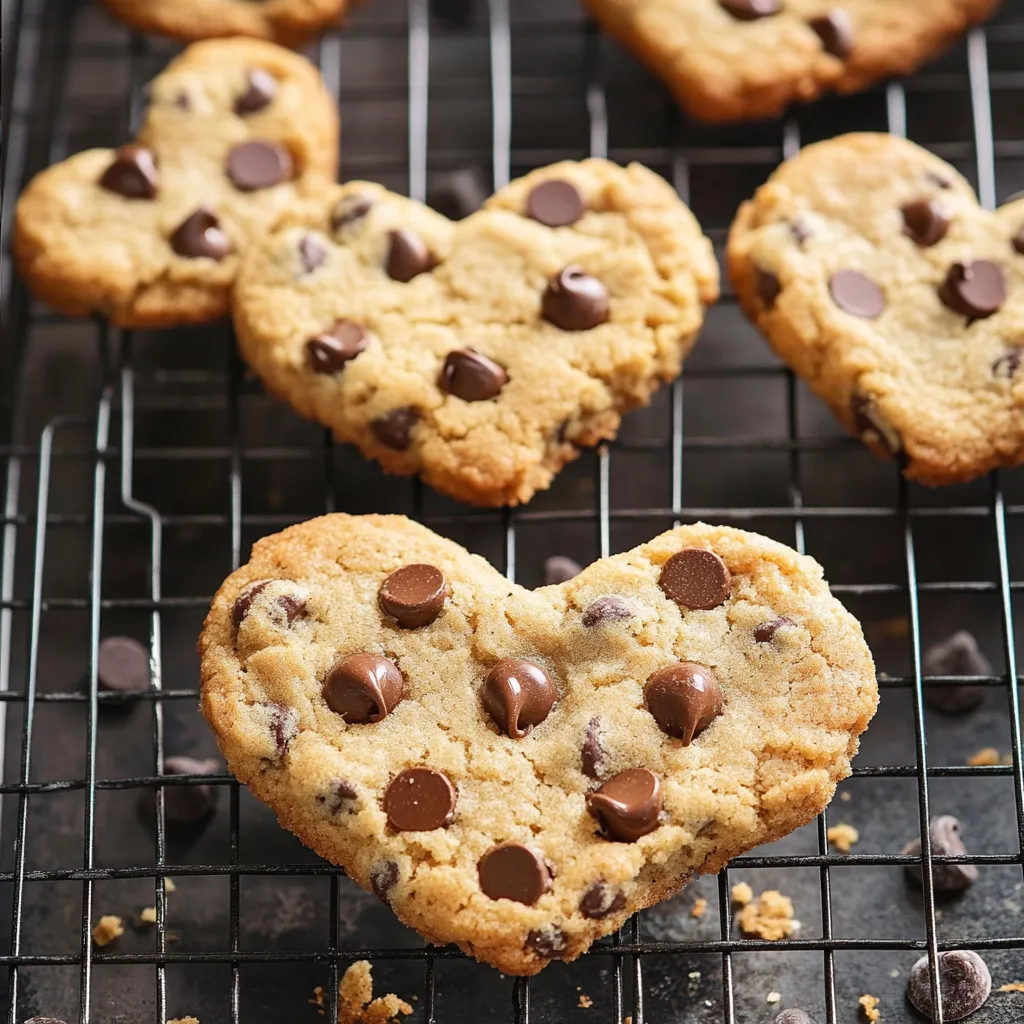
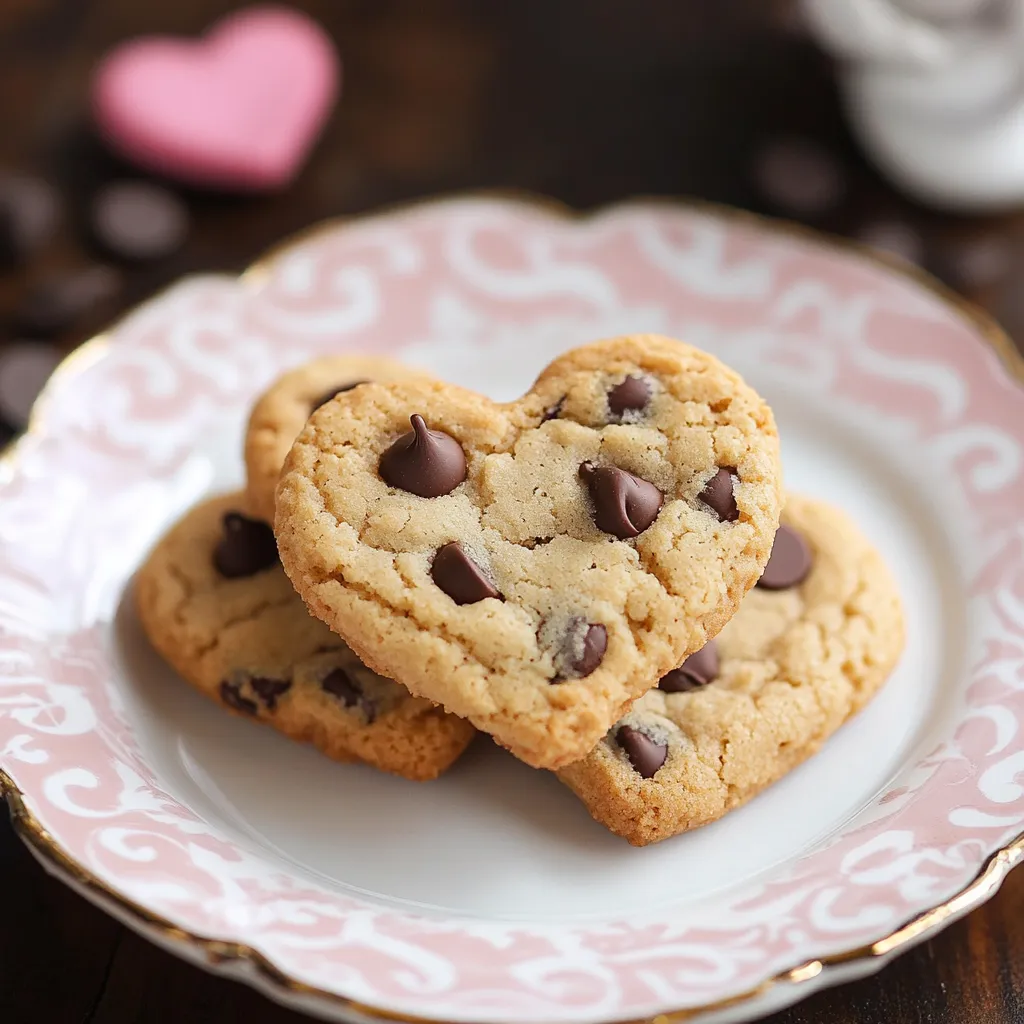
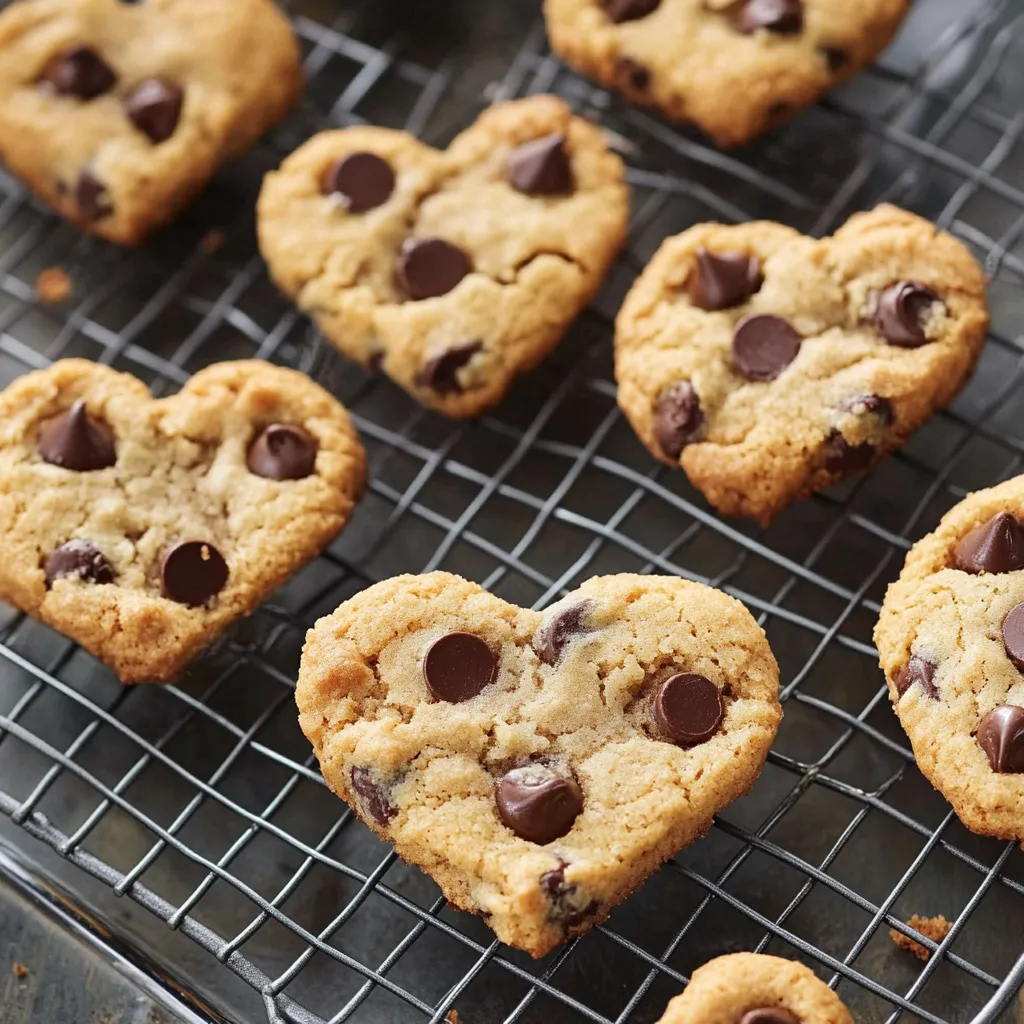
Turn your favorite chocolate chip cookies into adorable heart treats the easy way. No more freehand frustration thanks to this clever sheet pan trick that gives you the most consistent heart shapes ever—plus, the leftover edges are the perfect little snacks for whoever’s in the kitchen.
When I sent these to my kid’s class last February, the teacher messaged me for details—she was shocked at how pro they looked, and couldn’t believe it was so simple.
Irresistible Ingredients Guide
- Chocolate chips: Hold a few back to decorate the tops
- All-purpose flour: Or swap in your go-to subs
- Quality vanilla: Definitely worth using your best stuff
- Eggs: Bring to room temp so they blend right in
- Both sugars: For that just-right chewy texture
- Butter: Let it soften up—don’t melt it
Step-by-Step Creation
- Step 4:
- Let them bake: Edges should look pale gold while the middle is still a little soft. Don’t leave them in too long—it’s fine if they seem slightly underdone. After baking, wait for them to cool all the way before cutting.
- Step 3:
- Press out in the pan: Cover your pan with parchment. Spread your dough out as evenly as you can, pressing gently into all the corners so the thickness is even everywhere.
- Step 2:
- Make the dough: Add dry bits little by little to avoid tough cookies. Stop mixing once it comes together, and save some chocolate chips for the top. Dough should feel sturdy, not sticky—if not, chill it until it sets up.
- Step 1:
- Start the base: Whip butter and both sugars together until super fluffy and pale. Don’t rush it—the airiness is key. Eggs should be room temp so everything combines well.
 Pin it
Cutting With Confidence
You’ve gotta let them cool first, trust me. When it’s time to cut, lean in with firm pressure and wipe the cookie cutter clean as you go. Start at the outside and move inward to get the most hearts. Don’t toss the scraps—they’re the best treats.
My first time making these was a lesson in patience—I tried to cut them while warm and ended up with weird-looking blobs and crumbly edges. Now I always make sure they’re completely cool first, and every heart looks clean and sharp.
Make It Your Way
After plenty of tries, here are favorite ways to mix things up:
Awesome Mix-In Ideas
Mini chips for easy cutting. Try white chocolate with chewy cranberries. Go for dark chocolate plus orange zest. Swap in butterscotch for a caramel touch. Make a minty version with mint chips for festive flair.
Diet-Friendly Options
These swaps totally work: Gluten-free flour blends. Vegan choices like chia eggs and coconut oil. Sweeten with natural options if you want. Use mild white whole wheat for extra fiber. Solid dairy-free butter does the trick too.
Lasting Freshness
To keep them tasting great: Wait until they’ve cooled before packing up. Separate layers with parchment. Stash in an airtight box. They’ll stay good for about five days, or pop in the freezer for three months.
Gifting Hacks
Pile cookies neatly. Slip into clear bags and tie with a ribbon. Jot the bake date on a little tag. Lay gifts flat so nothing breaks. Throw in some cocoa mix to make it even sweeter.
Special Touches For Any Event
Here’s how to dress these up for whatever you’re celebrating:
Fun Holiday Changes
For Christmas, toss in red and green M&Ms, a sprinkle of sparkly sugar, or use star and tree cutters. Crushed peppermint’s a festive boost. For Easter, grab pastel chips, cut into egg shapes, toss on spring-color sprinkles, and mix in a hit of butterscotch.
Easy Upscaling For Crowds
For school events, double the batch in a big pan and use tiny cutters for more cookies. Pre-make the dough if you like. If there are allergies, swap ingredients. For bake sales, wrap each cookie on its own, label with ingredients, and mix up the flavors for fun packs.
Quick Fixes for Tricky Spots
Too thick or lumpy? Run a flat spatula over the dough. Dough sticky? Give it a quick chill. Crumbly edges? Wait until it’s all the way cool. Too-dark edges? Drop your oven temp a little.
 Pin it
Serving Like a Pro
Sort cookies so the sizes match up. Pop them in food-safe boxes, tie on some twine, and add a quick note with care tips.
This treat has saved me in more than one pinch—school parties, bake sales, you name it. The real magic is you can swap mix-ins or change shapes for whatever’s coming up. Just give yourself time for cooling and you’re golden!
Frequently Asked Questions
- → Can I prep these bars in advance?
- You sure can! Make them up to 5 days ahead. Just pop in an airtight container.
- → How do I bake these gluten-free?
- Just trade in your usual flour for Bob's Red Mill 1-to-1 or King Arthur Measure for Measure and you’re all set.
- → What’s the best heart cutter size for these bars?
- A cutter around 2 3/4 inches wide and 2 1/2 inches tall from tip to center works great.
- → Any tips for making them vegan?
- Easy fix—swap butter for coconut oil, use chia eggs, and go for dairy-free chocolate chips.
- → How many can I cut out per batch?
- You’ll get about 16 hearts if you use that suggested cutter size.