
 Pin it
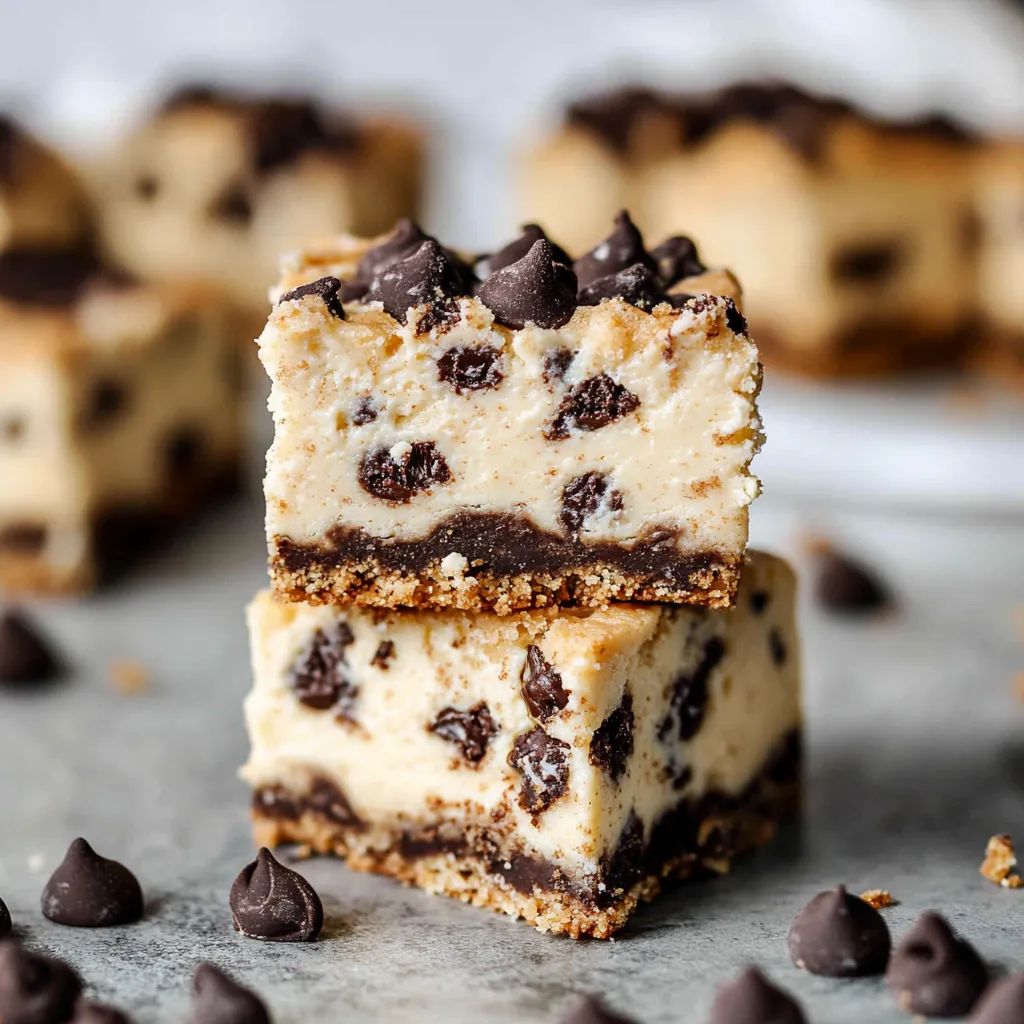
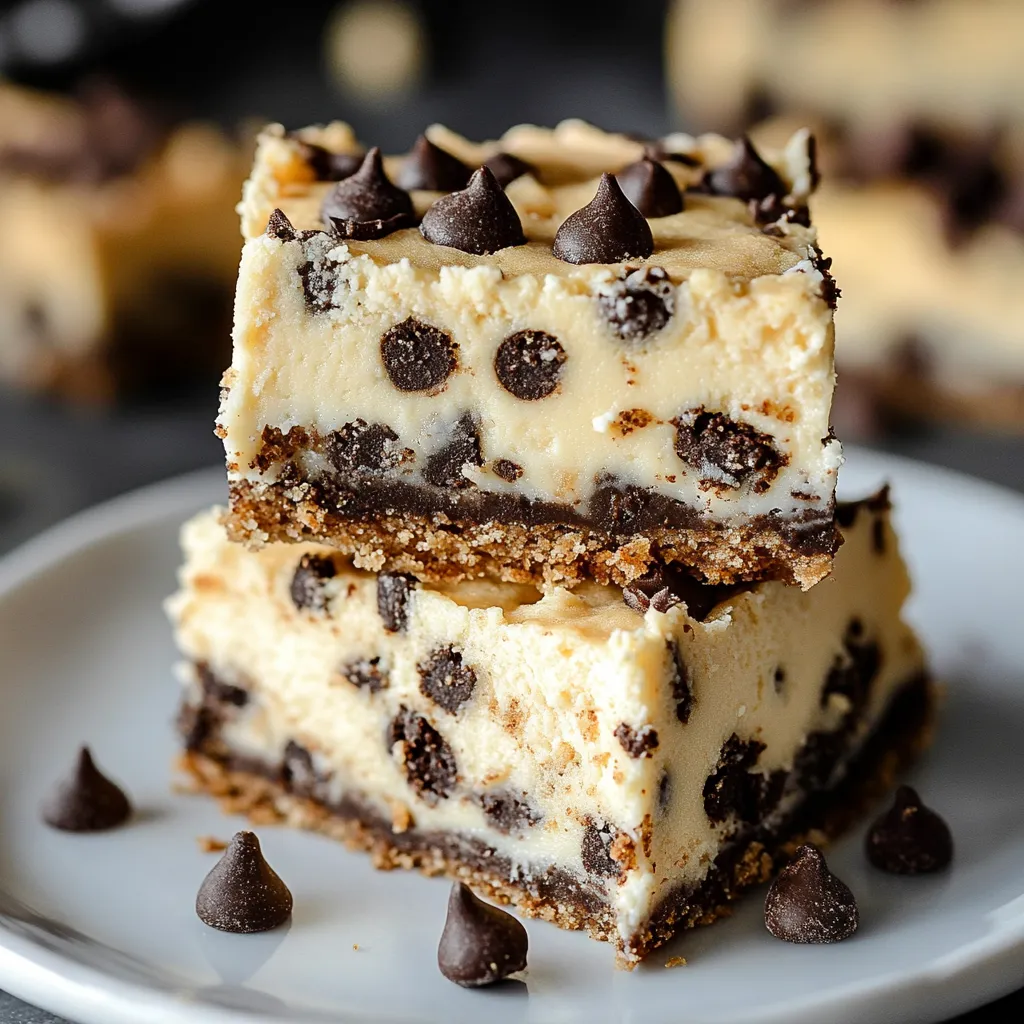
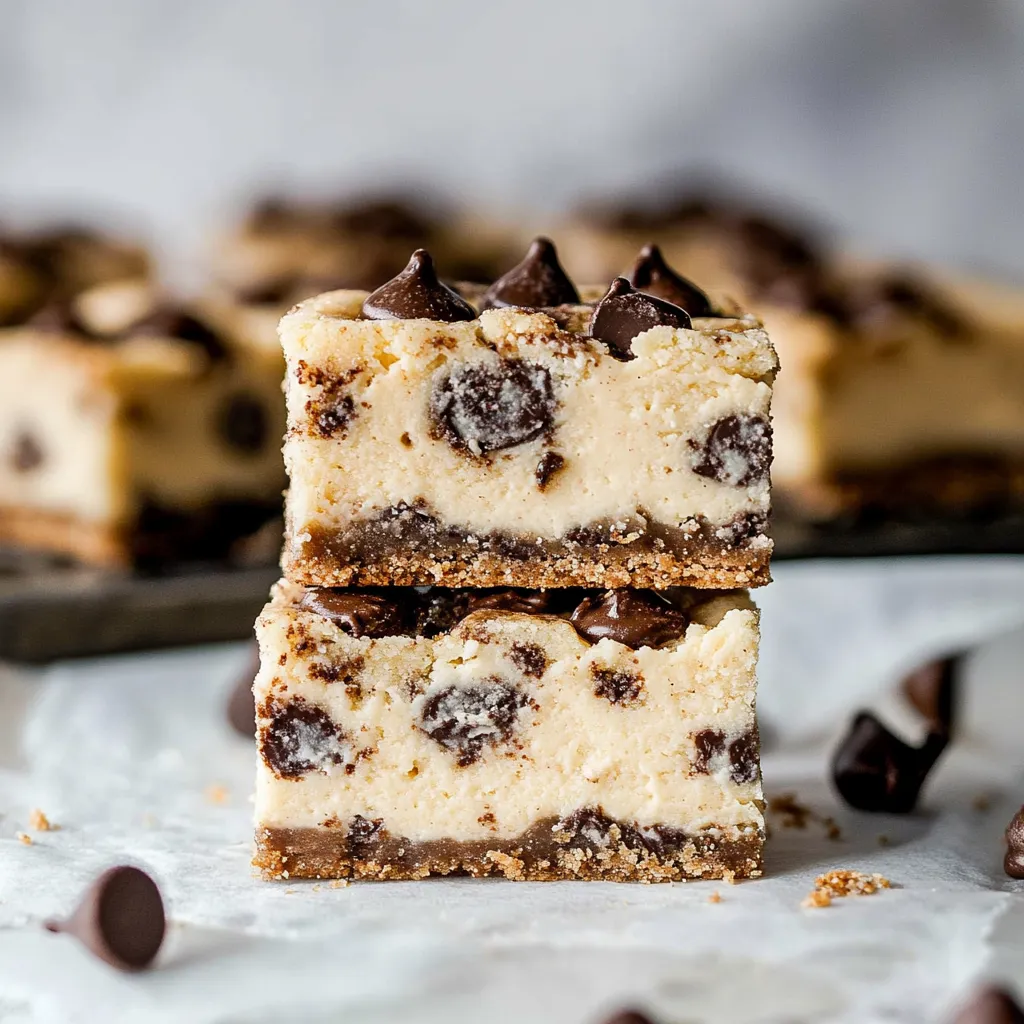
Turn basic kitchen staples into next-level dessert bars, featuring three tasty layers. Start with a crunchy graham cracker base, add a silky cheesecake center, and finish with soft, chocolate-chip cookie dough on top. Each bite hits you with awesome texture and flavor combos, so you get all your dessert faves at once.
First time around, I made these for the family and my nephew said they're even better than his go-to cheesecake at the bakery. Now people angle for a spot next to the sweet table every time I bring them to a party.
Irresistible Essential Ingredients
- Chocolate Chips: Grab the best semi-sweet kind you can for melty goodness and just-right sweetness.
- Fresh Eggs: Let your eggs hang out at room temp so everything blends easy and stays smooth.
- Cream Cheese: Go for full-fat, let it warm up on the counter—this way, your cheesecake stays lush.
- Graham Crackers: Fresh crumbs make the crust hold together and taste top-notch.
- Pure Vanilla: Use real-deal vanilla (not imitation) in every layer for the best flavor.
- European Butter: High-fat, European-style butter means richer taste and extra creamy bars.
Easy Steps for Layer Mastery
- Final Assembly:
- Stack the layers—press in the crust, pour on cheesecake, and gently dot on cookie dough balls.
- Temperature Control:
- Stick with a steady 325°F oven—middle rack is best, and check with a thermometer just to be sure.
- Cookie Layer Creation:
- Beat butter and sugar for about three minutes till fluffy, add vanilla and egg, then fold in flour mix and finish with chocolate chips.
- Cheesecake Development:
- Whip cream cheese smooth, scraping the bowl; add in sugar gradually, then eggs on low so you don't get cracks.
- Foundation Building:
- Crush graham crackers fine, stir in melted butter till it looks like damp sand, then press down tight in your pan using a measuring cup.
 Pin it
After loads of trial runs, I can say using ingredients at room temp is a total game changer. I once mixed the eggs way too much and my cheesecake split—now I keep count so it stays smooth.
Winning Serve-Up Ideas
Dip your knife in hot water for super clean slices (wipe between each cut). Stack them up on a fancy stand with fresh berries. Want to really go big? Pour some warm chocolate on right before handing them out.
Fun Twists
Switch up the bottom—brownie or crushed Oreos make it awesome. Holidays? Toss in spices in the cookie dough for autumn, or try mint chocolate at Christmas. Layer in caramel or swirl in a bit of Nutella for extra fun.
Smart Storage
Keep bars in a sealed box, sliding parchment between layers so they don’t stick. Chill for up to five days or freeze each one solo for two months tops. Let them hang out in the fridge overnight when you’re ready to eat.
 Pin it
After making these for just about every event, they're now the treat everyone gets excited for. You really get the best of three desserts together in one bar. Doesn't matter if it's a chill night with friends or something fancy, these bars always make it feel like a real party.
Frequently Asked Questions
- → How come the ingredients should be left out till they're not cold anymore?
- When stuff’s not cold, it mixes up easier, so your cheesecake comes out silky smooth and not chunky.
- → Is it okay to fix these ahead of time?
- Totally! Keep them chilled for a couple days, or stash them in the freezer for three months tops.
- → How do I check if they're baked enough?
- You'll see the top turning golden, the sides look firm, and the very middle still moves a tiny bit when you shake the pan.
- → What's up with the long cooling time?
- Letting them sit for hours—like six or overnight—helps everything firm up so the texture’s just right.
- → Can I just buy graham cracker crumbs?
- Sure thing. Switch out the crackers for 1¼ cups of ready-to-go crumbs and call it a day.