
 Pin it
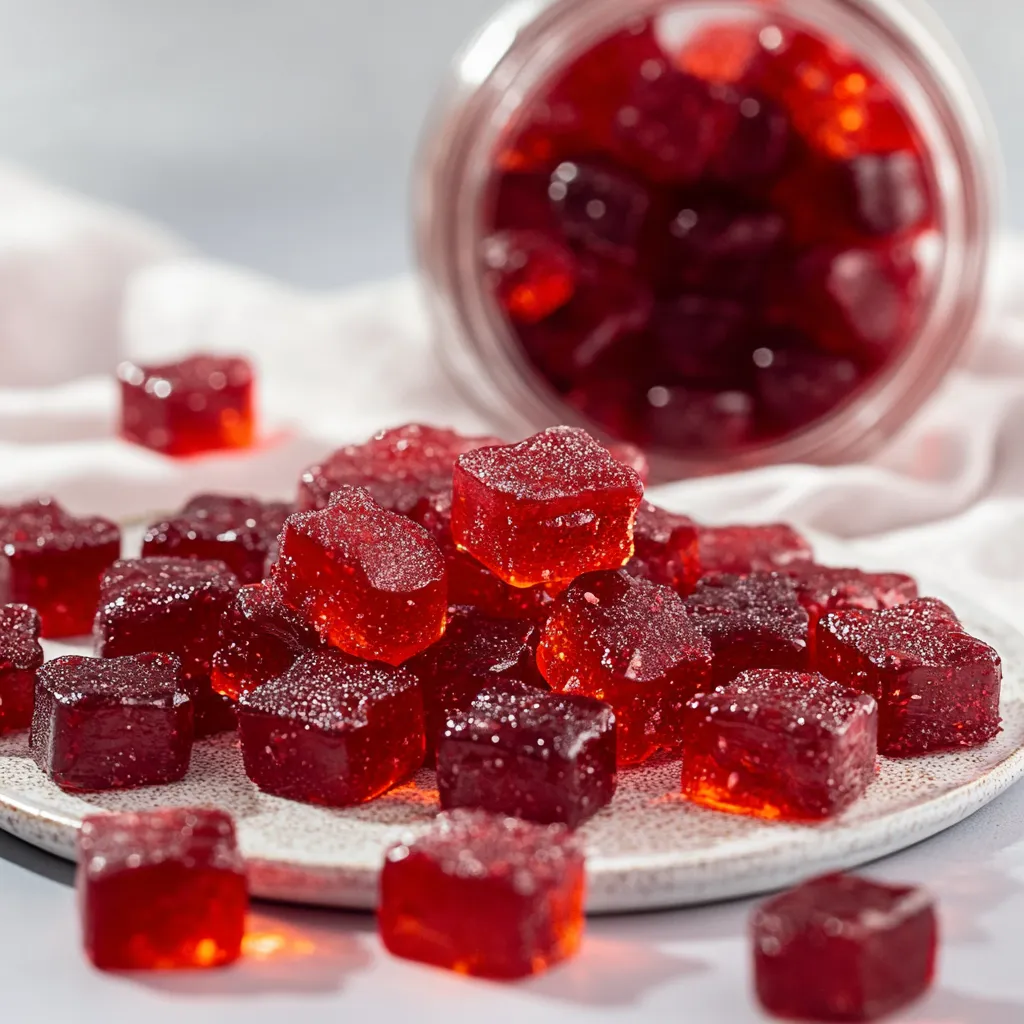
Bursting with bold cherry goodness, these bright red gummies have a little puckery tang and just the right amount of sweetness. They're loaded with pure fruit juice, so you skip all the fake stuff you'd find in the store. Every bite has a playful chew and loads of real cherry flavor, so they're a smart and super tasty snack folks of any age happily grab. They're a total win for your taste buds and your body.
I started making these gummies when cherries were everywhere and I wanted a way to enjoy their perks longer. After making a batch, my family couldn’t get enough and now we always have a stash in the fridge. My husband, who acts allergic to 'health food,' grabs some every day and says they help his muscles after workouts. What began as a random kitchen idea is now a go to treat for both fun and feeling good.
Tasty Ingredients
- Unflavored gelatin: Gives these treats that classic chewy feel without all the weird stuff.
- Honey: Adds sweetness in a natural way to make them go down easy.
- Fresh lime juice: Bumps up that tart edge and mixes in a bright citrusy kick.
- Fresh lemon juice: Perks up flavors and helps everything keep fresh longer.
- Tart cherry juice: Packs a colorful punch and is full of good things for your body.
Simple Steps
- Storage Prep:
- Have your airtight container ready before you begin so everything can chill when you're done.
- Molds Ready:
- Set up your molds or line a dish so you can work quickly with the jelly mix later.
- Gelatin Time:
- Take your pot off the heat and slowly sprinkle in gelatin, whisking the whole time so nothing gets lumpy.
- Juice Blend:
- Mix cherry juice, lemon and lime juices, and honey in a small pot. Gently warm on low and whisk until the honey is totally mixed in. Don't let it boil.
- Mold Fill:
- Carefully spoon or drop the liquid into each mold cavity, bringing it right to the top edge.
- Set and Chill:
- Pop them in the fridge and wait 2–3 hours until they’re fully set.
- Pop Out:
- Once firm, flex the molds to pop the gummies out, or slice into squares if used a dish.
 Pin it
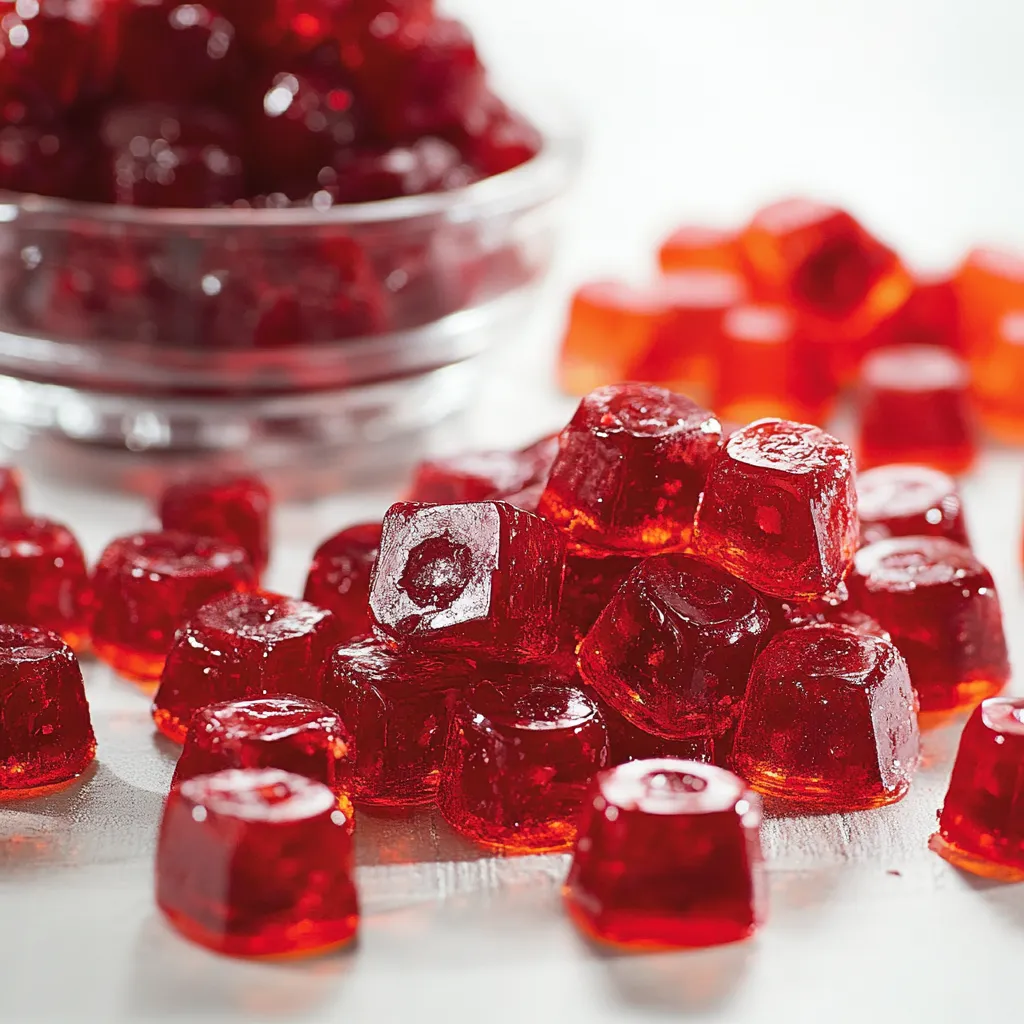
In our house, these gummies are everyone's favorite mid afternoon treat or after workout snack. My kids think they’re extra fun if they’re heart or star shaped. My husband loves munching them after a jog, swearing they boost his sleep. Toss them into a lunchbox for the energy you want without a sugar crash.
Tasty Twists
Mix things up with a berry mash up by swapping half the cherry juice for blueberry, blackberry or pomegranate juice. You'll get more flavor and extra antioxidants. Want something cozy for fall? Stir in a pinch of cinnamon, ginger, and cloves to your cherry juice for warm, spiced gummies. For a beachy vibe, use coconut water for a third of the juice and a splash of coconut extract. You'll get a light, hydrating snack that's perfect for hot days.
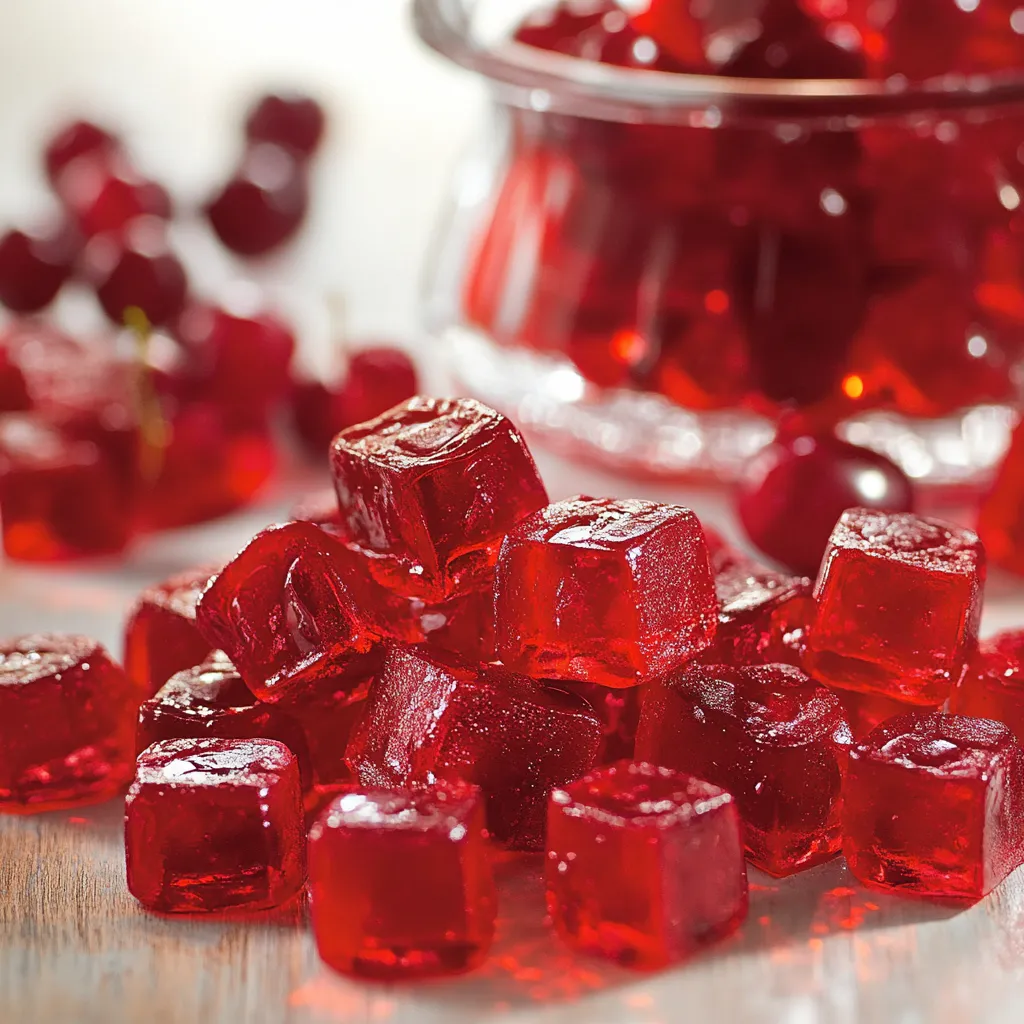
Keeping Them Fresh
Tuck these homemade gummies into a glass jar with a tight lid and stash them in your fridge for up to 10 days. To stop 'em from sticking, use parchment between the layers.
If you want to store them longer, line a pan with parchment, freeze the gummies in one flat layer, then move them into a freezer safe box. When you want some, let them thaw in the fridge for about half an hour.
 Pin it
Frequently Asked Questions
- → Can I use a different juice for these gummies?
- For sure! Just swap in the same amount of any 100% fruit juice you like—things like grape, blueberry, or pomegranate all work great.
- → Are these Tart Cherry Gummies vegetarian?
- Nope, since these use gelatin. If you want a no-animal option, you can try making them with agar-agar—the texture changes a bit, though!
- → Why do my gummies have a grainy texture?
- That usually means your gelatin didn’t mix in all the way. Make sure your juice is hot enough, and keep whisking whenever you add gelatin until it’s perfectly smooth.
- → Do I need special molds to make these gummies?
- No worries if you don’t have molds! Just pour the mix in a baking dish, chill, and cut into cubes or use cookie cutters for fun shapes.
- → Can I make these Tart Cherry Gummies sugar-free?
- Yep! Swap the honey for something like stevia, monk fruit, or erythritol. Just double-check it melts right in when the juice is hot.