
 Pin it
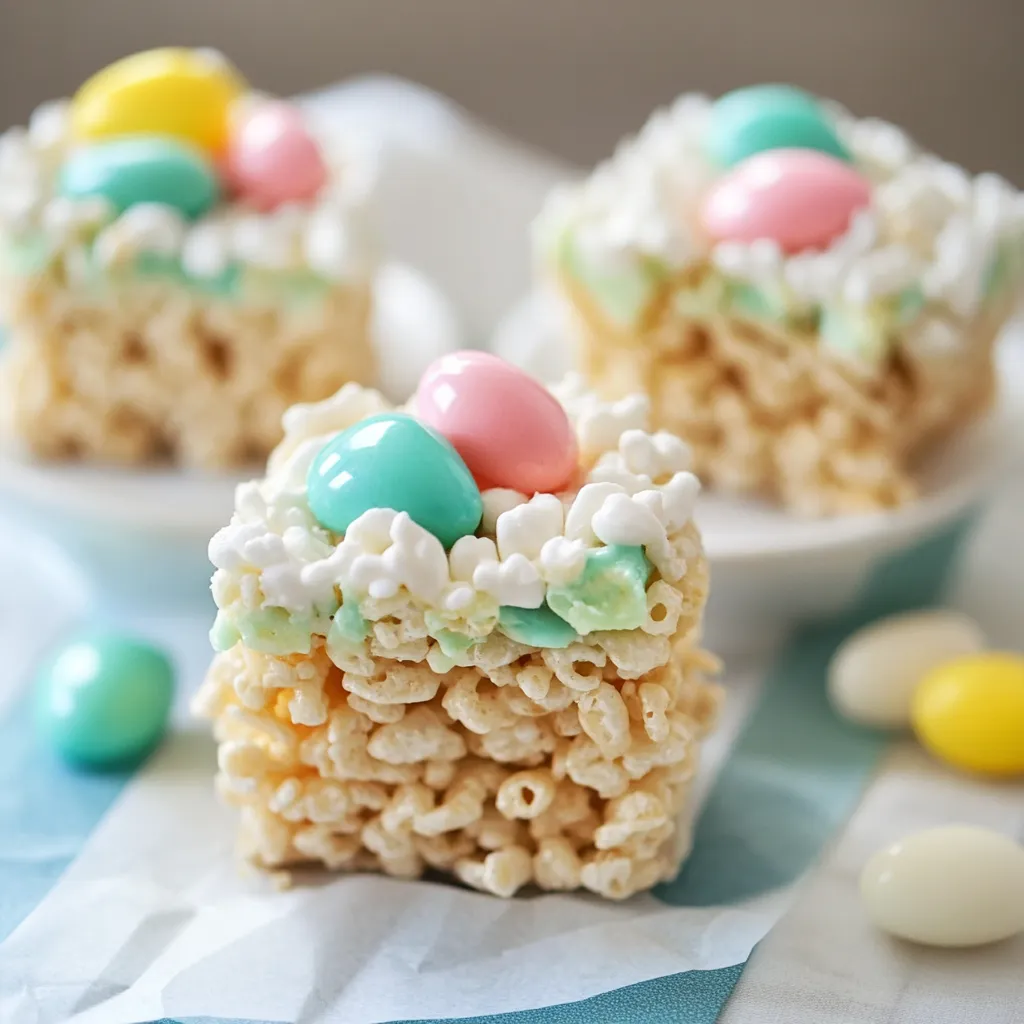
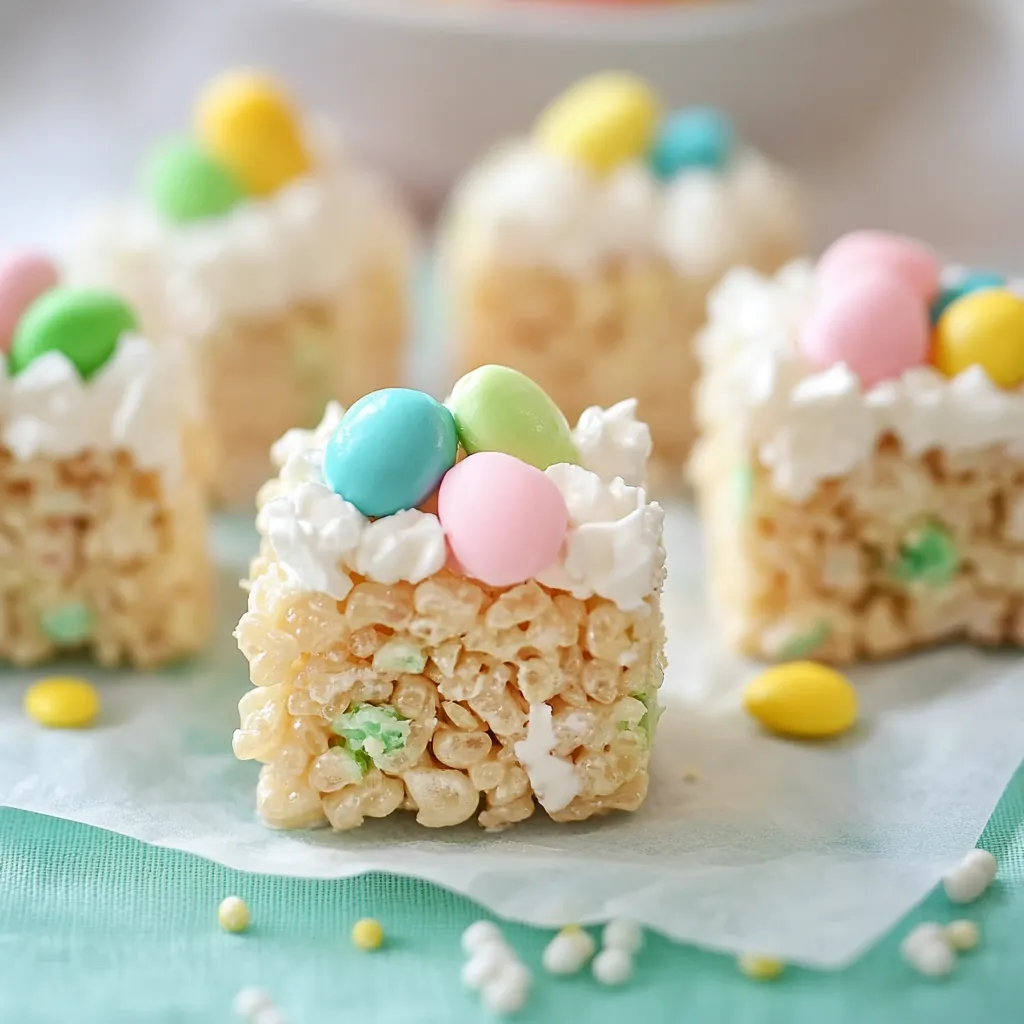
These adorable Easter Rice Krispie nests turn an everyday snack into cute spring-themed cups that everyone will gobble up. The mix of crunchy cereal bases, smooth frosting, and bright candy eggs makes a fun holiday treat that's super easy to put together.
I started making these with my nieces during an Easter weekend when rain kept us inside. They couldn't stop smiling when they saw their finished creations, and we've kept making these sweet nests together every year while we wait for Easter morning.
Ingredients
- 16 ounces marshmallows: Go for new marshmallows for the gooiest treats. Mini or jumbo both work great
- 7 cups Rice Krispies cereal: These little puffs make the perfect nest shape with just enough crunch
- 2 tablespoons unsalted butter: Adds flavor and helps everything come out clean
- Easter Egg Candies: Grab tiny chocolate eggs in different colors for the best look
- 1/2 cup unsalted butter for frosting: Make sure it's soft for smooth frosting
- 3-4 cups powdered sugar: Run it through a strainer first for extra smoothness
- 1/4 cup milk: Full-fat tastes best but any milk does the job
- 1 teaspoon vanilla extract: Real vanilla beats the fake stuff every time
- Green food coloring: The gel type gives bright color without making frosting runny
Step-by-Step Instructions
- Prepare the Pans:
- Coat cupcake tins really well with cooking spray or butter. Don't forget the edges where treats like to stick. This makes removal so much easier.
- Melt the Base:
- Throw marshmallows and butter in a big microwave-safe bowl. Warm for about 2 minutes total, but stop and stir every half minute. Keep an eye on it so the marshmallows don't bubble over. You want everything totally smooth.
- Create the Mixture:
- Pour Rice Krispies into your marshmallow mix. Stir with a buttered spatula until every bit of cereal gets coated. Don't dawdle since it hardens pretty fast.
- Form the Nests:
- Scoop the sticky mix into greased cupcake spots. Push down the middle using wax paper to make room for frosting later. Fill each spot about 3/4 full.
- Setting Time:
- Let treats firm up at room temp for 30 minutes. This helps them keep their shape when you take them out.
- Prepare the Frosting:
- Whip the softened butter until fluffy. Mix in 2 cups powdered sugar, milk, and vanilla. Beat for about 5 minutes until it's super smooth. Add more sugar bit by bit until you like how thick it is. Put in green food coloring a drop at a time until it looks like grass.
- Assemble the Nests:
- Squeeze green frosting onto cooled Rice Krispie cups with a grass tip for the best look. Work from outside to middle. Drop 2-3 candy eggs into each frosting nest. They're ready to eat right away.
 Pin it
The mix of marshmallows and cereal in this makes treats that aren't too sticky but don't fall apart either. I tried cutting back on marshmallows once to make them healthier and ended up with a crumbly mess that broke before serving. Take my word for it, don't skimp on the marshmallows if you want these to work out right.
Storage Tips
Your nests will stay fresh for about 3 days in a sealed container on the counter. Put some parchment between layers if you need to stack them. Don't put them in the fridge or the cereal base gets too hard and the frosting turns stiff. Want to make them way ahead? You can freeze just the plain Rice Krispie cups for up to 3 weeks. Let them warm up to room temp, then add fresh frosting and candy before serving.
Creative Variations
Green grass nests work great for Easter, but you can switch things up for other times too. Try blue or pink frosting for baby showers with tiny candy pacifiers instead of eggs. For kids' birthdays, match frosting colors to your party theme and top with sprinkles. You can even make Halloween versions with orange frosting and candy corn. The basic cup shape works for pretty much any holiday with the right decorations.
Serving Suggestions
These sweet nests look fantastic at any spring get-together. Set them on a pretty cake stand as your Easter table centerpiece. Or wrap each nest in clear cellophane with pastel ribbons for guests to take home. They taste great with fresh fruit and spring drinks to balance out the sweetness when you're putting together a dessert table.
 Pin it
Frequently Asked Questions
- → Can I skip making frosting and just buy it?
Sure! Ready-made frosting works fine if you're short on time. However, freshly made buttercream gives a richer, homemade flavor.
- → What other candies could replace egg candies?
You could use jelly beans, mini chocolates, or any small sweet candies you like for decorating.
- → How can I stop the mix from sticking to my hands?
Coat your hands with a little oil or butter, or press things down using wax paper to keep it neat.
- → Can I prepare these ahead of time?
Yes, you can make them the day before! Just add frosting and candies right before serving for the best look and taste.
- → Could the frosting be tinted with other colors instead of green?
Of course! Use colors that fit your style or the occasion for a personal twist on these treats.