
 Pin it
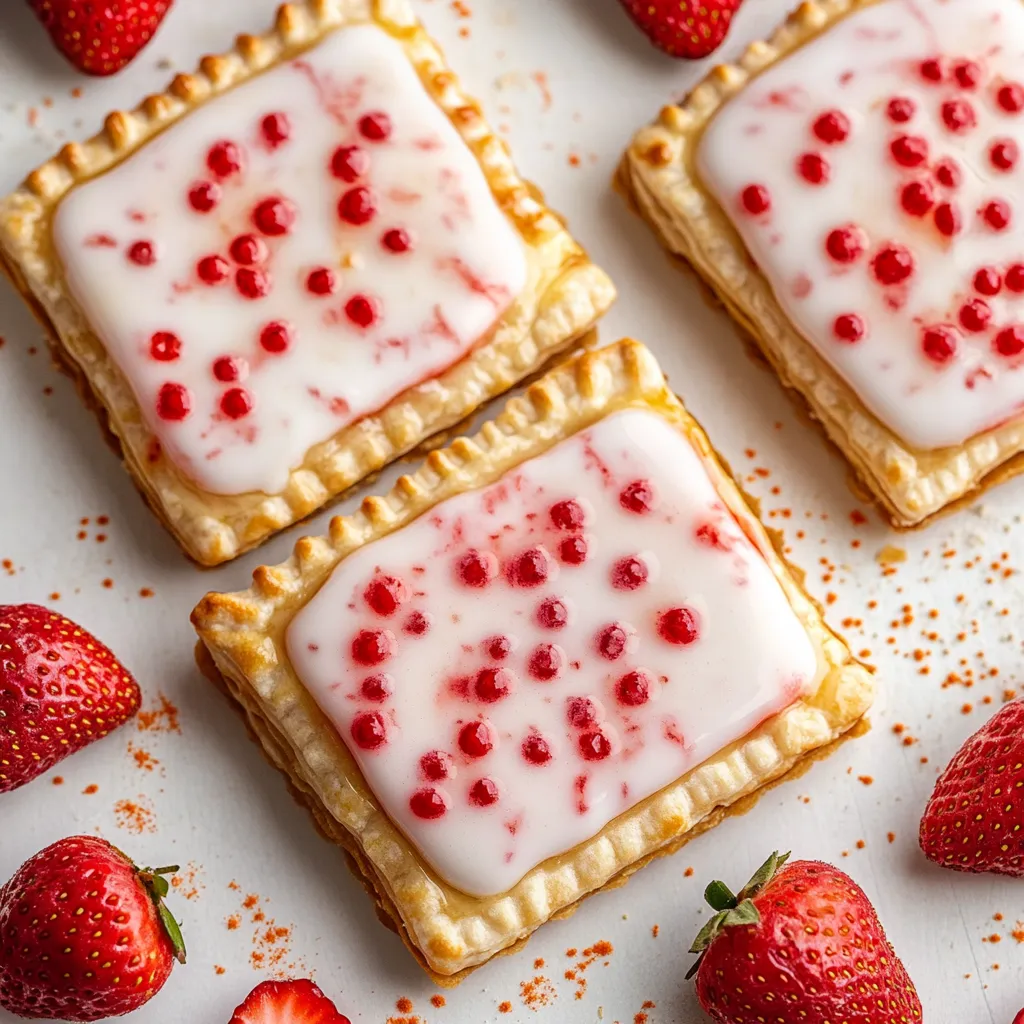
Turn that classic morning snack into a real treat by making it at home from scratch. Buttery layers wrap around sweet strawberry jam, all finished with a dreamy vanilla drizzle. Trust me, these homemade bad boys make the store-bought ones look boring.
I grew up eating boxed pop-tarts all the time, but making them myself totally changed my mornings. The taste and crunch are out of this world.
Irresistible Ingredients Guide
- Cold Water: Helps the dough stay nicely layered and crispy.
- Powdered Sugar: This blends up smooth for the perfect icing.
- Vanilla Extract: Makes the filling and topping pop with flavor.
- Strawberry Preserves: Use the thick, fruity kind for that big berry taste.
- Flour: Regular all-purpose gives the pastry the right bite—soft but not mushy.
- Butter: Salted and straight from the fridge gives you mega flavor and texture.
Awesome Pop Tart Creation
- Spread That Glaze:
- Pour in milk bit by bit for just the right thickness. You want it smooth but still a little thick so it doesn’t run off. Only glaze when pastries are totally cool.
- Time to Bake:
- Don't wander off—watch for crisp golden edges. Move them straight to a wire rack when done. Let them cool off before adding the icing or it’ll melt everywhere.
- Loading the Filling:
- Leave a border so filling doesn’t ooze out the sides. Go gentle on the preserves so it doesn’t spill during baking. Poke little holes up top for steam to escape. Use a fork for a tight seal all around.
- Get Those Shapes Right:
- Lay out a ruler to make rectangles the same size. A pizza cutter or sharp knife makes the job easy. Try not to fuss with scraps too much or the pastry gets tough. Move the pieces gently so they don't stretch or tear.
- Rolling Dough Like a Pro:
- Once dough’s been chilled, dust your board. Roll using light hands and keep turning the dough so it won’t stick. Flatten to about a quarter-inch all over—it helps them cook evenly.
- Dough Done Right:
- Keep ingredients cold from the start. Blend flour and sugar just briefly. Toss in cold butter so it looks crumbly. Drizzle ice-cold water and stop once it clumps up. If you knead too much, pastry gets tough.
 Pin it
Chill Factor Counts
Those buttery layers? Cold dough does the trick. Work fast so that butter doesn’t melt. Pop the dough in the fridge if it turns soft. Always wait for pastries to cool off before drizzling on the icing.
Handy Prep Ahead
Mix up the dough and shape your pastries whenever you want. Freeze them (raw) for up to three months. No need to defrost—just bake longer right from frozen.
Storing Your Bakes
Leave plain, un-iced treats in a container on the counter for three days. If they’re glazed, separate with parchment and freeze for up to two months.
Every weekend, my kid’s grin is enormous when we whip these up together. She says it’s like biting into happiness and butter—can’t argue with that.
 Pin it
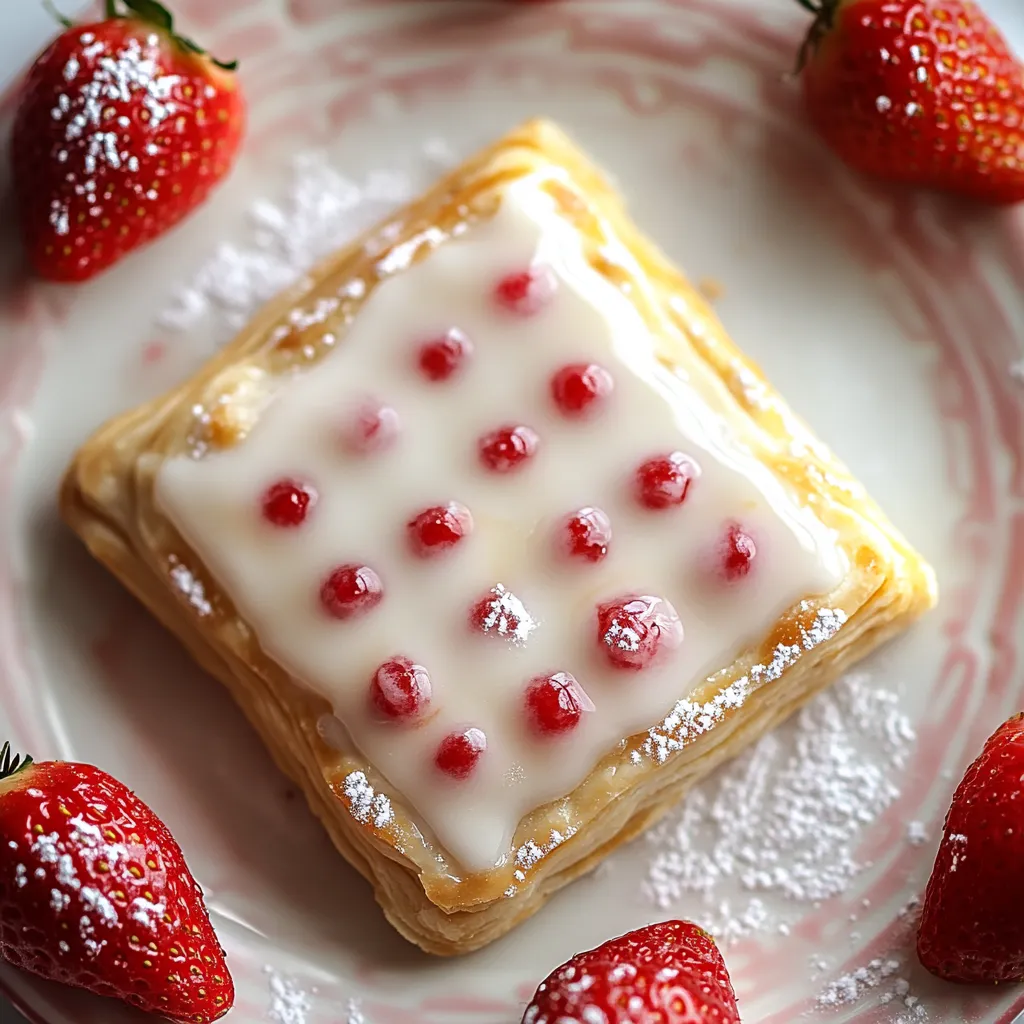
Making these strawberry pop-tarts from scratch is pure breakfast joy—crispy, golden, and packed with real fruit. Turns out, a little homemade love truly beats those boxed treats.
Frequently Asked Questions
- → Could I switch out the strawberry filling?
- Absolutely, you’re free to use anything you like—try blueberry, raspberry, or even apple butter if you want something different.
- → How do I keep these fresh?
- Pop them in a sealed container on the counter for up to three days. If you skip the icing, you can freeze them for three months.
- → Why should I chill my dough?
- Chilling lets the butter harden, which makes the dough less sticky and bakes up extra flaky.
- → Can I skip the food processor for the dough?
- For sure, grab a pastry cutter or just use two knives to mix the butter in, then finish the dough by hand.
- → What’s up with poking holes in the pastry?
- The little holes let steam out while they’re baking so the filling doesn’t ooze out the sides.